Warmest and coldest place
Introduction
This project will reveal all your school's secrets, whether someone is hunting ghosts or looking for a hot spot for their next date. Measure the temperature in different corners of the school with your class and try to discover the biggest extreme. 😱
With this project, you'll learn to measure temperature with IoT and show it on your phone. The basic HARDWARIO set, the Start Set, is all you need.
Suggest the game to your physics teacher to liven up a lesson, or just play it with friends after school.
This game is all about winning. Whoever finds the coldest or warmest place in the school is the king! 👑 If your class has several boxes, work alone or in small groups. If you only have one, take turns.
Get your box ready
-
Assemble and pair the Start Set. The Core Module needs the twr-radio-push-button firmware. If you don't know how to get the firmware or what it is, you'll find out here.
-
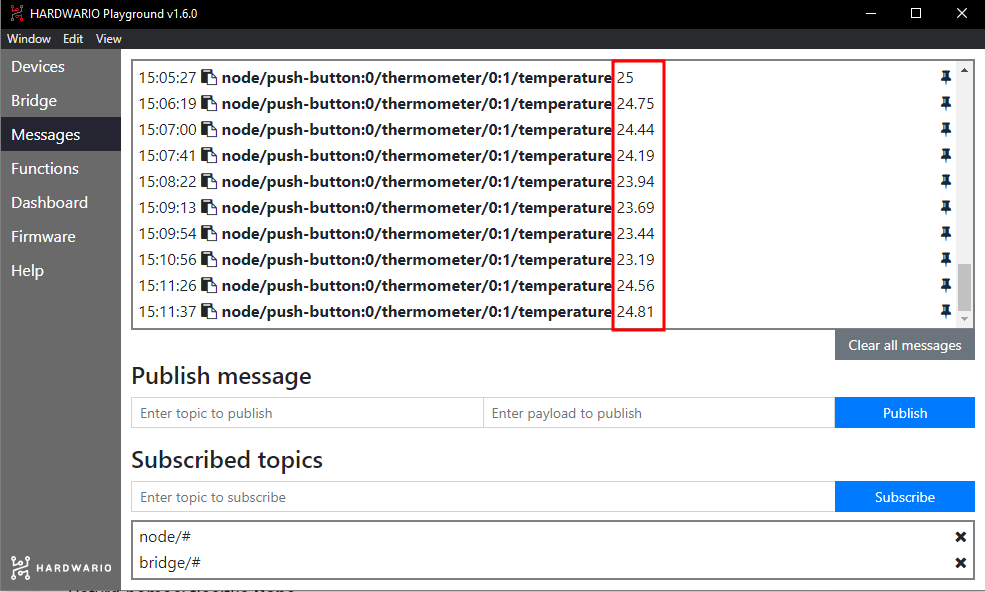
You'll see the temperature change in the Messages tab in Playground.
Set up Node-RED
-
You'll record the lowest or highest temperature on your own gauge. Start on your computer with the bubbles in Node-RED. First, click the Functions tab in Playground.
-
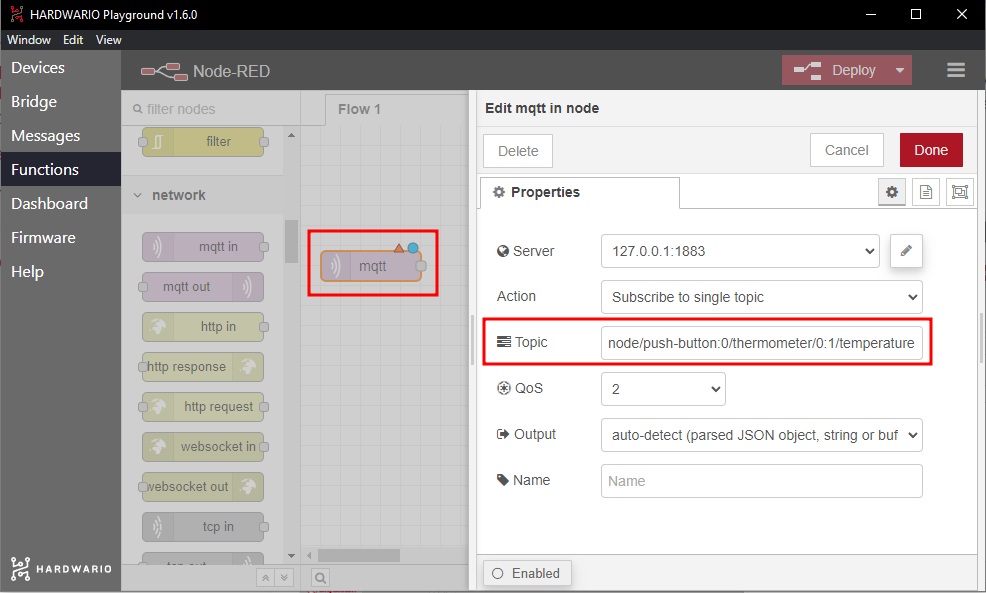
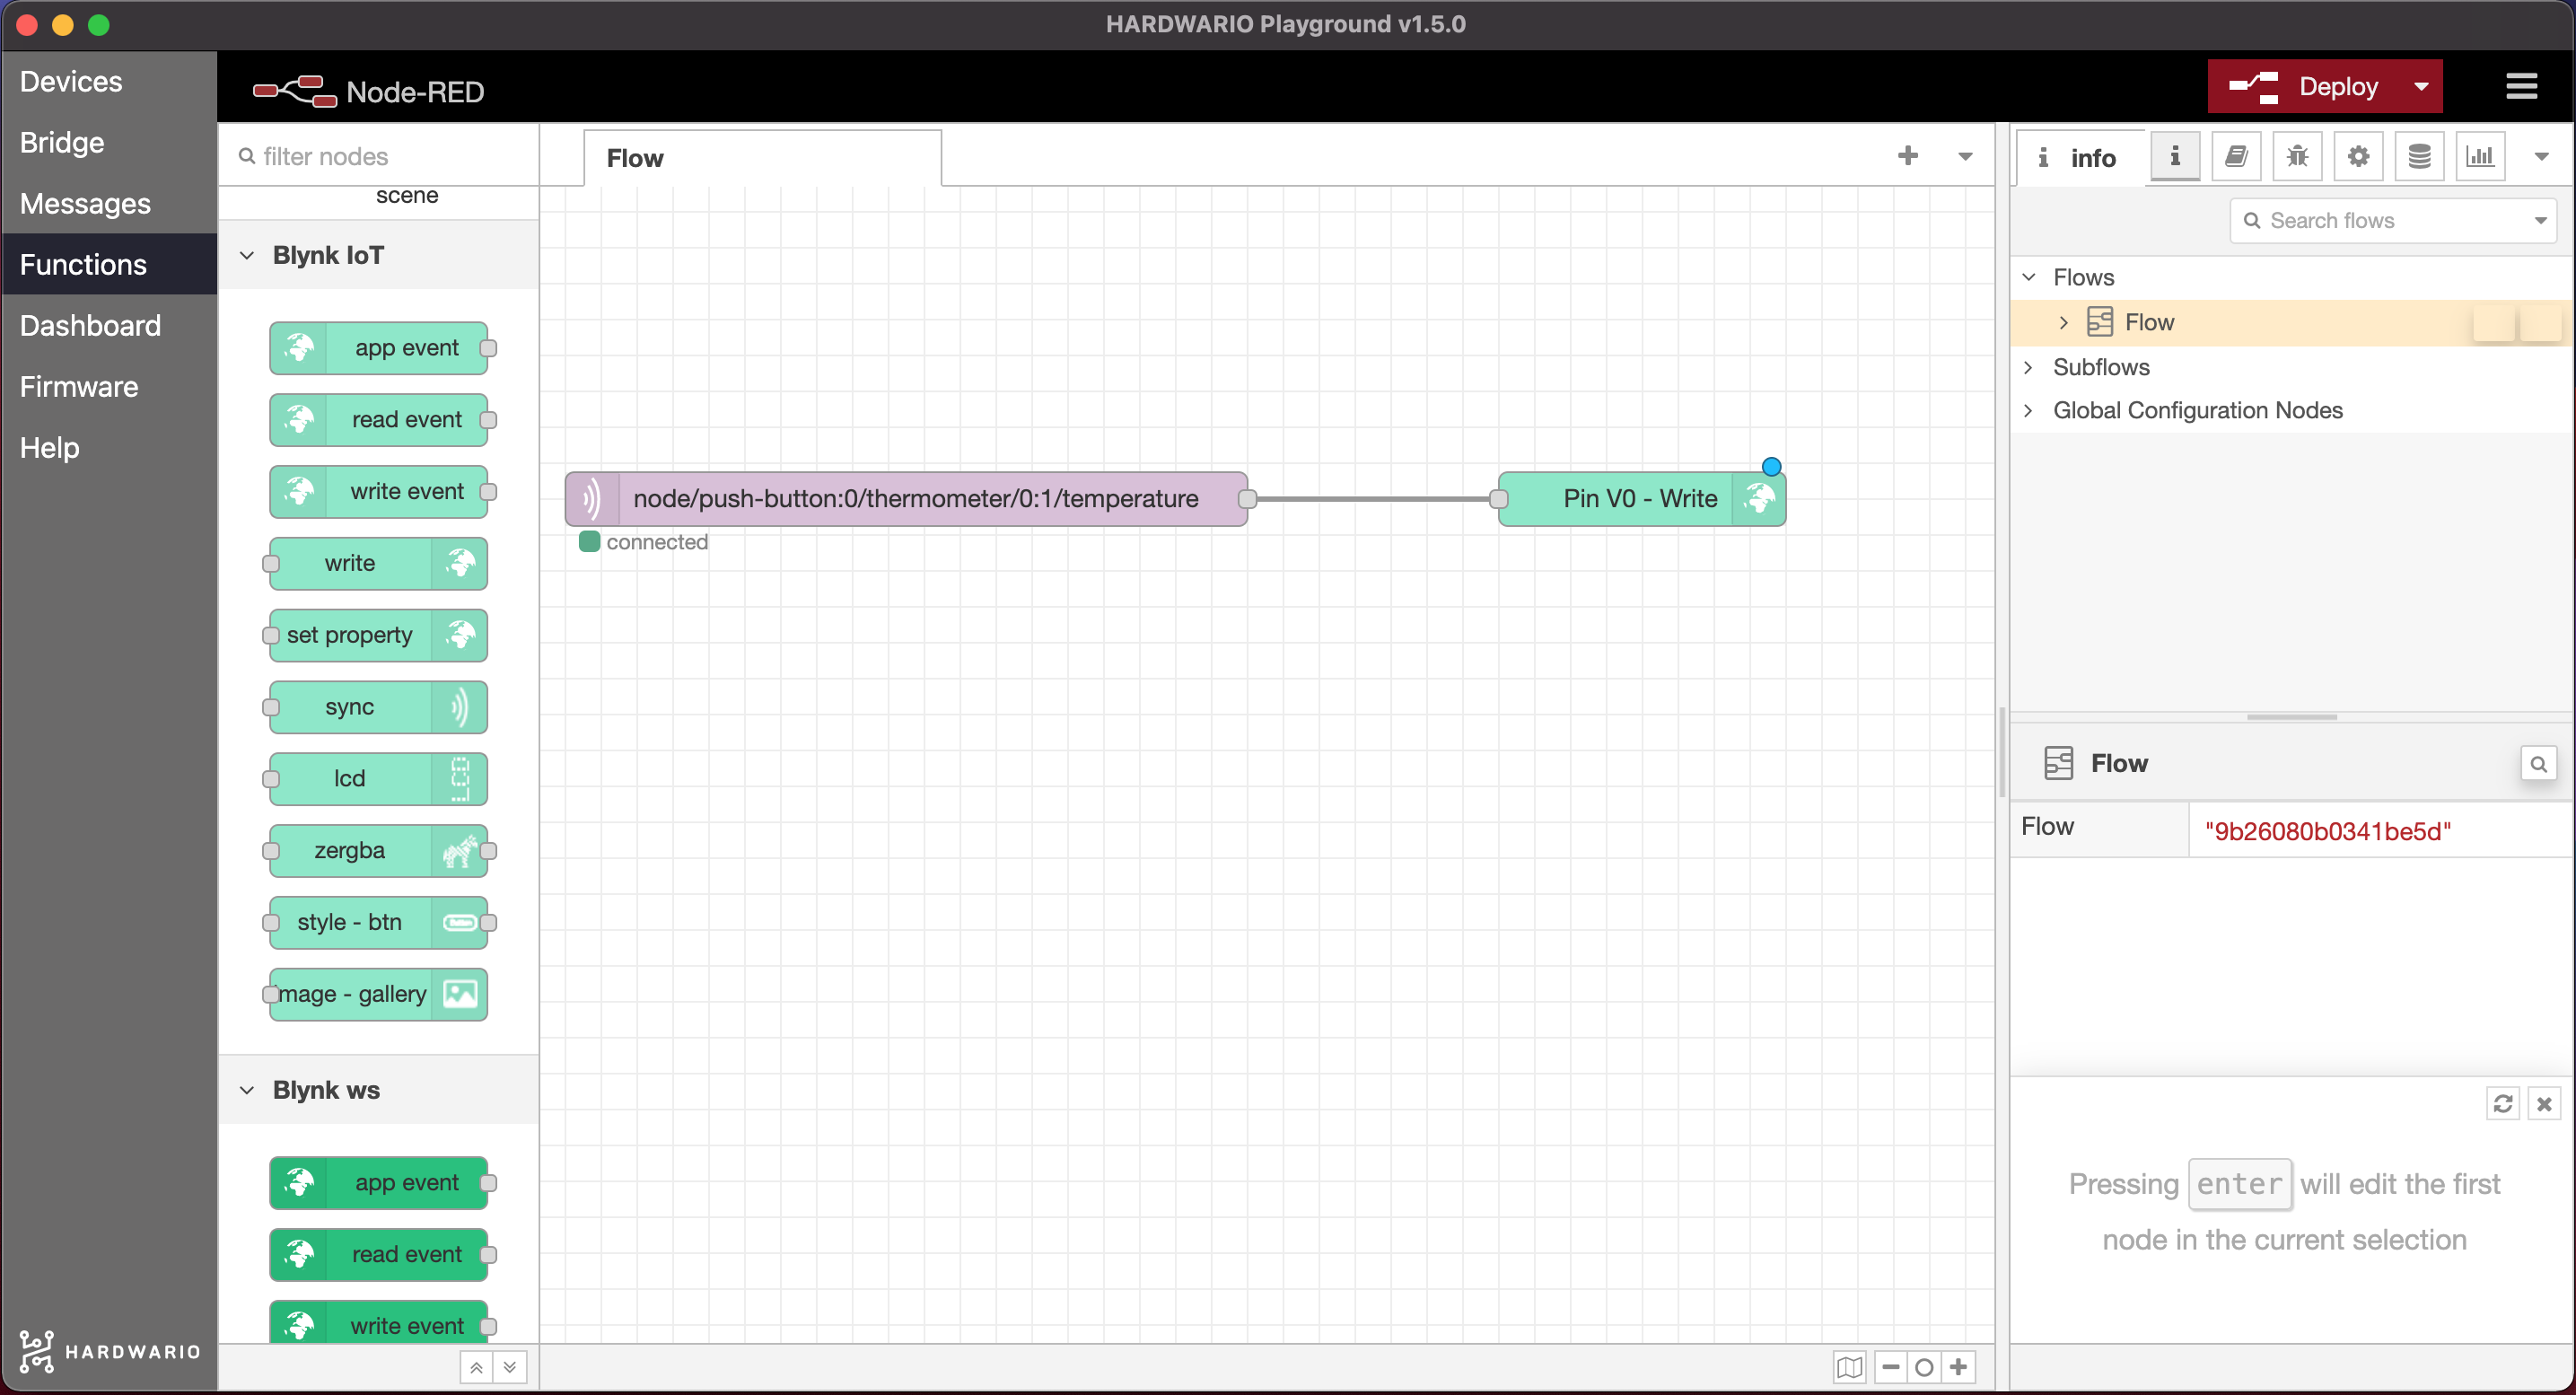
Place a light purple node (a bubble) called mqtt in on the empty canvas. You'll find it in the network section.
-
Double-click the node to open it. In the Topic field you choose what the gauge will show. This time it's temperature, so copy the temperature message from the Messages tab (without the number) into the field. Or simply use this one:
node/push-button:0/thermometer/0:1/temperature
Confirm with Done.
Prepare the Blynk IoT app
The box sends the measured temperature to the Blynk IoT app: Node-RED writes every reading to a datastream, and a gauge on your phone shows it. You don't need any automation or notification for this project.
-
If you don't have a Blynk IoT account yet, create one. The free plan is enough for this project.
-
Next, create a device template. Blynk's quick guide shows you how. If you already have a template from an earlier project, feel free to use it.
-
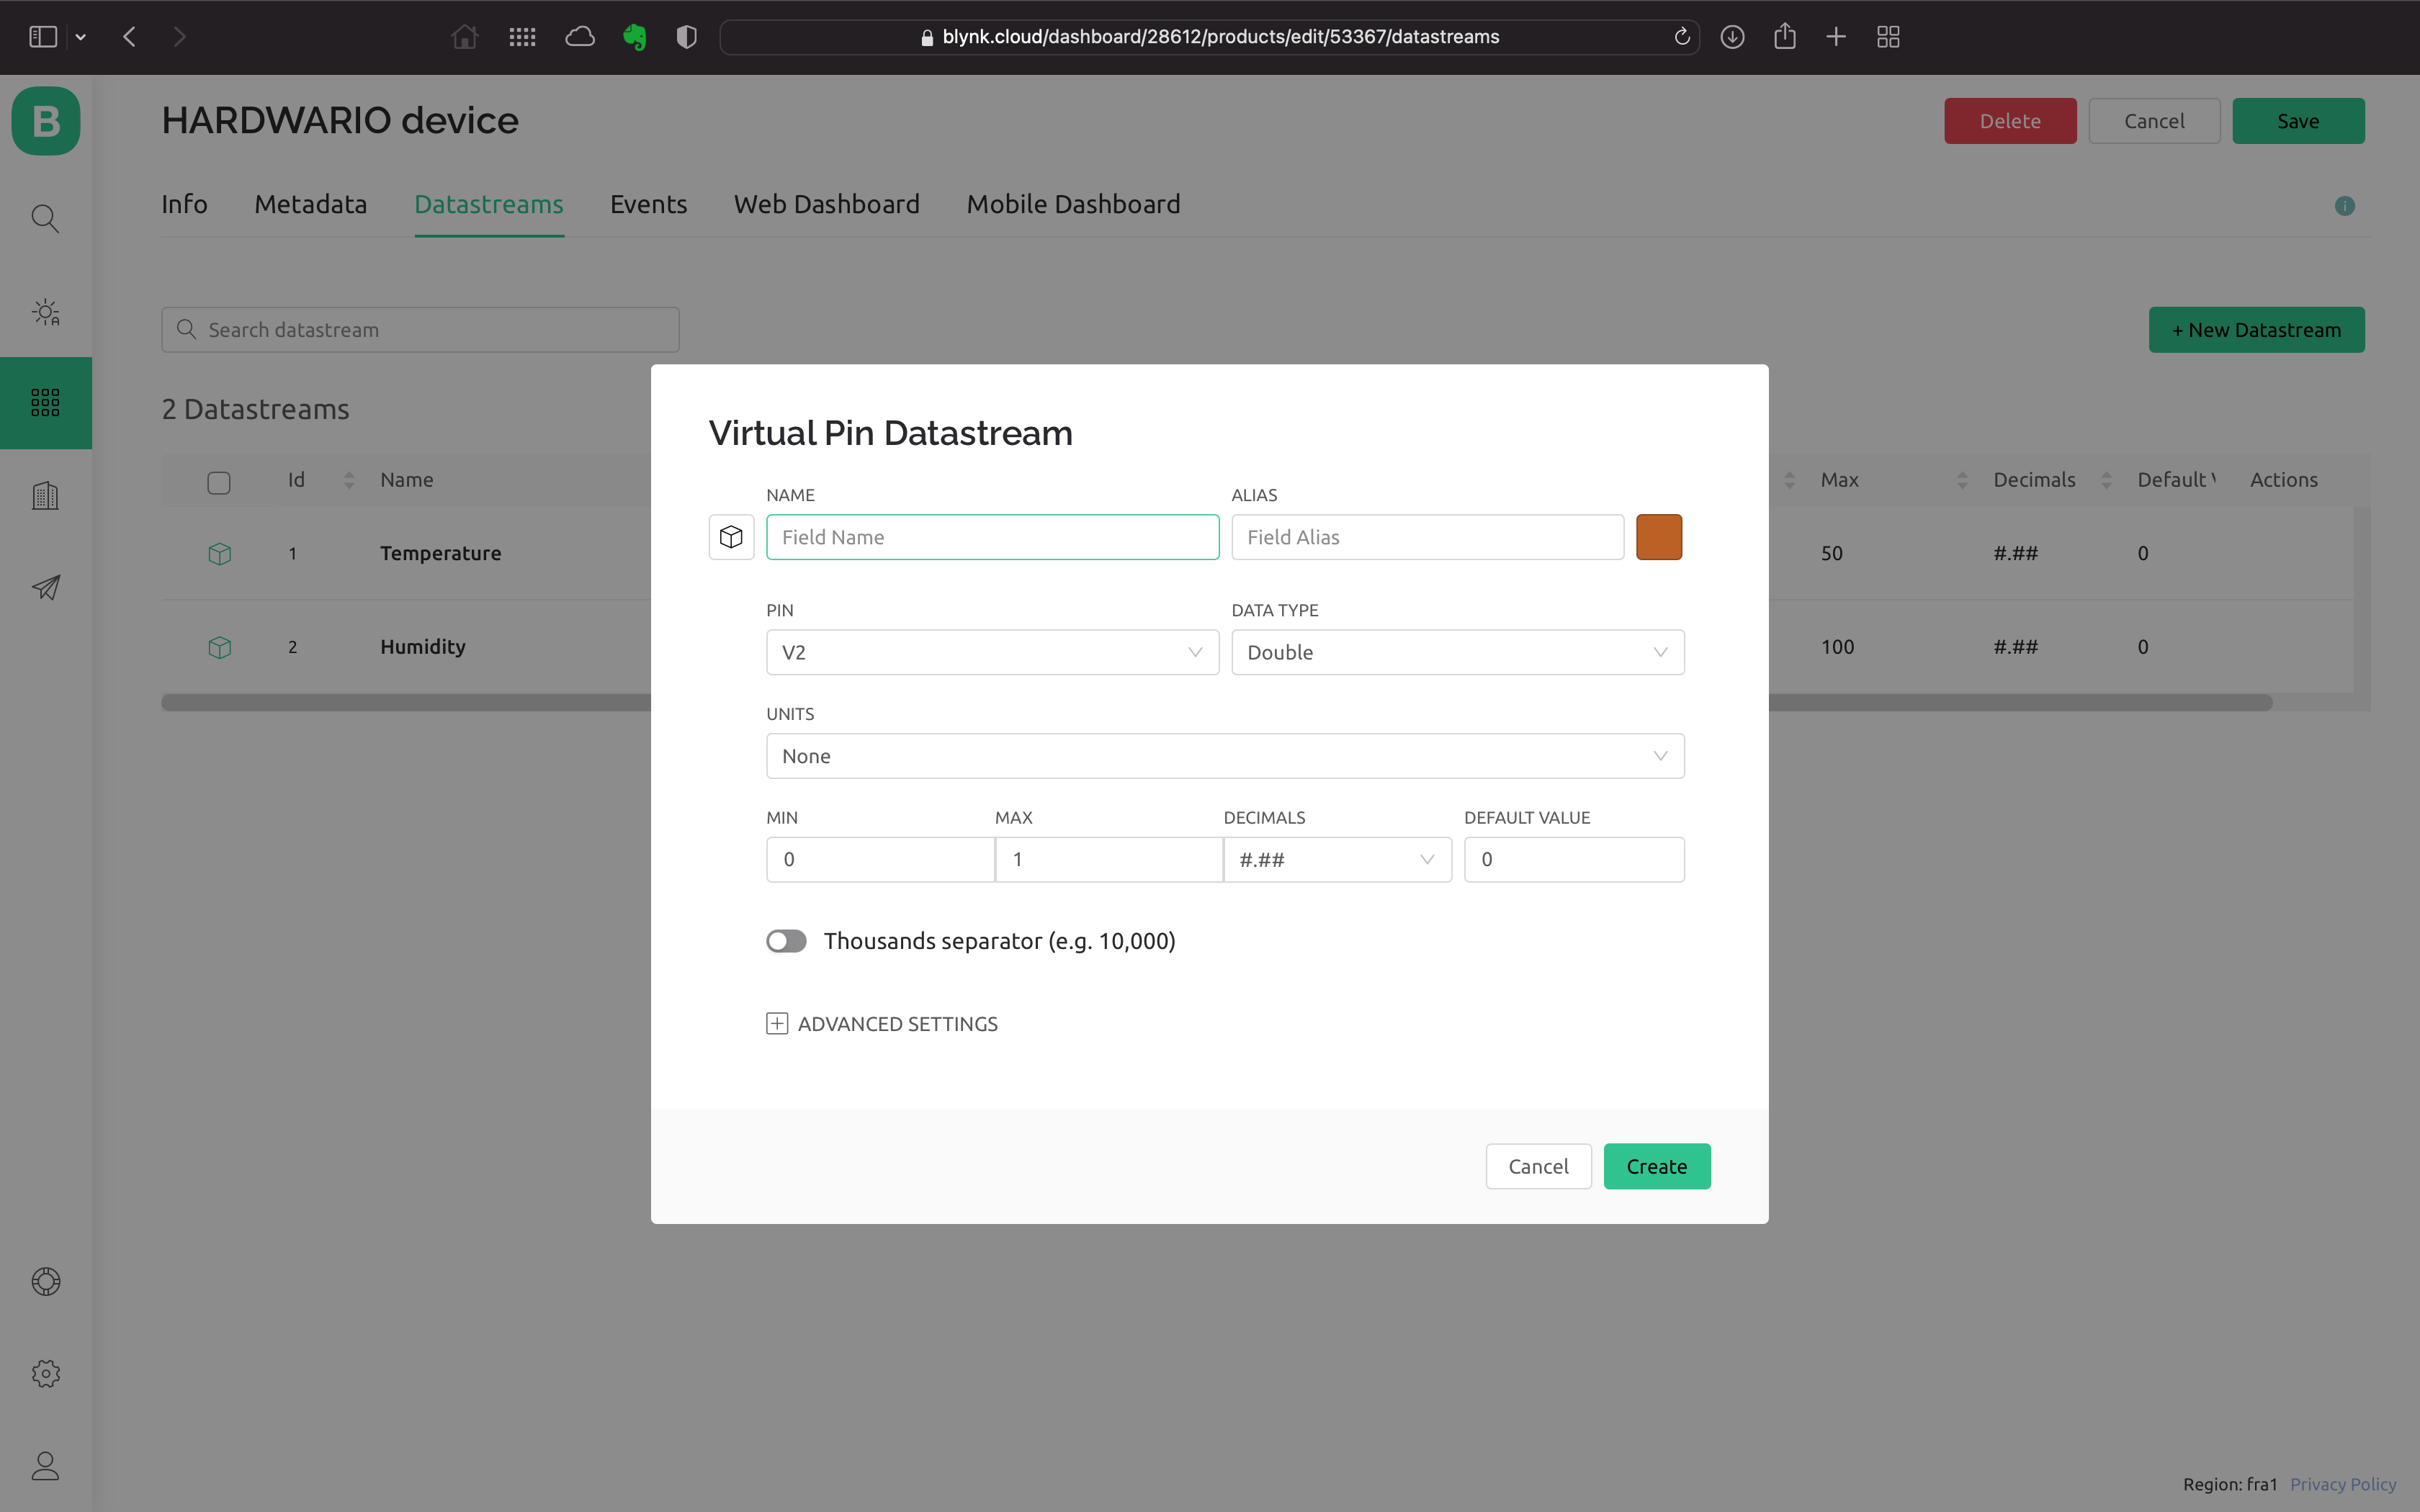
Now set up a new datastream. In the template details, open the Datastreams tab, click Edit in the top right, then New Datastream, and choose Virtual Pin. The datastream settings open:
-
Name the new datastream (for example
Temperature) and pick one of the free pins. You'll measure temperature as a decimal number, so choose Double as the Data Type and set the unit to Celsius. Don't forget to set the range of temperatures you'll measure, for example 0–50. -
Create the datastream by clicking Create.
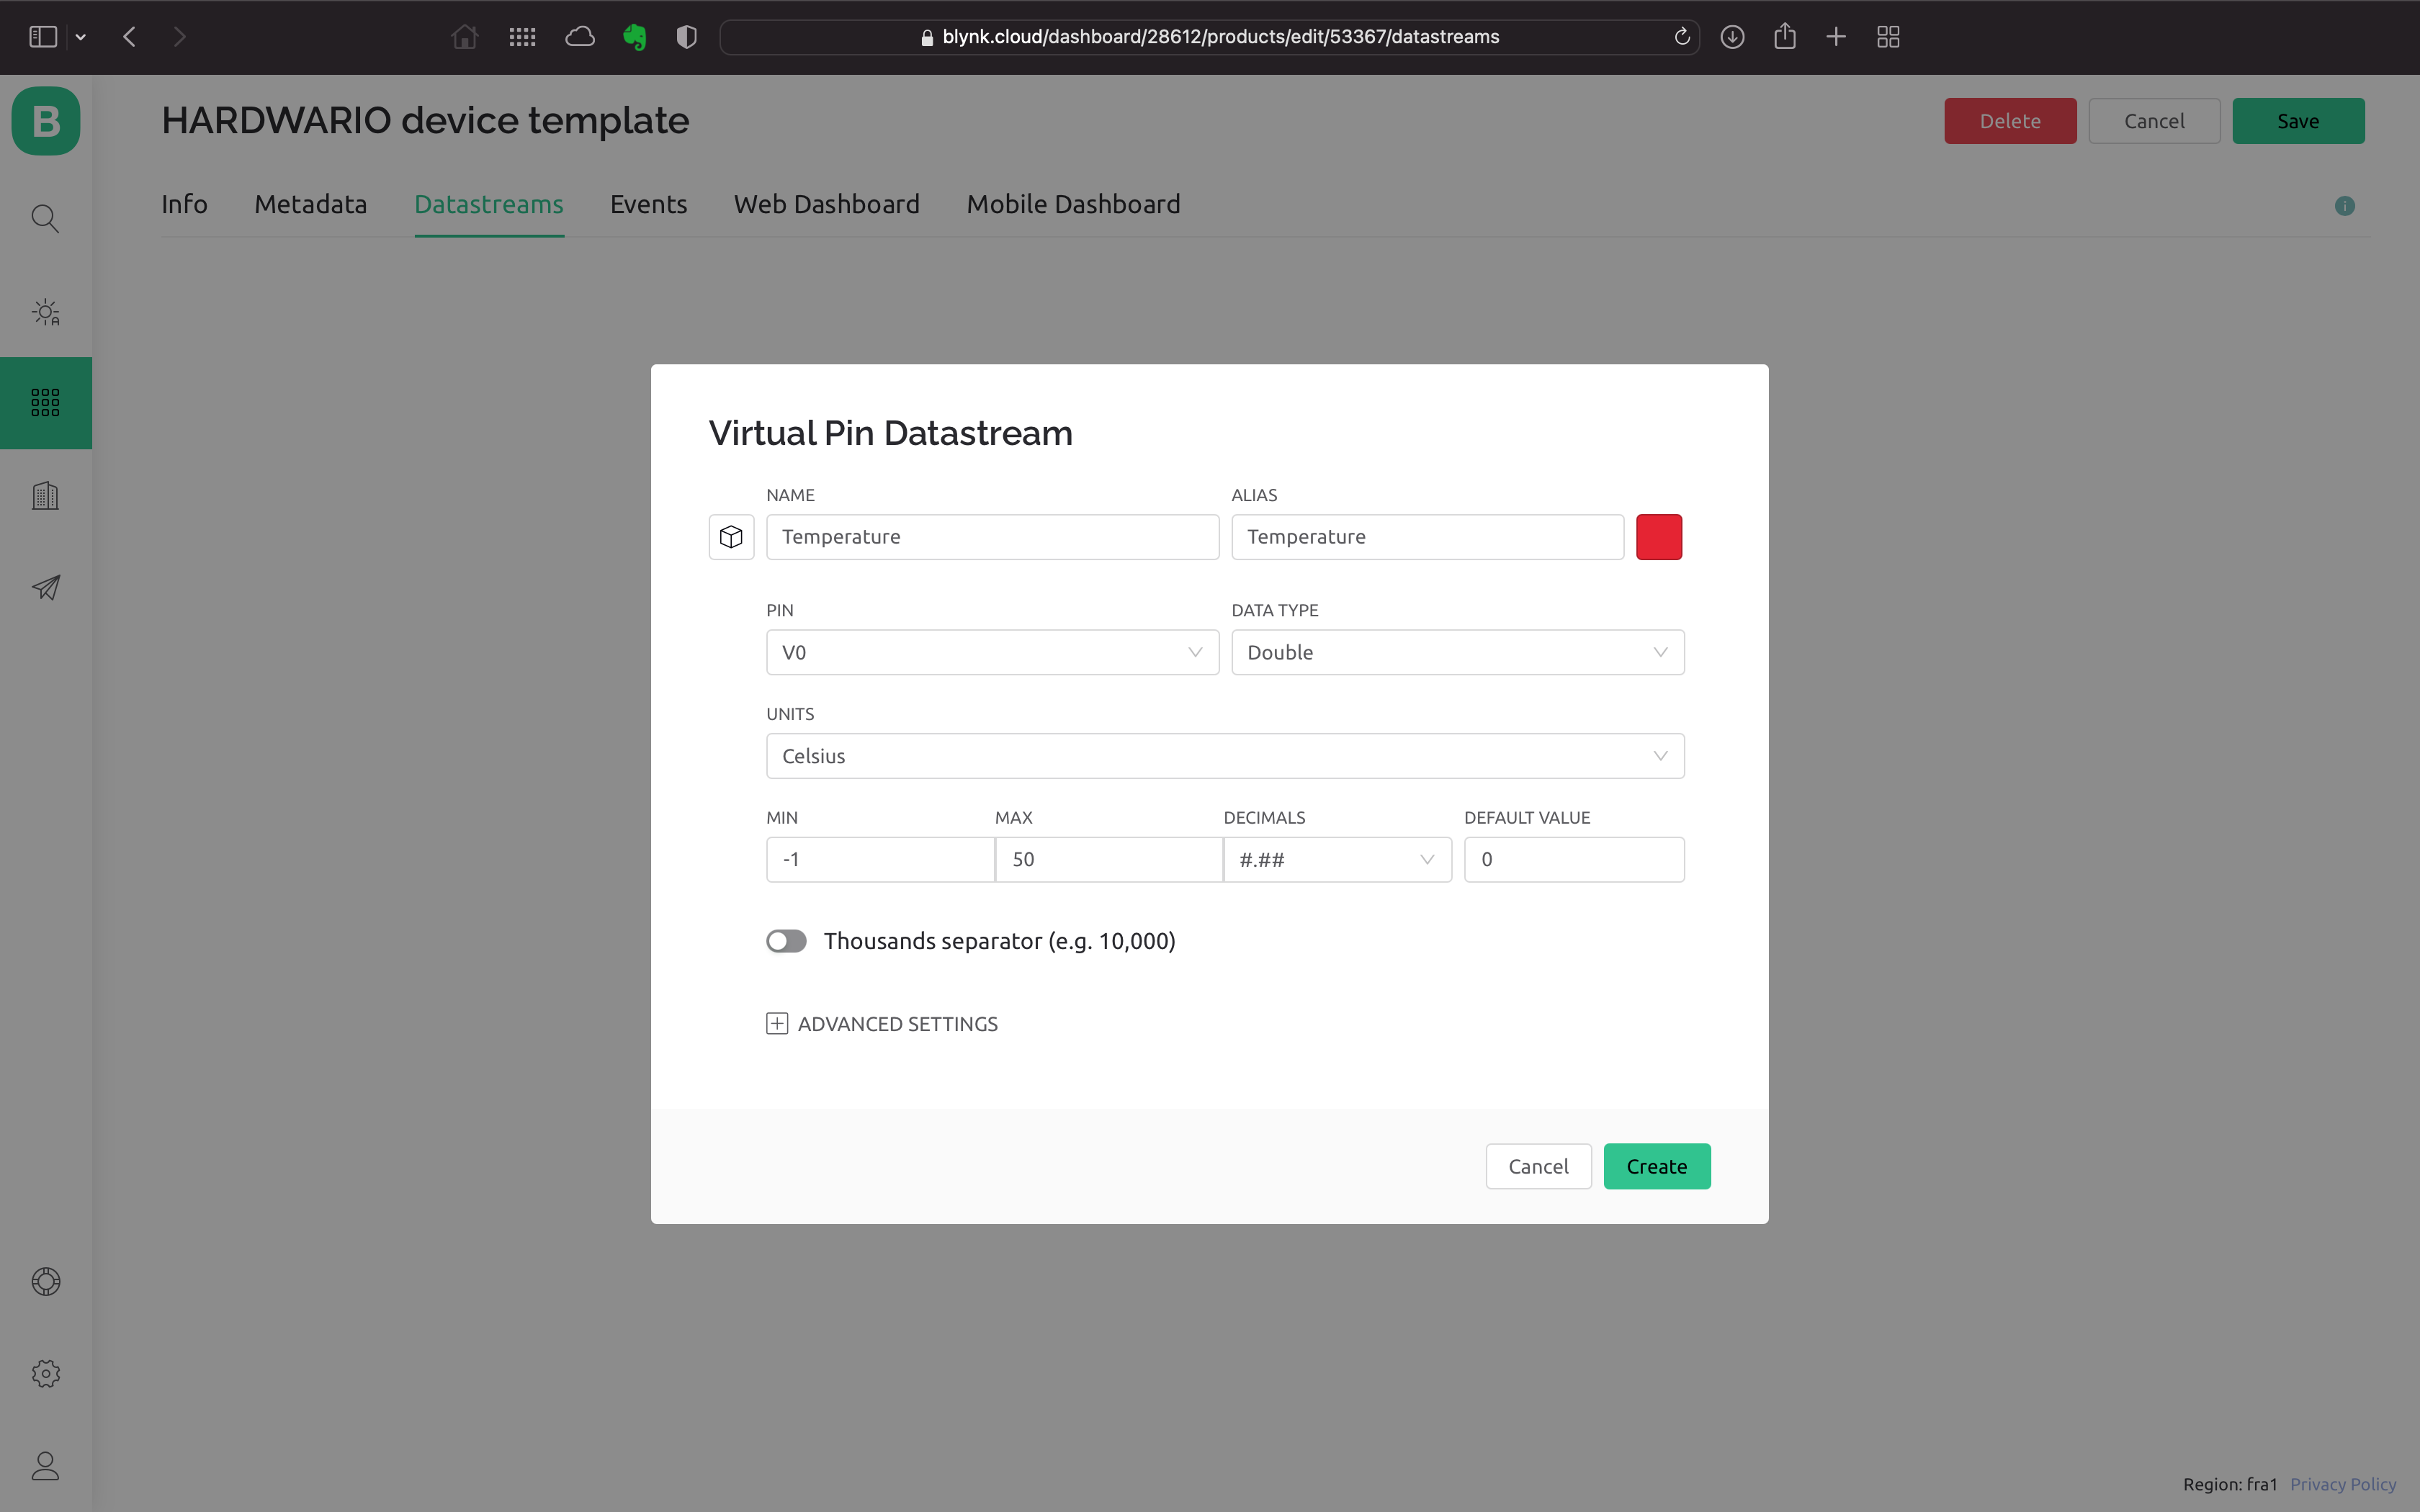
- Save the template with the Save button in the top right corner.
Create a device
If you don't have a device yet, create one from the template: in Devices, add a new device, choose your template and give the device a name. You'll find its Auth Token on the device's Device Info tab. You'll need it in Node-RED.
Run the app on your phone
Download the Blynk IoT app to your phone from the App Store or Google Play and sign in with the same account.
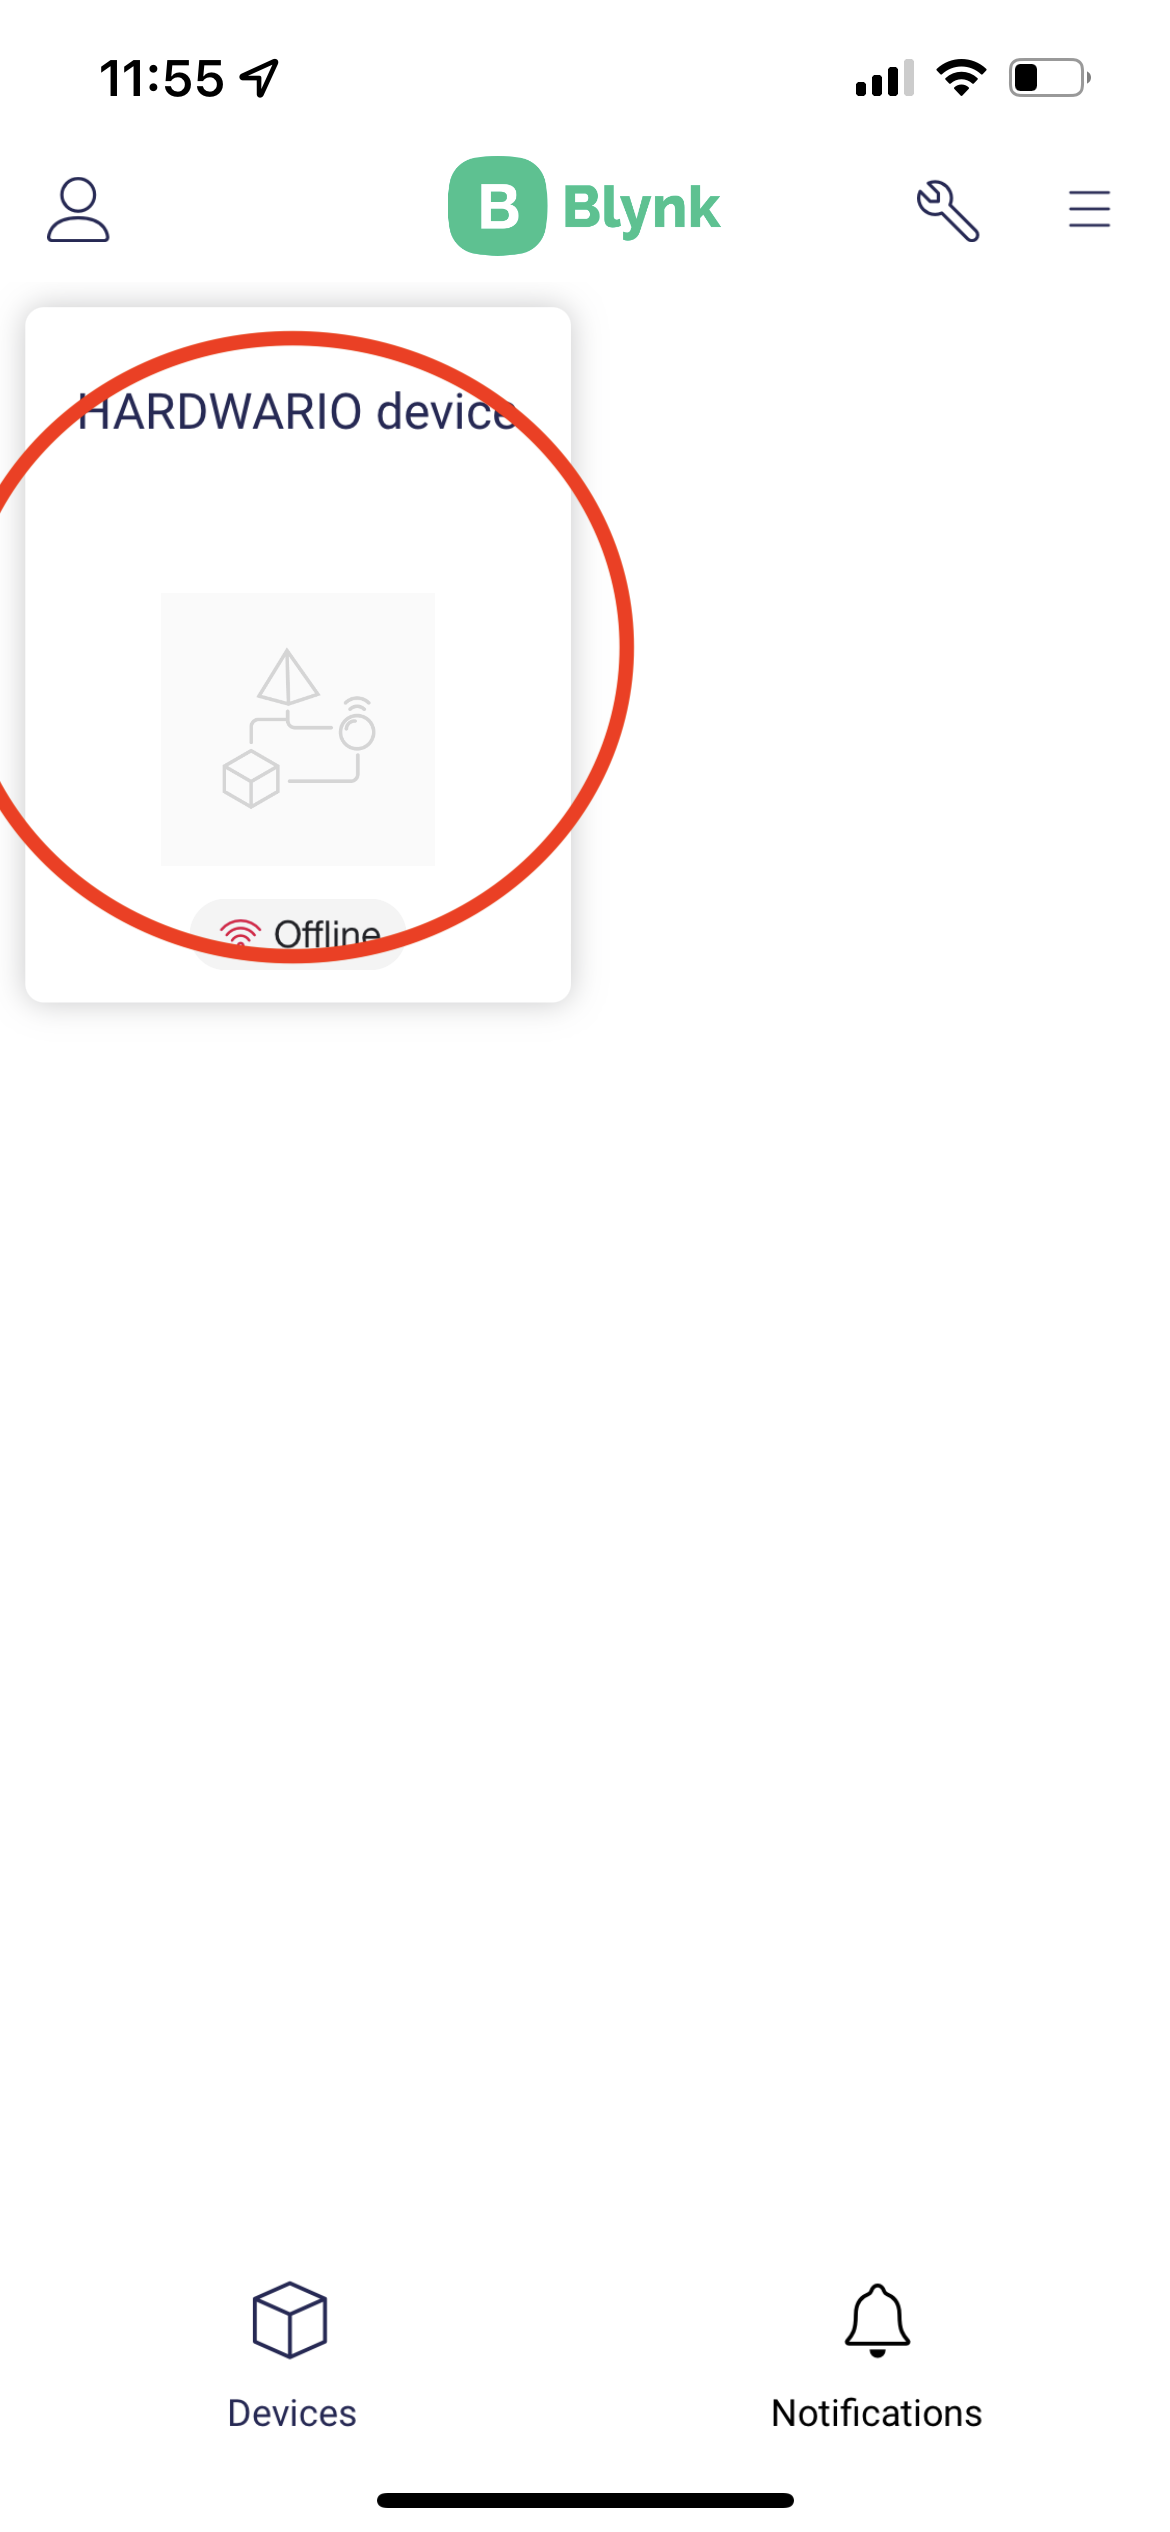
Right after signing in, you'll see the device you created:
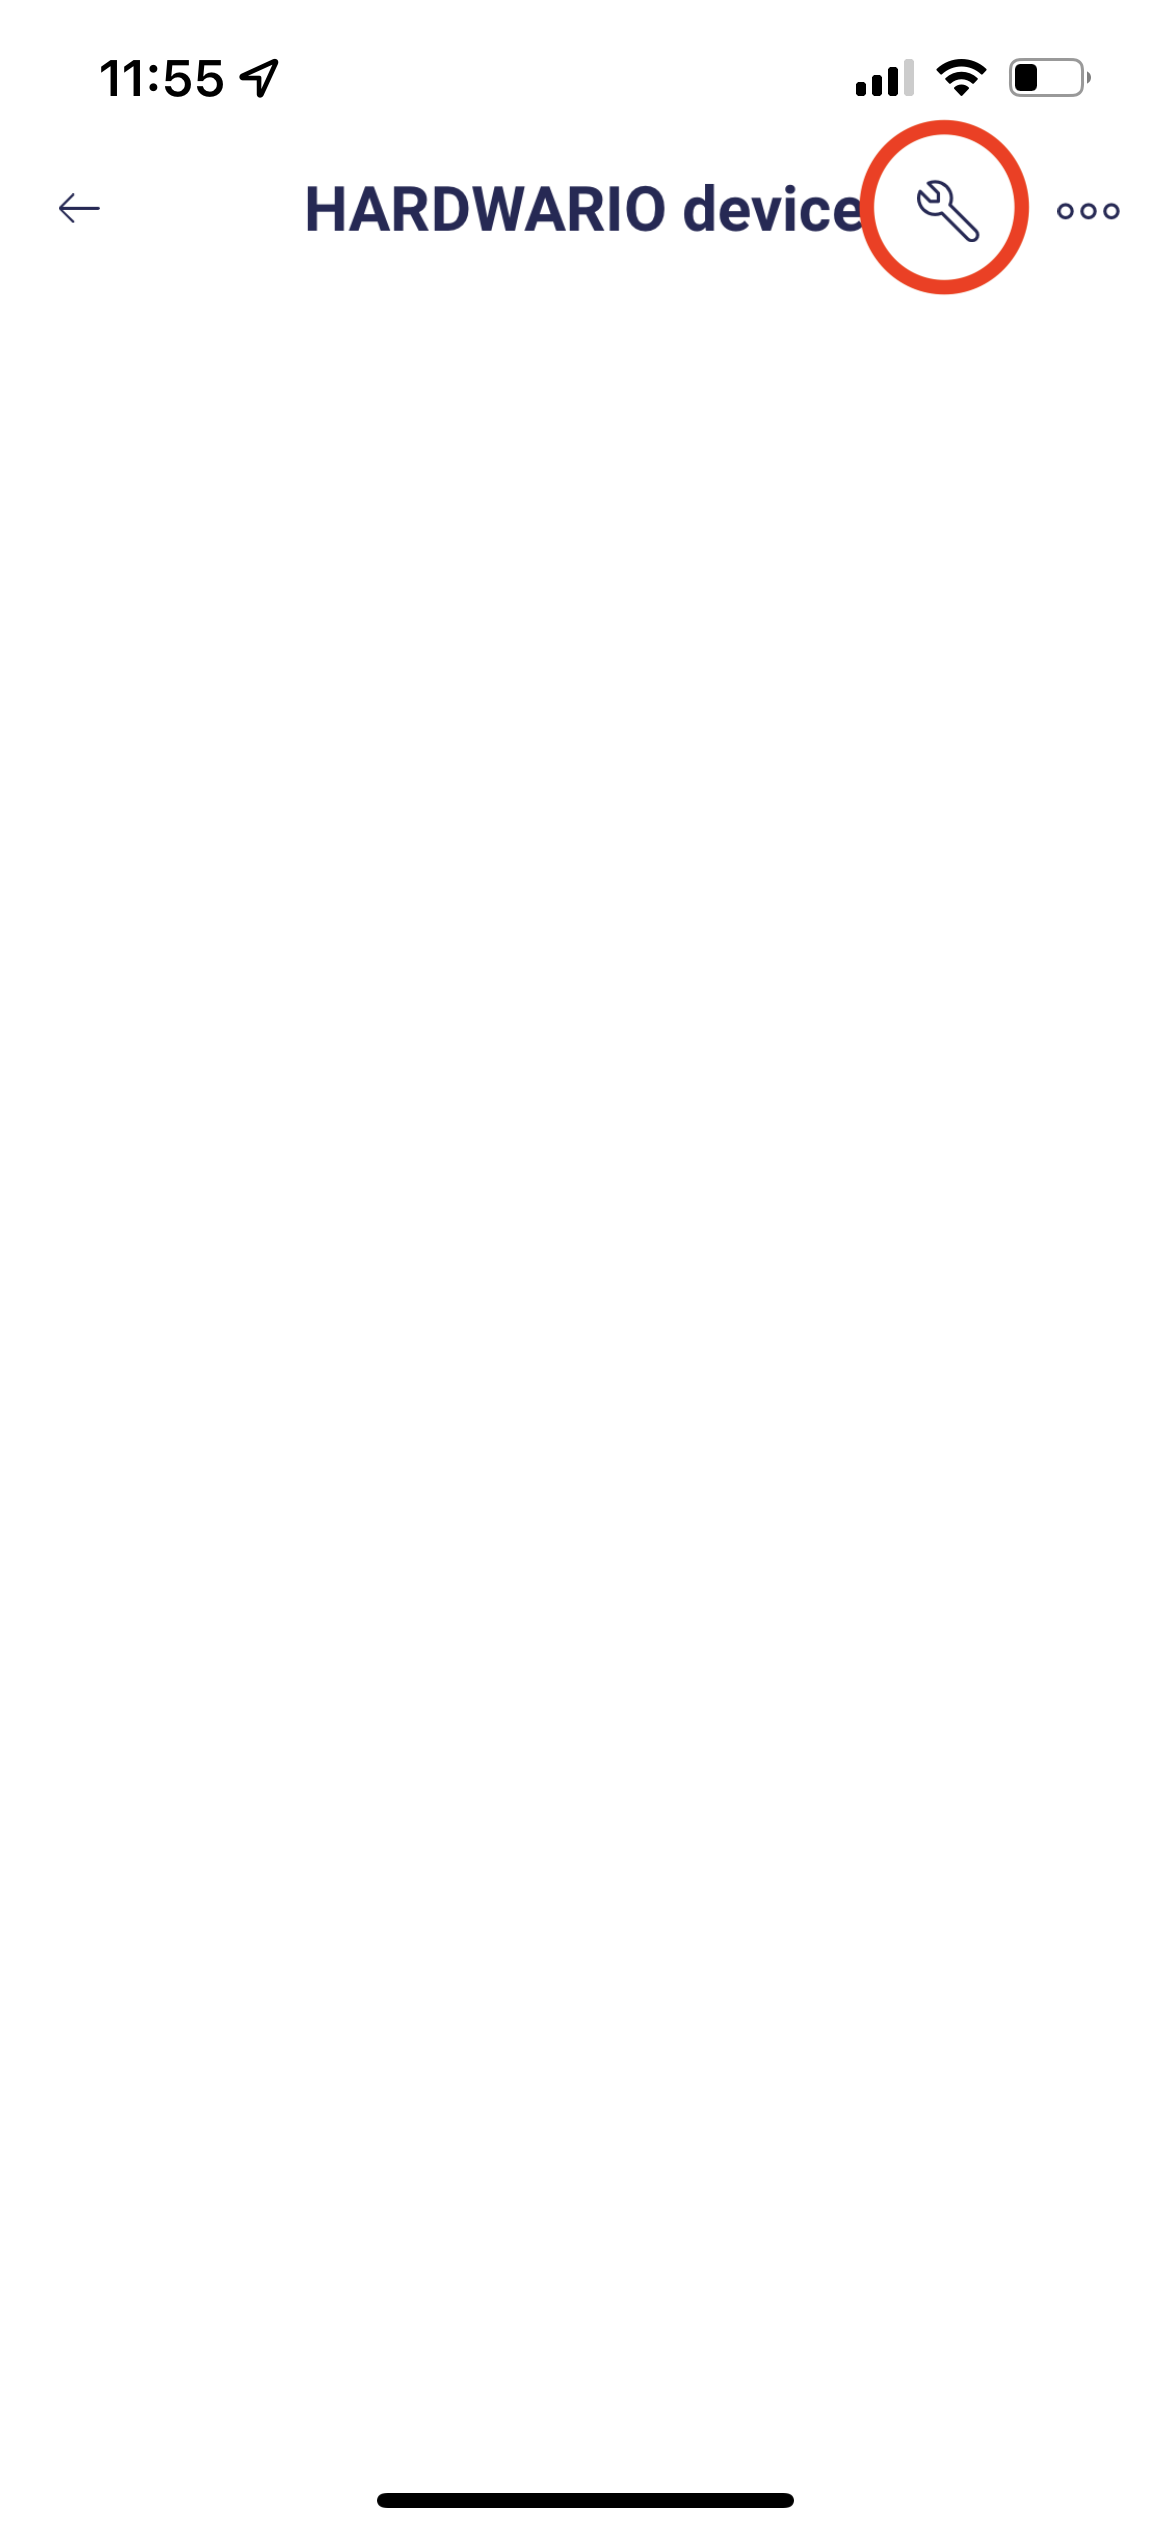
Tap it. Now let's set up the dashboard that will show the measured value:
- Under the wrench icon in the top right, you'll find the dashboard settings.
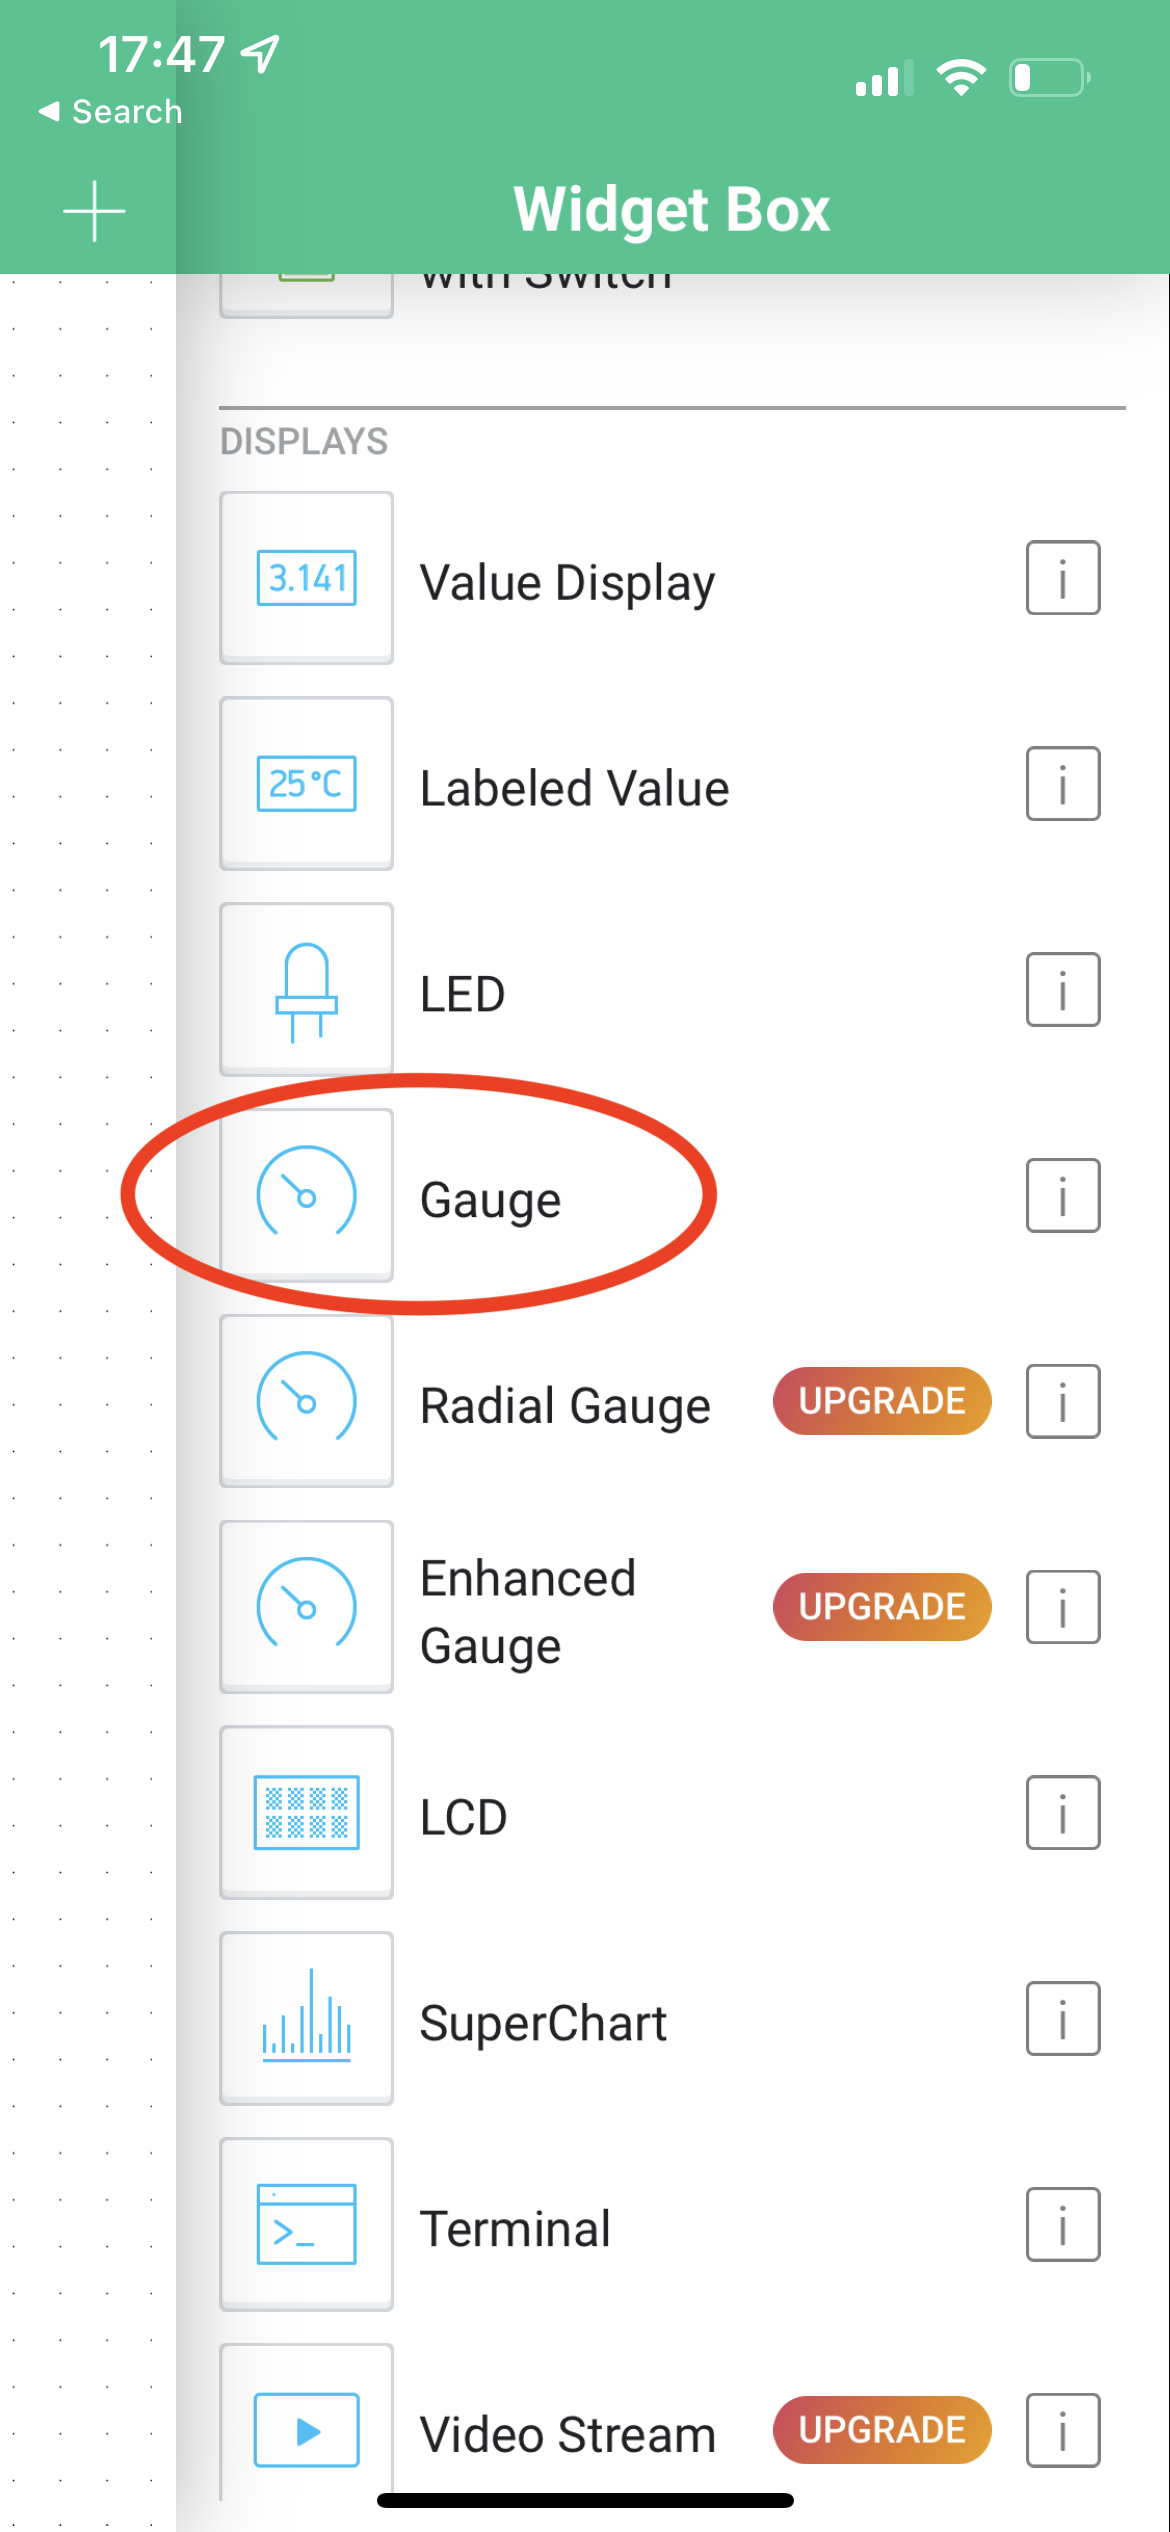
- Use the + button, or tap anywhere on the canvas, to add a new chart or another dashboard element. We'll use a Gauge now.
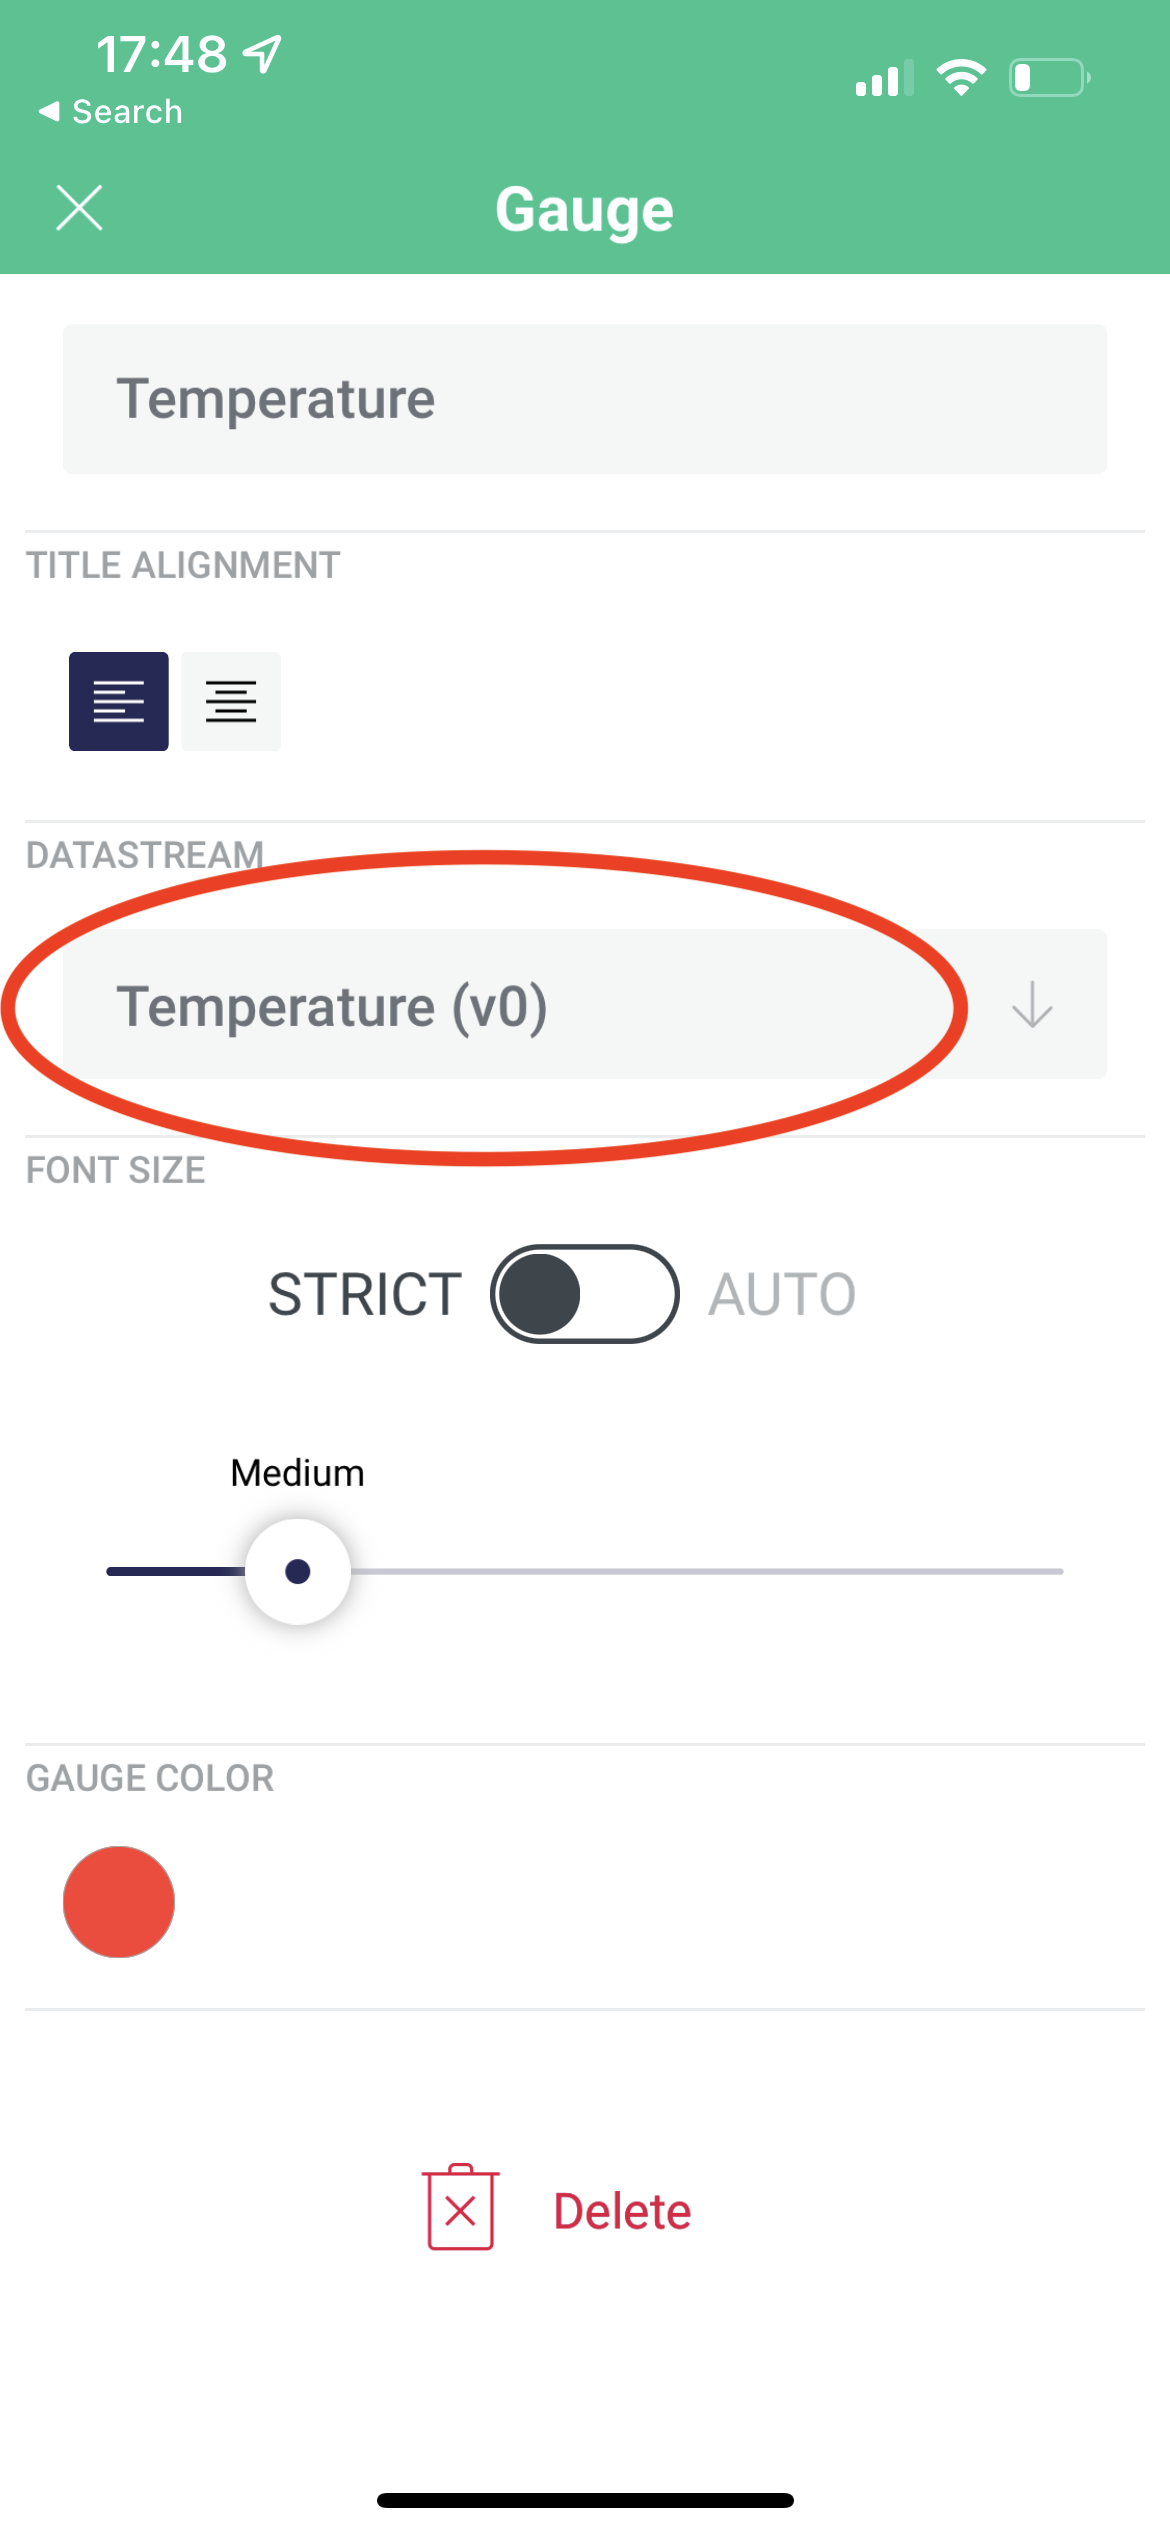
- Tap the added widget to open its settings. The most important thing is to choose the Datastream from your template for the virtual pin you picked. You can also add a name and change the color.
- Your app is ready. Now let's start sending data to it. 💪
Connect your phone to the box
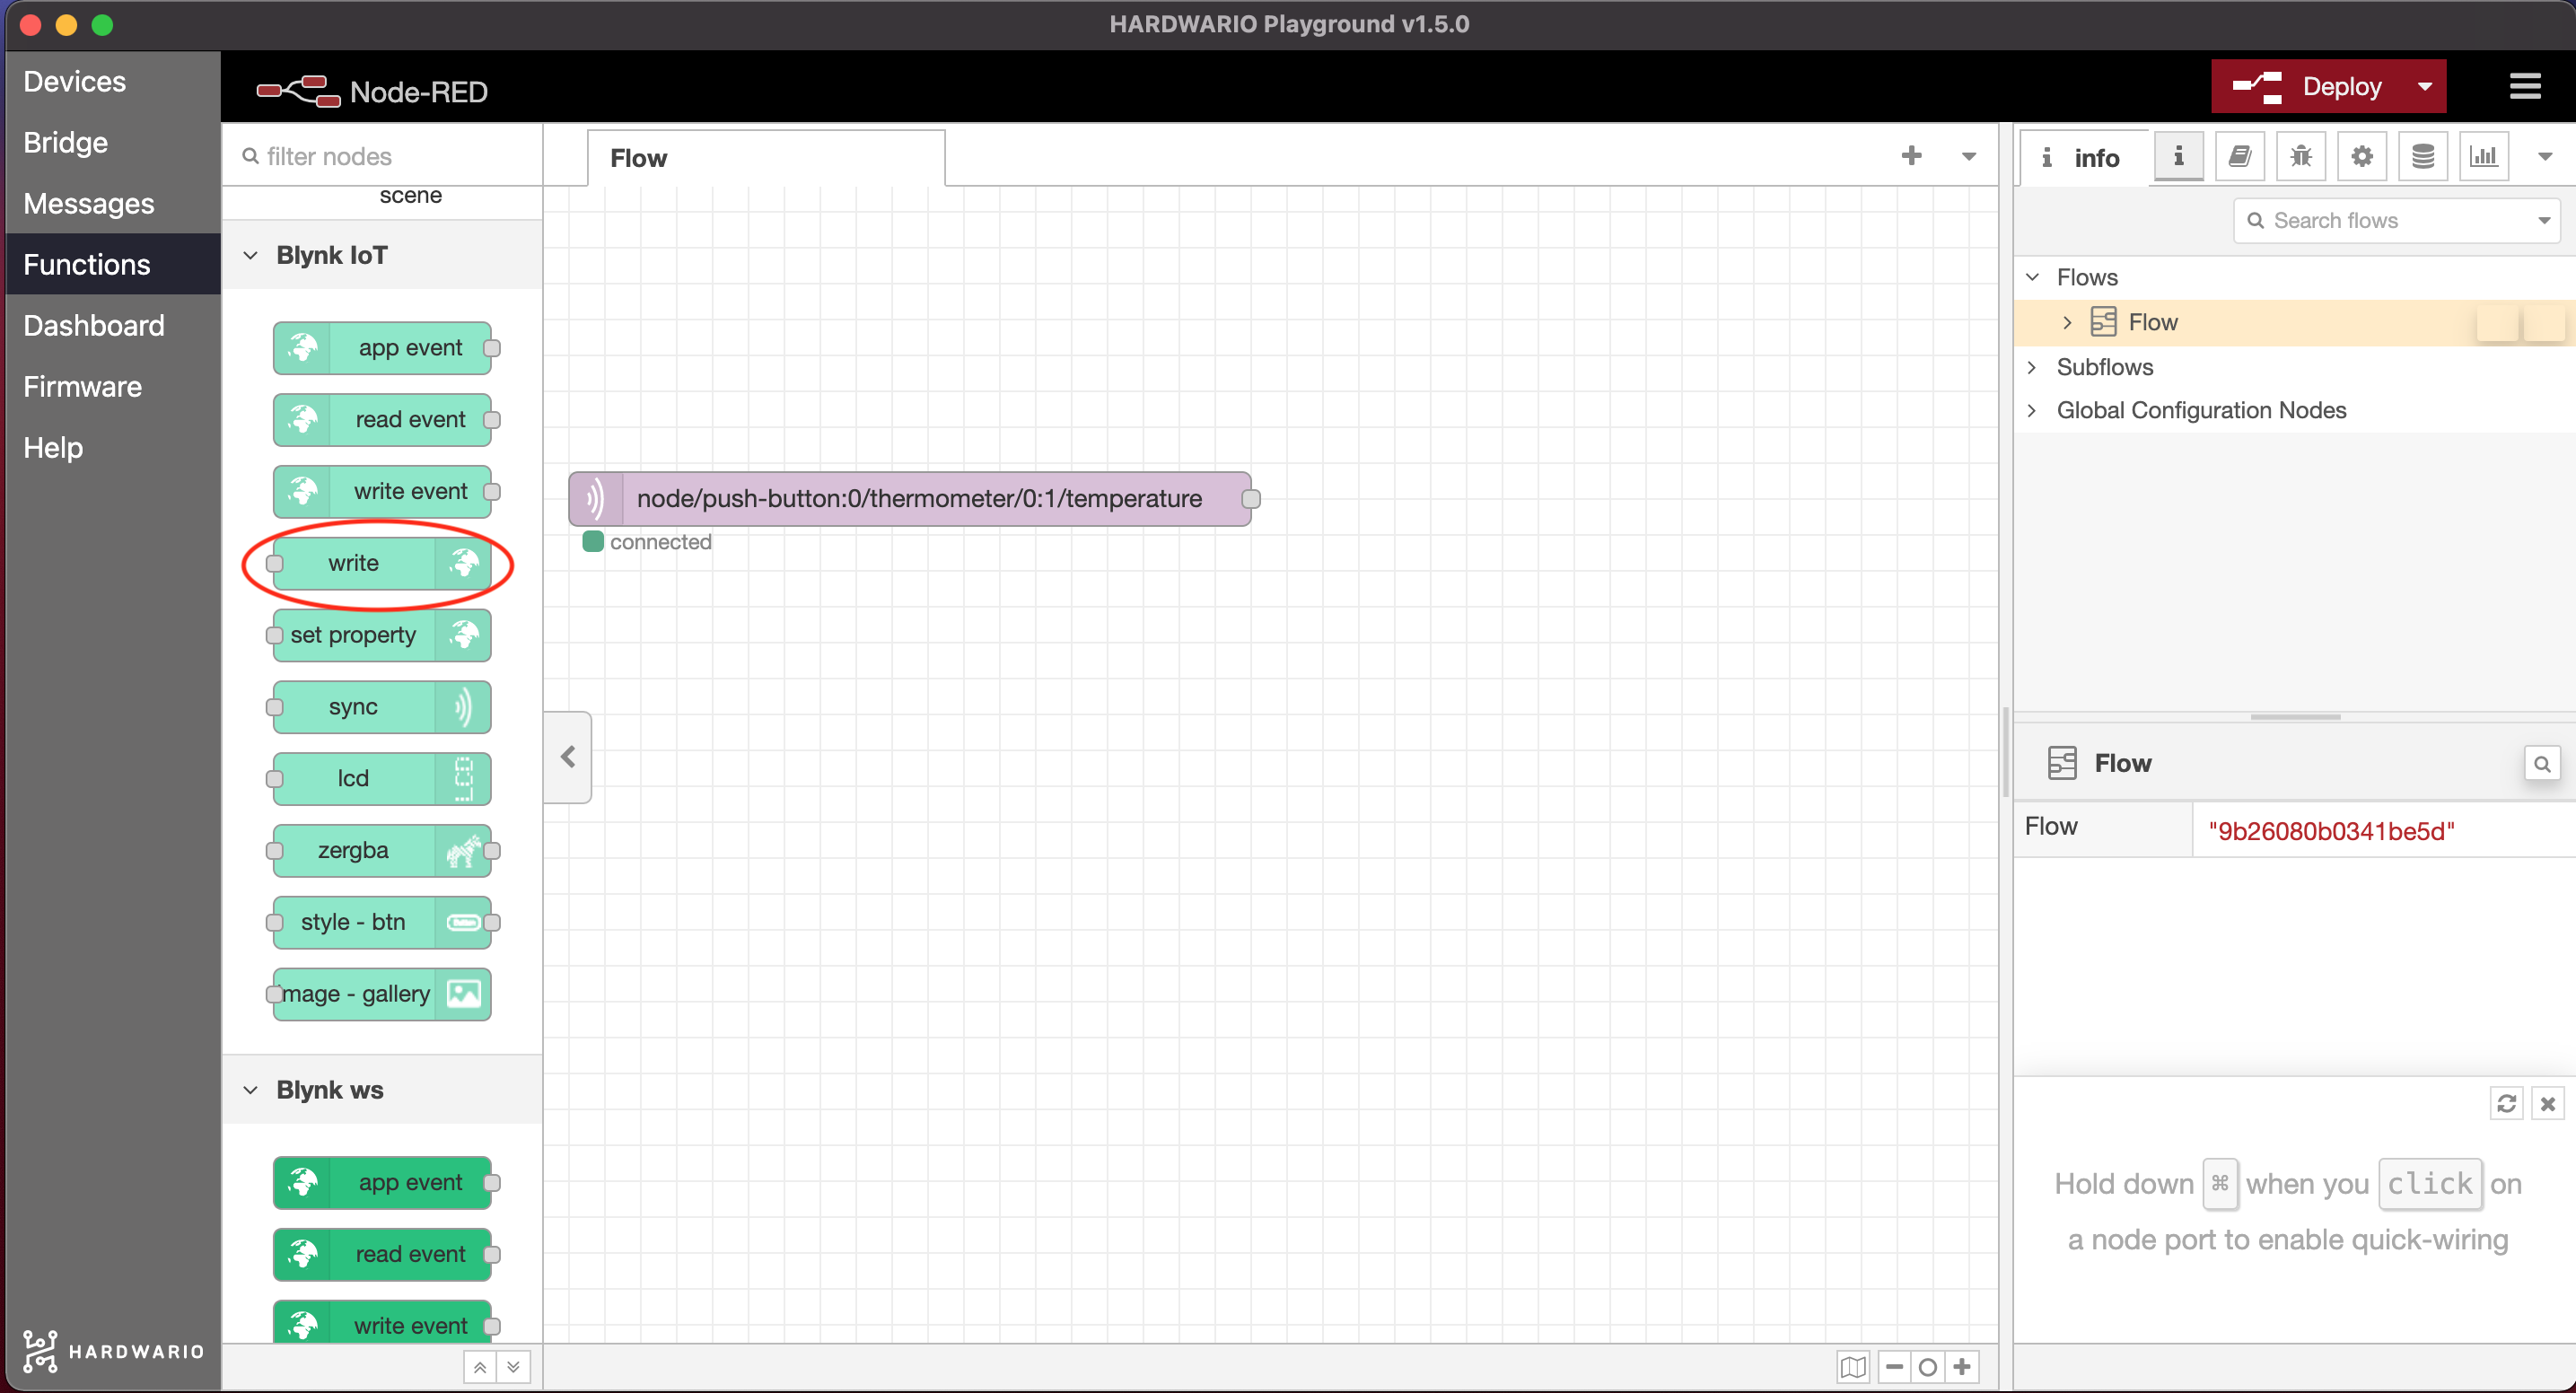
- Go back to your computer. On the Node-RED canvas, add the green write node after the MQTT node. You'll find it on the left in the Blynk IoT section (the Blynk ws section belongs to the old Blynk, which no longer works).
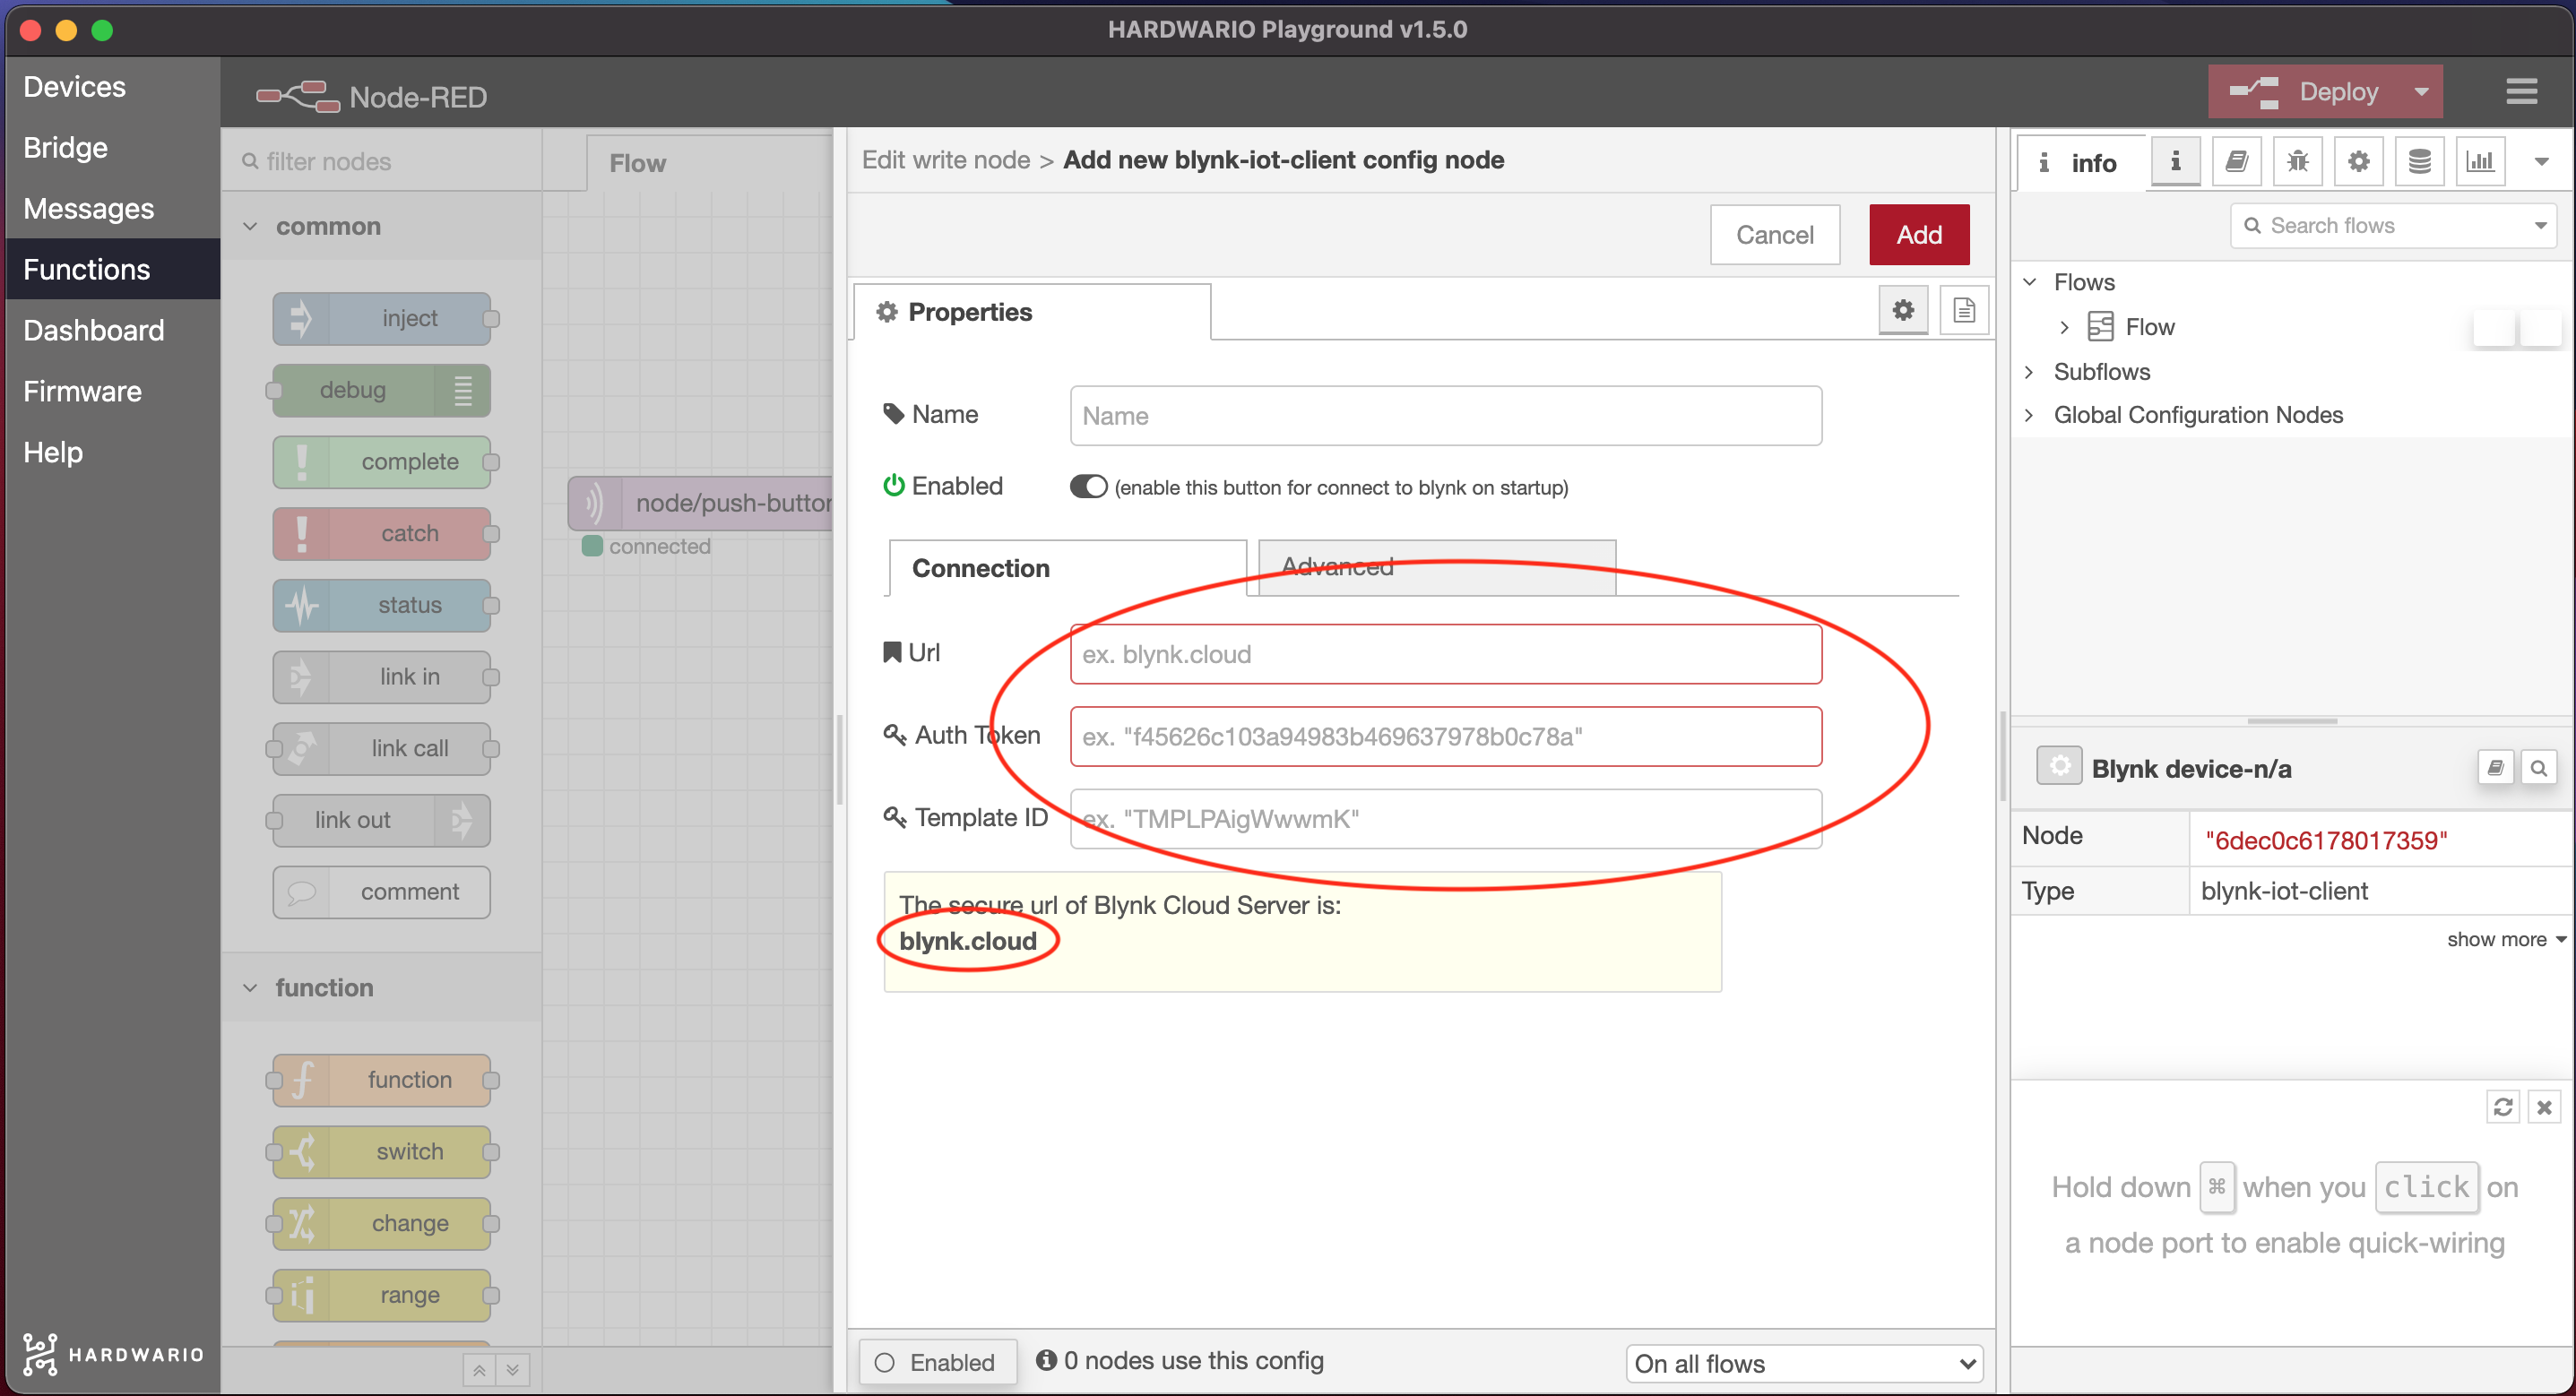
- Double-click the node to open it. Next to Connection you'll see a small pencil. Click it and a new window opens. In the Url field, enter
blynk.cloud. Into the Auth Token and Template ID fields, copy the values from the Blynk web app on your computer: the Auth Token is on the device's Device Info tab, the Template ID in the template details.
Confirm the settings with Add. But don't leave the node just yet. 👈
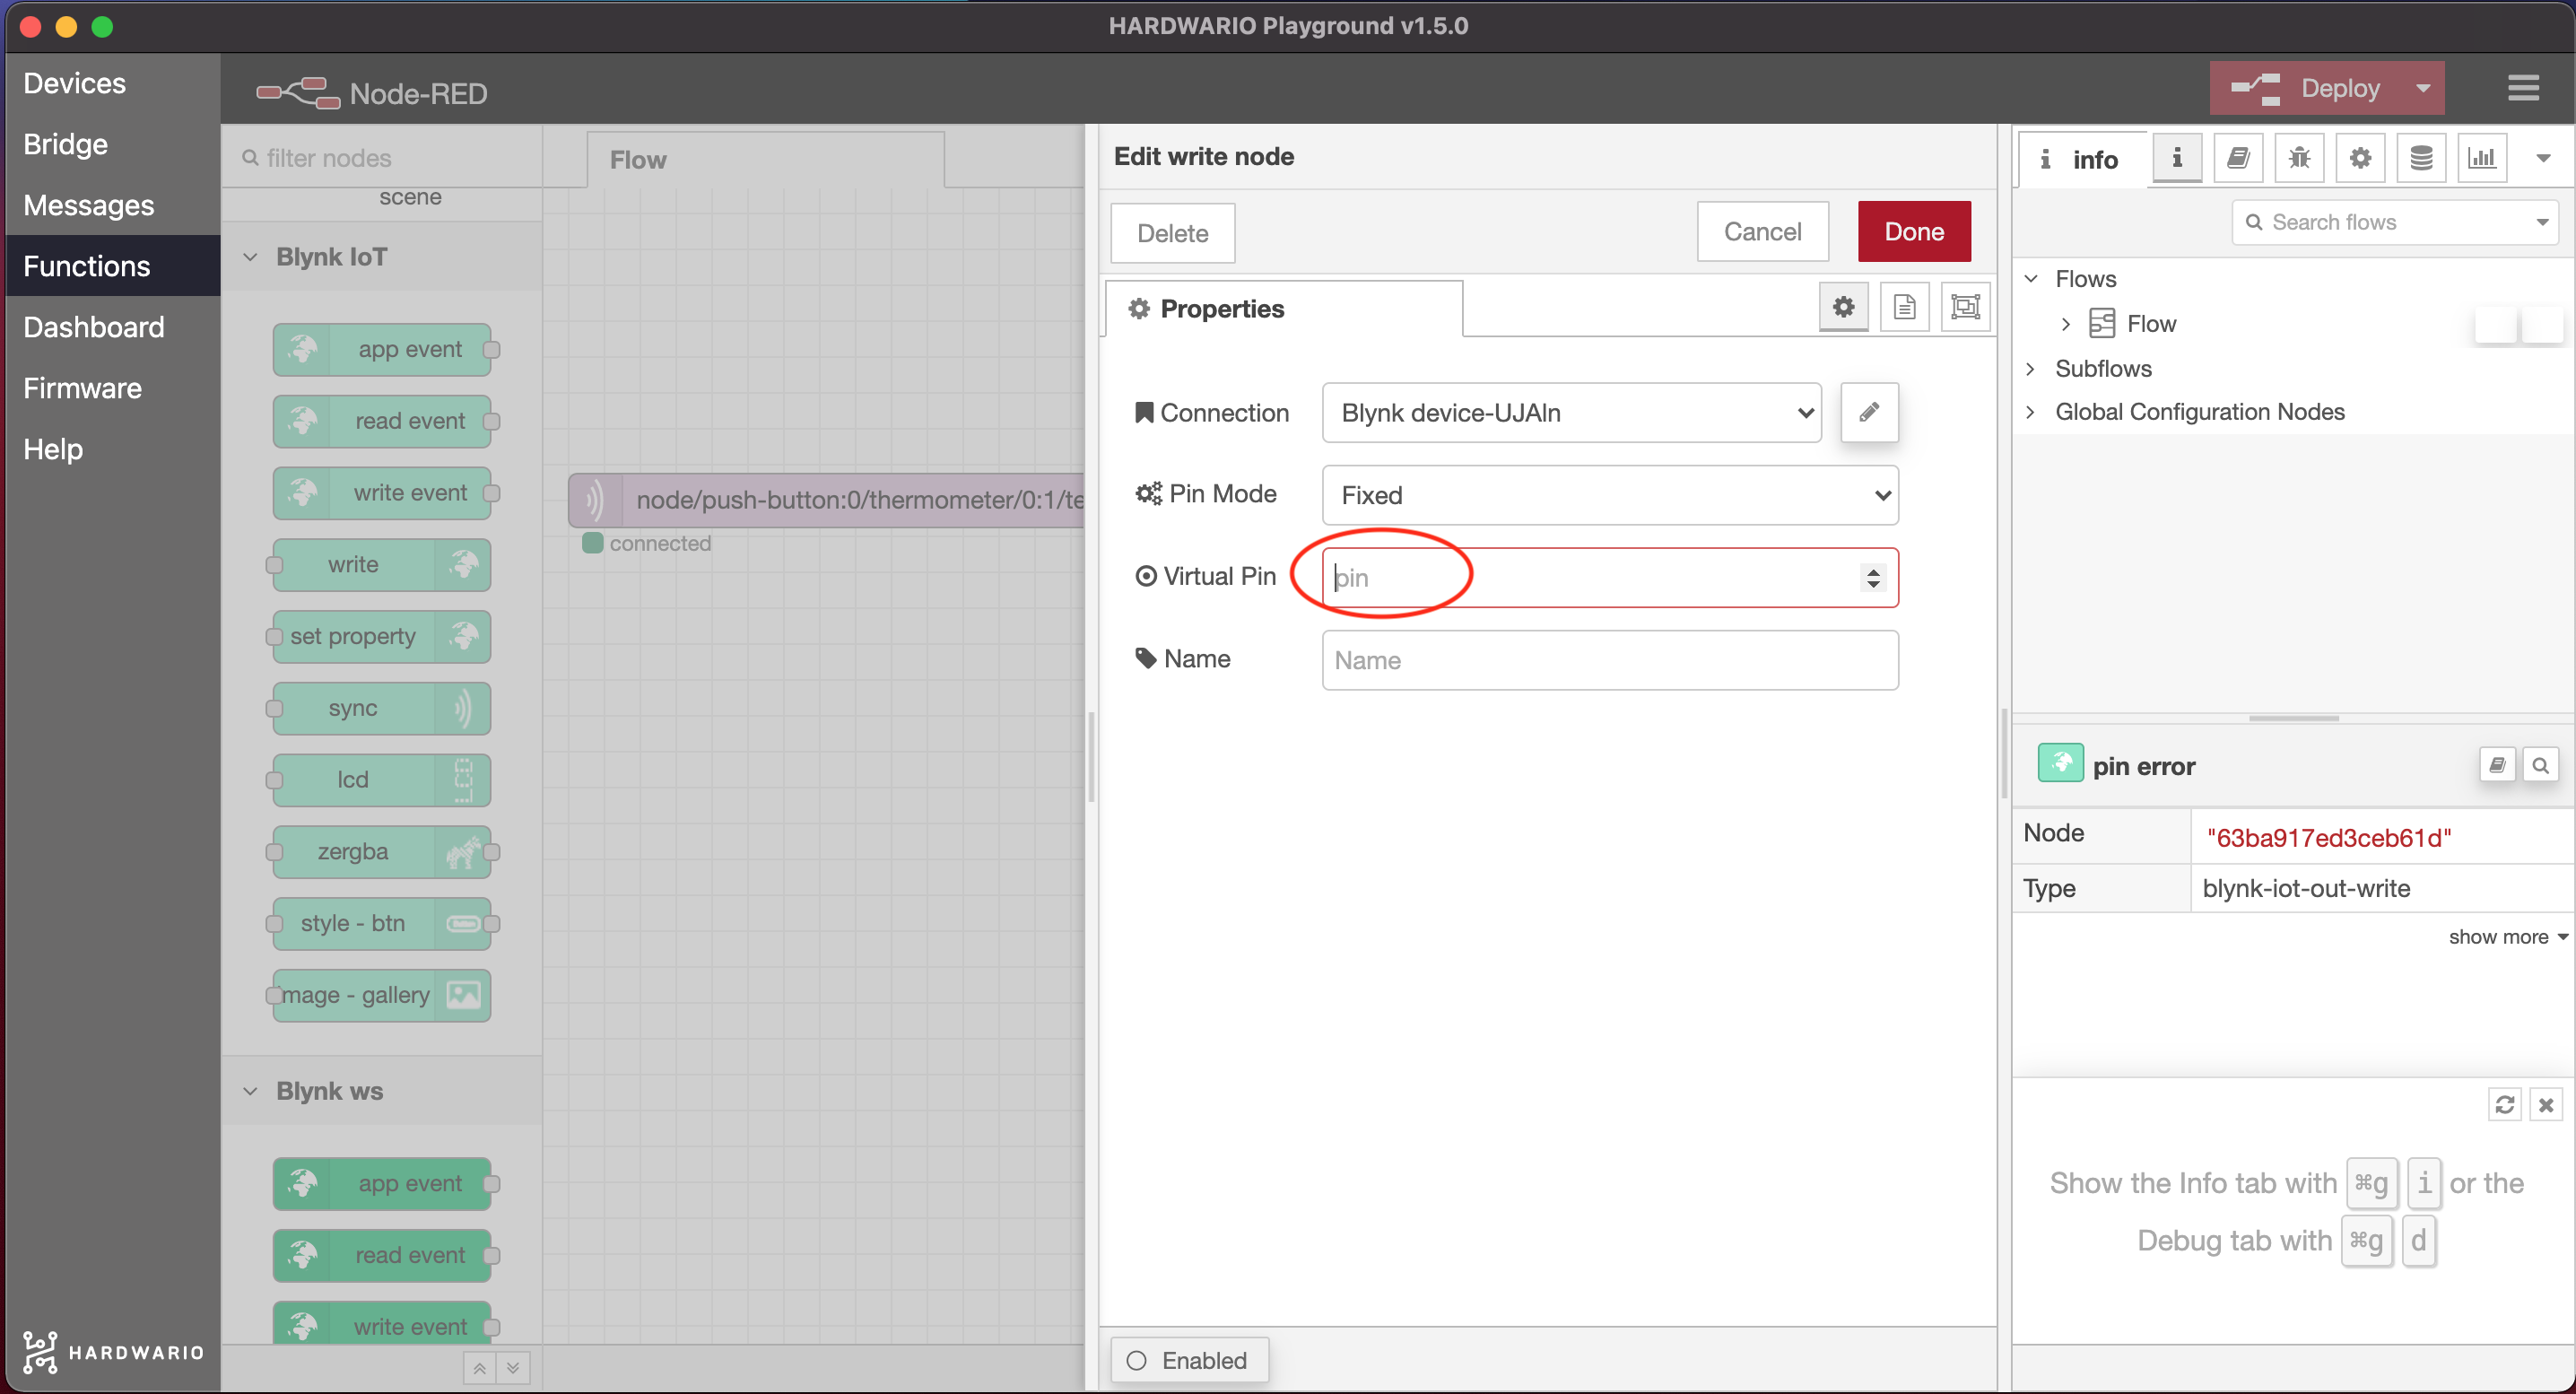
- In the Virtual Pin field, write the number of the pin you chose in Blynk, without the letter “V”. Confirm with Done.
- Now wire the two nodes together and click the red Deploy button in the top right. 🚨
One-up your class
-
Alone or in a group, guess which place in the school might be the warmest or coldest. 🔥 ⛄
-
Each person or group has only 15 minutes to explore. 🔦 That keeps it exciting.
-
Take the box to the spot you picked and watch the temperature on your phone. It may take a moment before the temperature shows on the gauge.
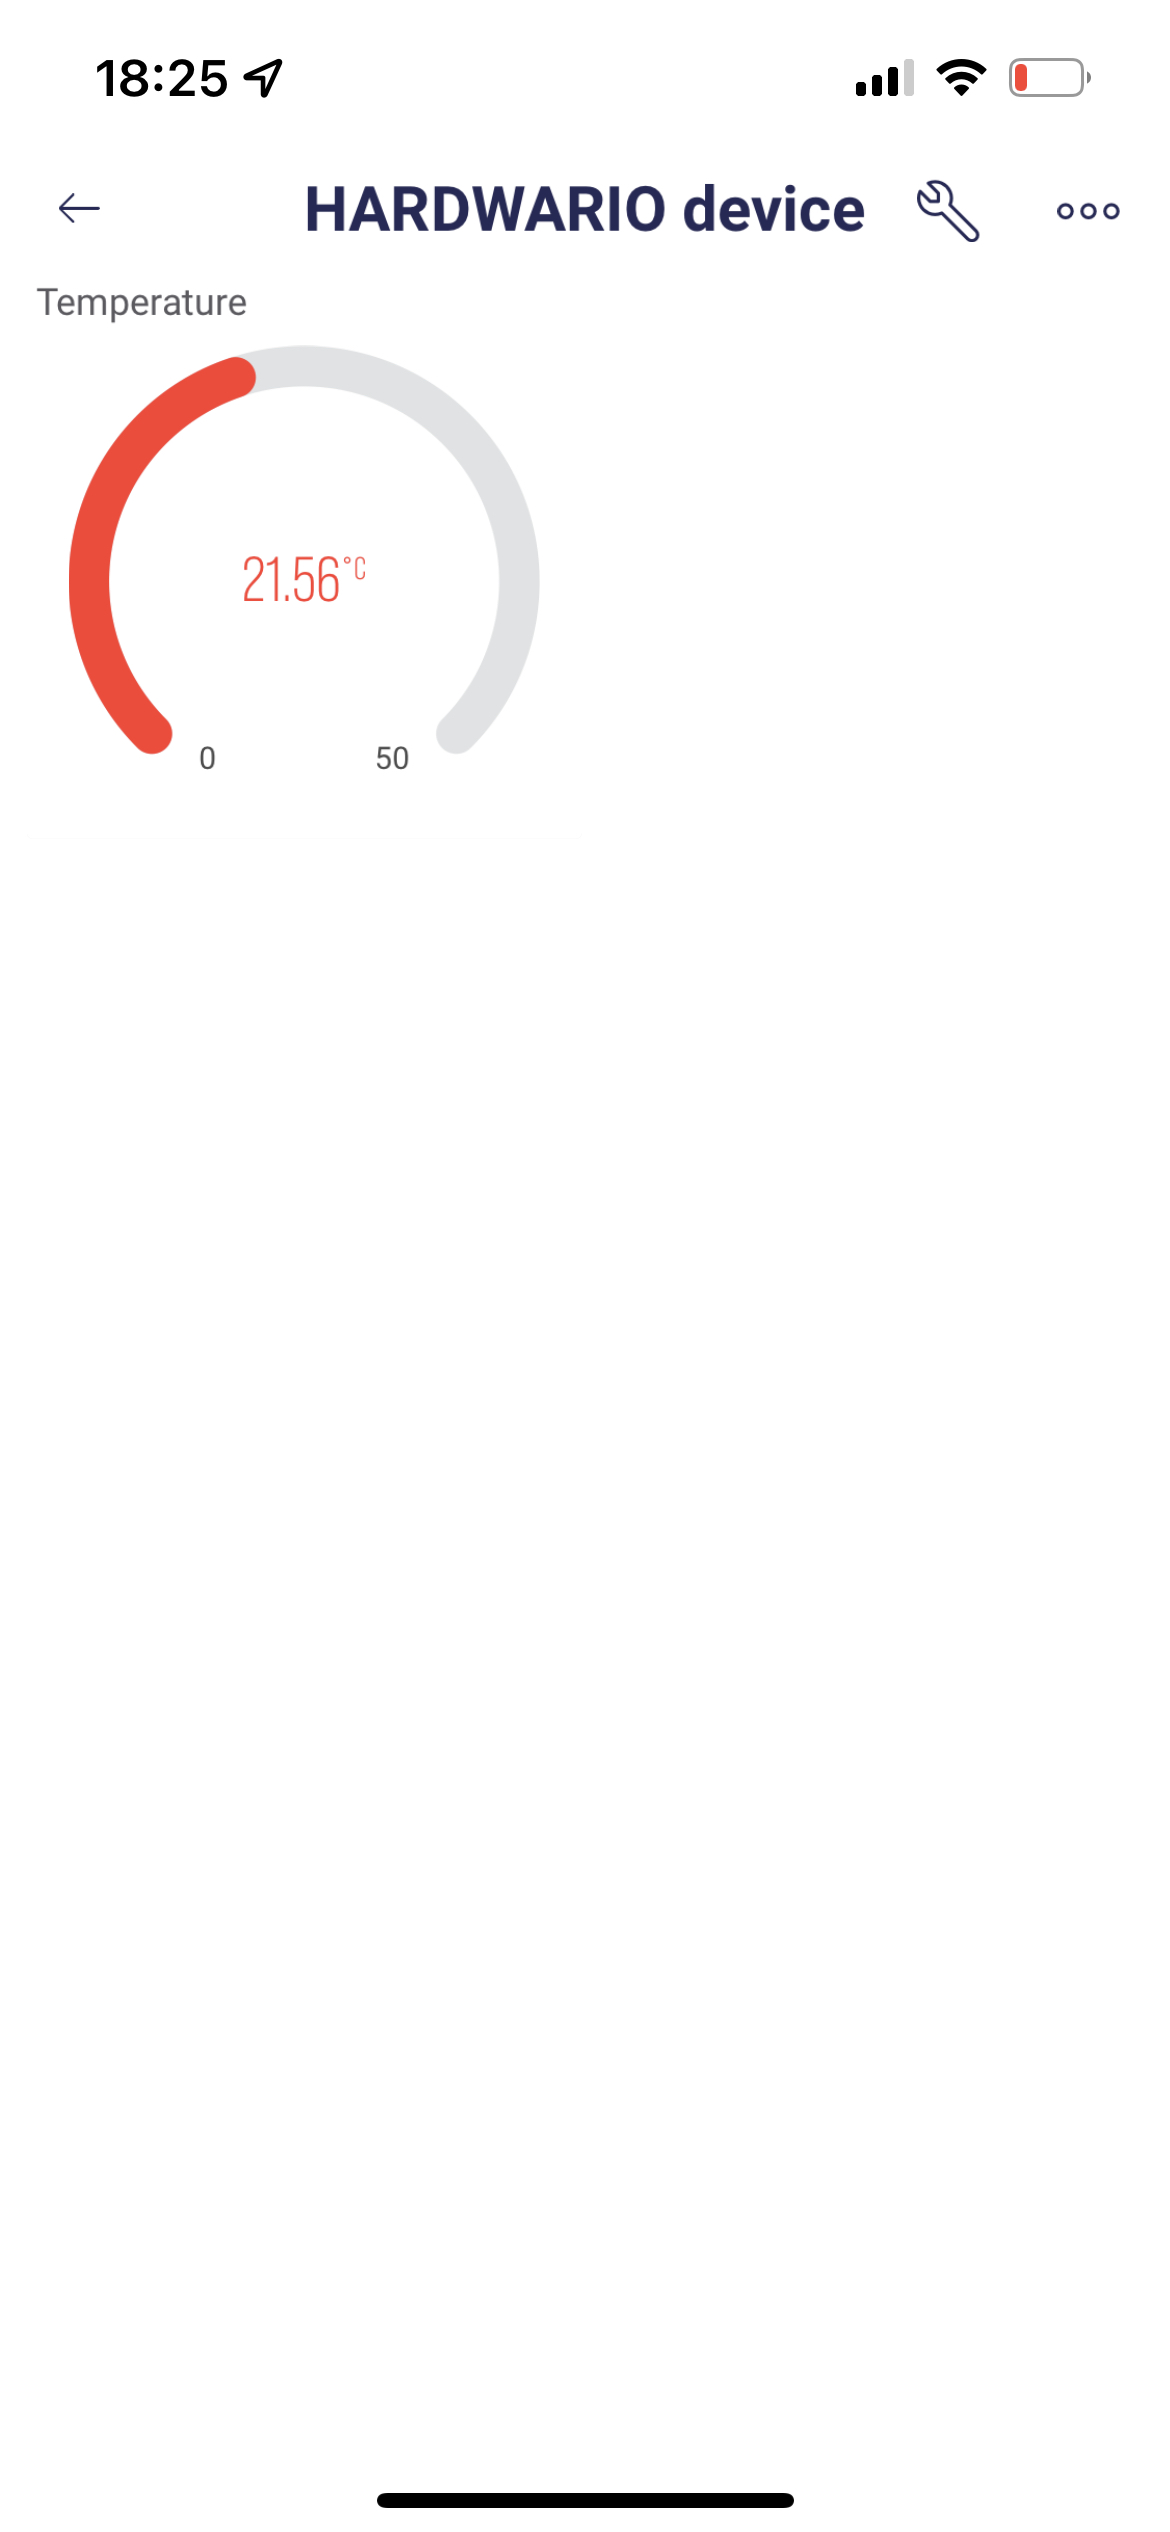
- Try several places, and at the end announce the most extreme results. Congratulations to the winners! 🎇