Push the button
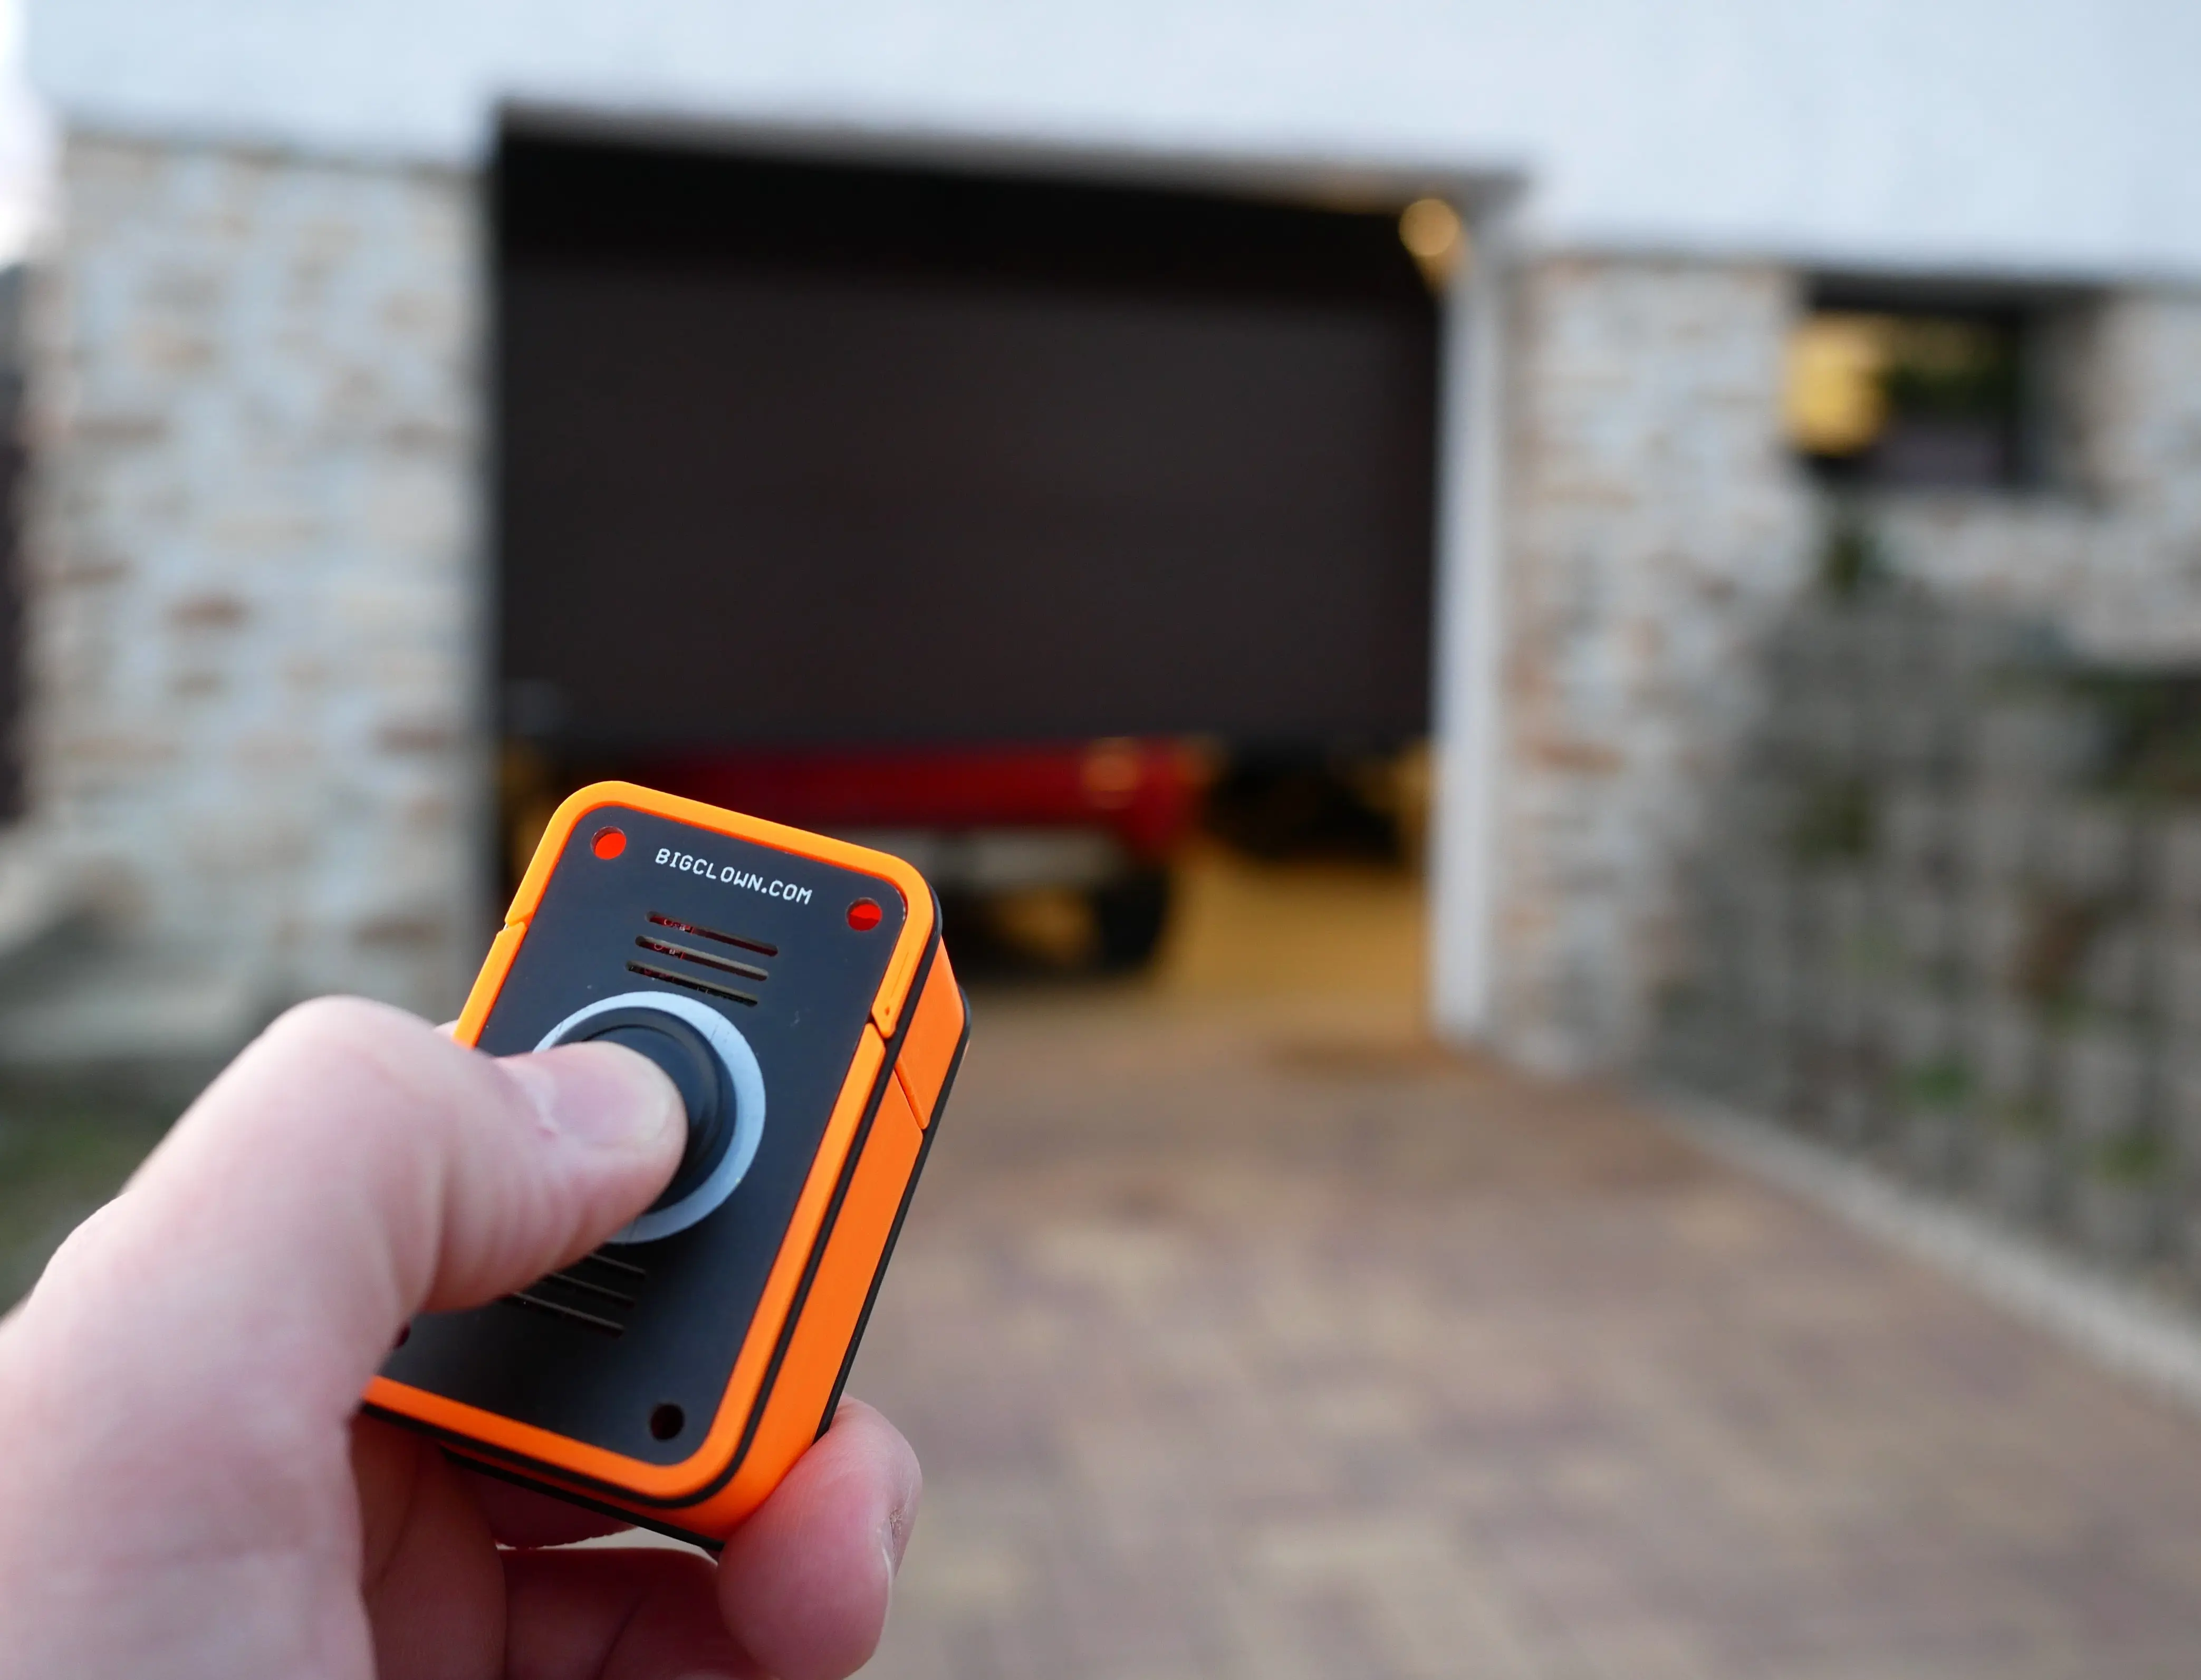
The Push Set connects a button to the world around you: it can send a notification to your phone, skip to the next song on Spotify, control smart lights, start a kitchen timer or send a tweet out into the world.
In this guide, you'll build a simple project with a button that sends a push notification to your phone every time you press it.
Build the hardware
You'll need the Push Set and a Radio Dongle.
Step 1: Assembly
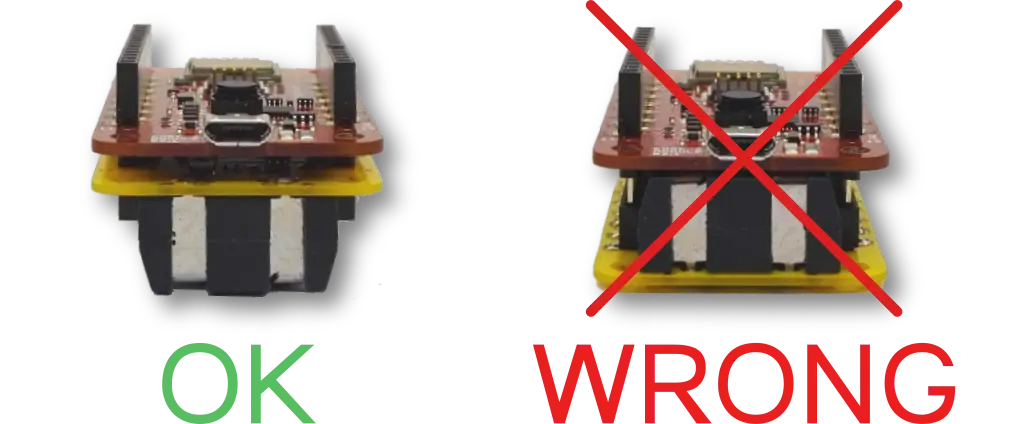
Put all three modules together to build the Push Set. Check how the Mini Battery Module is oriented in the image below.
Step 2: Insert the batteries
When you insert the batteries, the red LED on the Core Module lights up for 2 seconds. That tells you the batteries are fine and the set works.
Set up Playground
In this step, you'll run the Playground app. It manages the Radio Dongle and the push button and connects everything through Node-RED.
Step 1: Download and run the latest HARDWARIO Playground

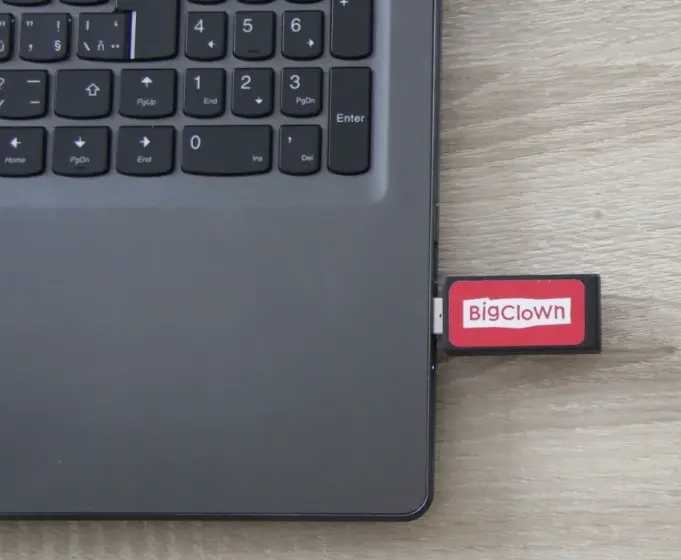
Step 2: Connect the Radio Dongle to your computer
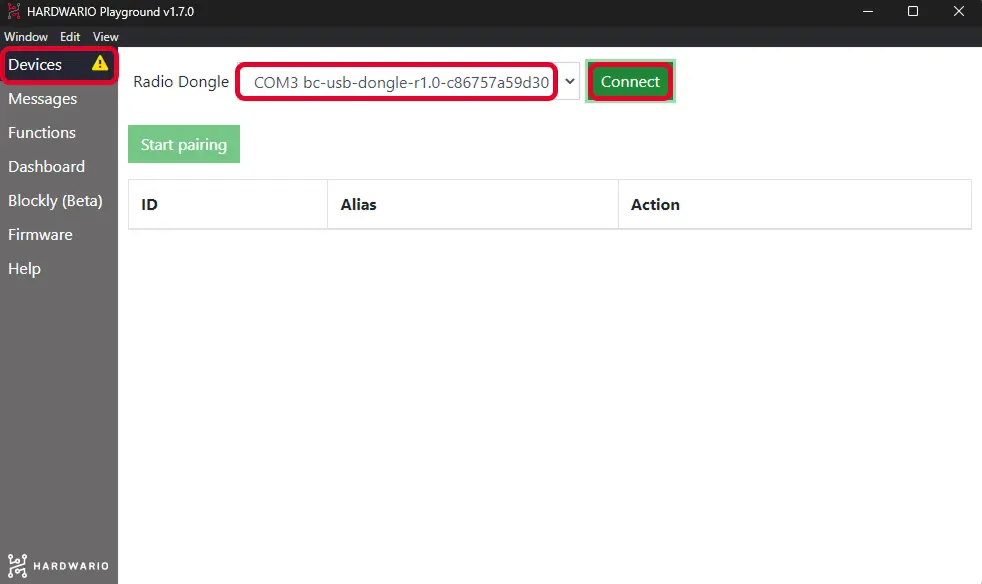
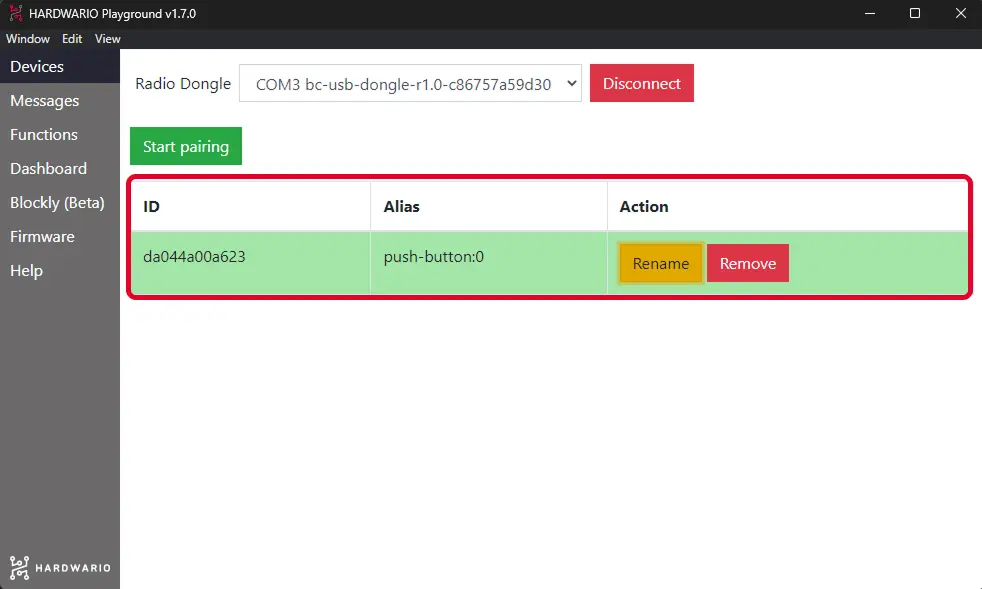
Step 3: Go to the Devices tab, check that Playground has detected the Radio Dongle, and click Connect
If you can't see the Radio Dongle among the devices, see the Troubleshooting section.
Step 4: Once connected, your Push Set appears in the list of paired devices, already flashed and paired
Step 5: Switch to the Functions tab and build the flow from the image below

You need three nodes wired in a row:
- An mqtt in node that subscribes to the button-press topic
node/push-button:0/push-button/-/event-count. - A change node that sets
msg.payloadto the notification text you want, for exampleButton pressed, you're the best!. - A Blynk IoT write node that hands the text to Blynk (you'll add it later, once your Blynk IoT account and template are ready).
The image shows the original flow, which ended in a notification node of the old Blynk. If you find that flow in your Playground, delete its last node: it no longer works, and the write node takes its place. We'll connect the write node below, in Putting it all together.
Prepare the Blynk IoT app
In this step, you'll set up Blynk IoT so your phone can receive notifications from HARDWARIO Playground. The old Blynk Legacy app has been discontinued, so we use the current Blynk IoT platform. Node-RED sends the text of the notification to Blynk, and a Blynk automation turns every new message into a push notification.
Step 1: Create a Blynk IoT account and template
If you don't have a Blynk IoT account yet, create one. The free plan is enough for this project: at the time of writing, it includes push notifications in the app and up to five automations.
Then create a device template. Blynk's quick guide shows you how. If you already have a template from a previous project, you can reuse it.
Step 2: Add a datastream for the message
In the template, open the Datastreams tab, click New Datastream and choose Virtual Pin. Name the datastream (for example Message), pick a free pin (for example V2) and set the Data Type to String, because the notification will carry your own text.
In the datastream settings, let automations use it as a trigger: in the Automations section, turn on Use as Condition. Create the datastream and save the template.
Step 3: Create a device
Create a device from the template: in Devices, add a new device, choose your template and give the device a name. You'll find its Auth Token on the device's Device Info tab. You'll need it in Node-RED.
Step 4: Create the automation
Open Automations in Blynk and create a new automation. For the condition (When), choose Device State, then your device, your datastream and Is Any. The automation will then react to every press, even when the text is the same as the last one.
Under Do this, add the action that sends a notification to the mobile app (Send In-App Notifications) and choose yourself as the recipient. Put the Trigger value placeholder ({TRIGGER_VALUE}) in the message. Blynk replaces it with the text that Node-RED sends.
Name the automation. Limit period sets how soon the automation may run again: choose the shortest option, otherwise a second press soon after the first won't reach your phone. Save the automation.
Step 5: Install the app on your phone
Download the Blynk IoT app to your phone from the App Store or Google Play and sign in with the same account. Make sure the app is allowed to show notifications, so the message can pop up.
Putting it all together
All that's left is to connect Node-RED to Blynk IoT, so that pressing the button sends your text to the datastream and the automation turns it into a notification.
Step 1: Add the Blynk IoT write node
On the Functions tab in Playground, add the write node from the Blynk IoT section after the change node and wire the two together. Leave the Blynk ws section alone: it belongs to the old Blynk, which no longer works.
Step 2: Set up the connection
Double-click the node. Next to Connection you'll see a small pencil. Click it to open a new window. In the Url field enter blynk.cloud, and copy the Auth Token and Template ID from the Blynk IoT web console: the Auth Token is on the device's Device Info tab, the Template ID in the template details. Confirm with Add. Then enter the number of your datastream's pin in the Virtual Pin field (2 for V2) and confirm with Done.
Step 3: Click the Deploy button. You have to deploy again every time you edit the Node-RED flow
Action!
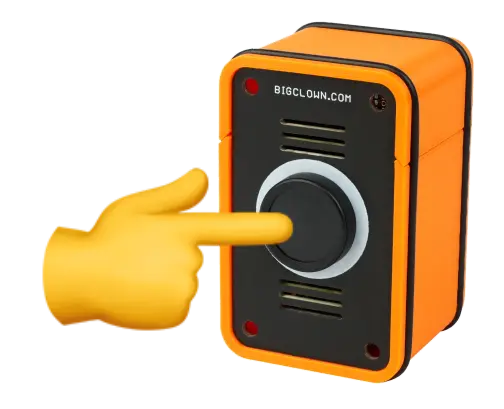
It's time to push the button.
Learn more
This Push Button project shows the basics in a few simple steps. Learn more in the documentation or through the links below.
- Check out other HARDWARIO projects.
- Take a look at the module overview.
- Learn how to control LEDs and relays with MQTT and the HARDWARIO MQTT topics.
- Try other integrations with Grafana, Blynk, IFTTT, Ubidots and more.
- Use your Raspberry Pi or another single-board computer (SBC) as a server.
- Flash other firmware or write your own firmware for the Core Module.
- Check the Core Module pinout and add your own buttons, relays and sensors.