Upgraded button for parents
Introduction
Have you already built the basic version of the button your mum uses to call you for dinner? Congratulations. 👍 This upgrade takes the project further: the message changes with the time of day, and you can even reply to it.
In this project, you will learn how to set different messages for different times of day, send a special notification by holding the button down and program a simple reply. 👌
You'll find the basic version of the project here: Build an IoT button your mum can use to call you for dinner.
You will need the box with a button and the USB dongle, so the basic HARDWARIO Start Set is all you need.
Prepare Node-RED
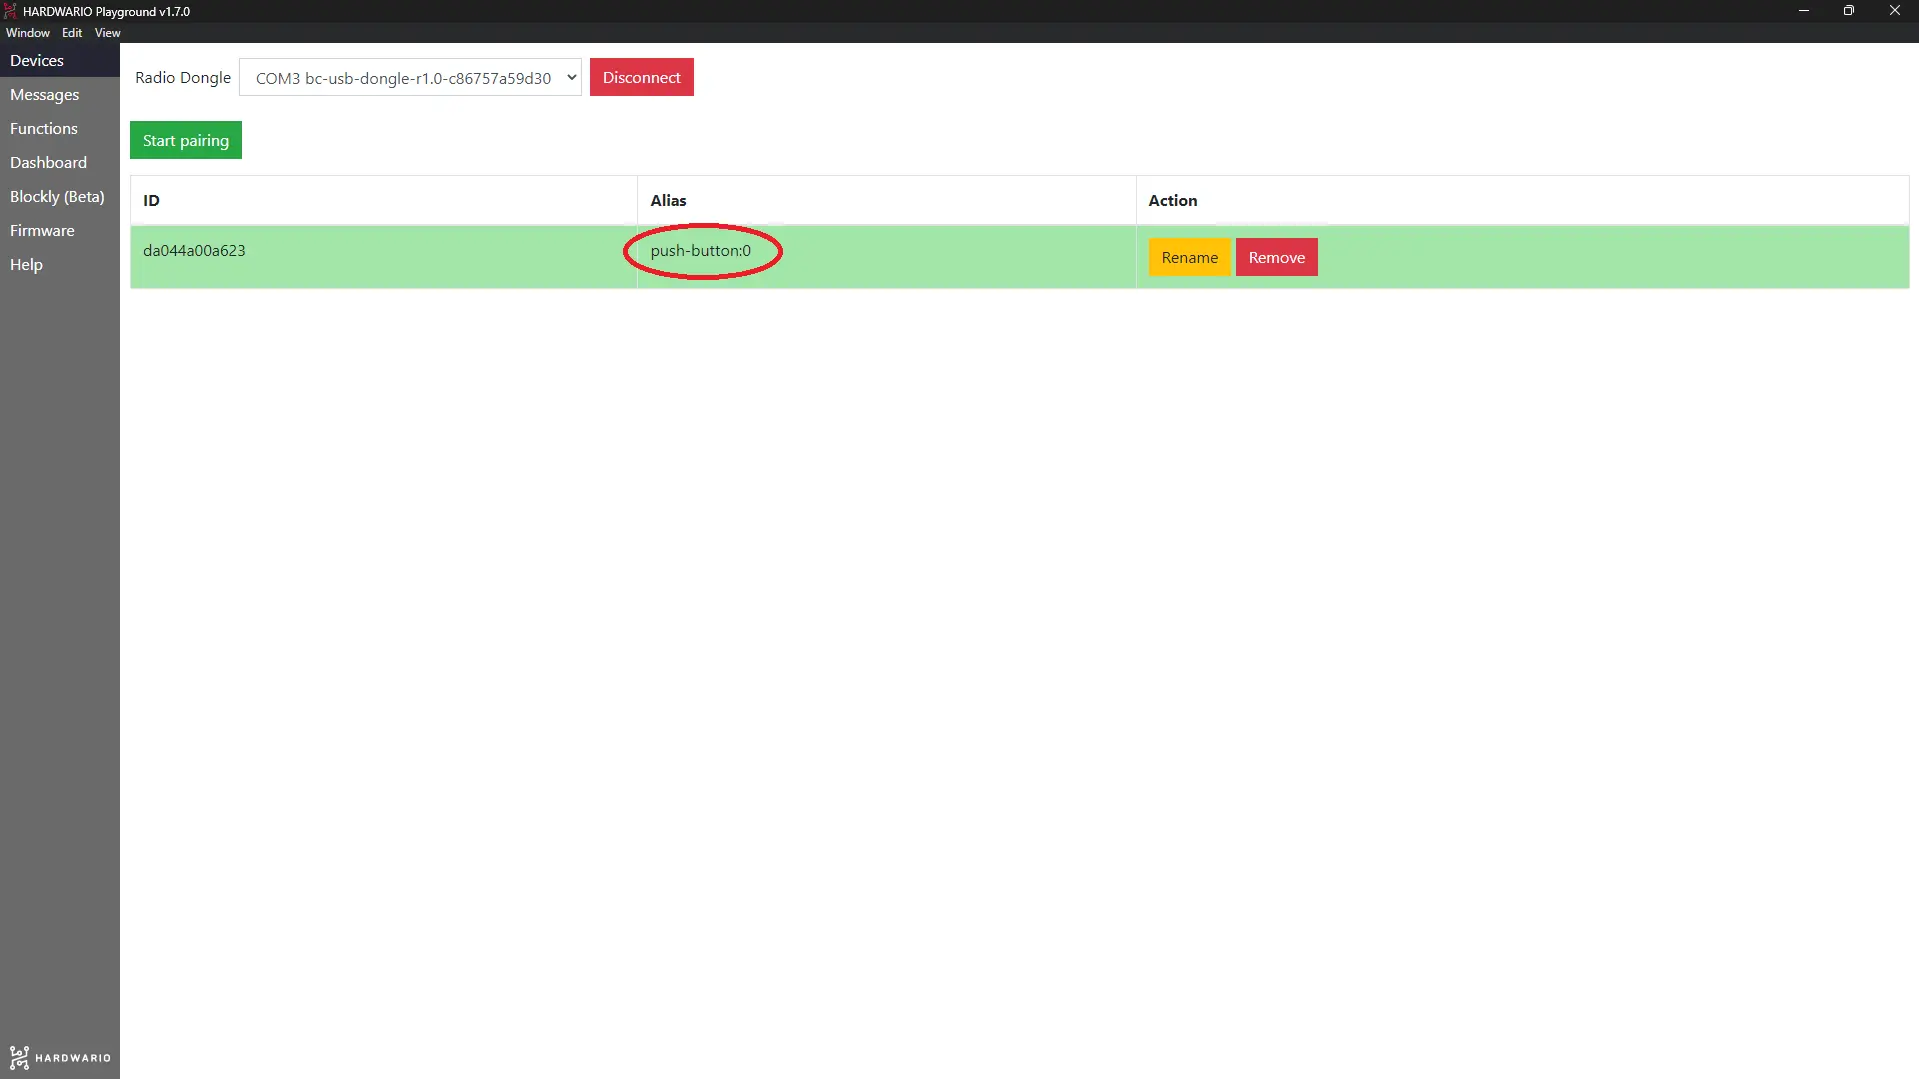
- Assemble the Start Set and pair it. The Core Module needs the good old twr-radio-push-button firmware again.
Set up the notification
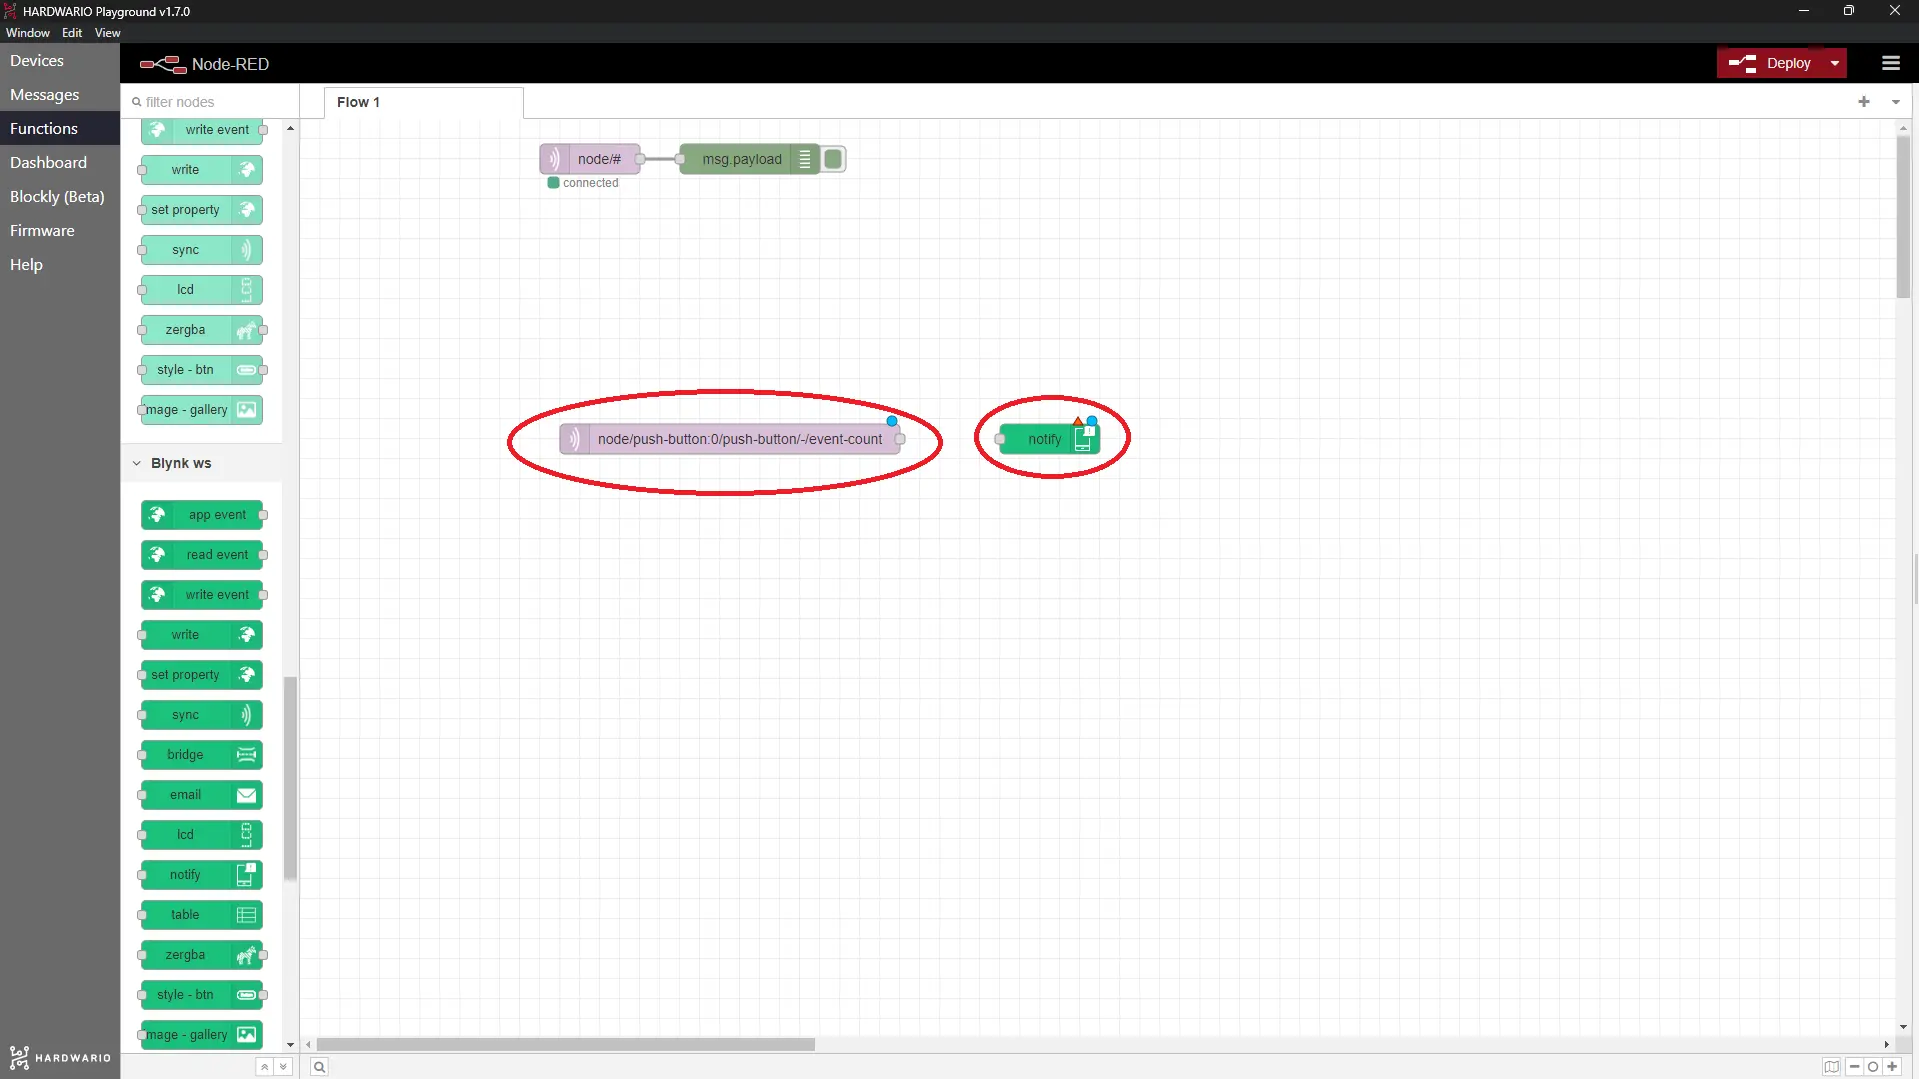
- Set up the notification flow much as in the basic version of the project. Place an mqtt in node from the network section on the workspace, with the press count in its Topic field. Next to it, place a write node from the Blynk IoT section and set it up exactly as in the basic version: the same connection (Url, Auth Token, Template ID) and the same virtual pin. The automation you already have in Blynk then sends the notification to the phone.
❗ Leave out the change node for now; you'll see why in a moment.
So far it looks like this:
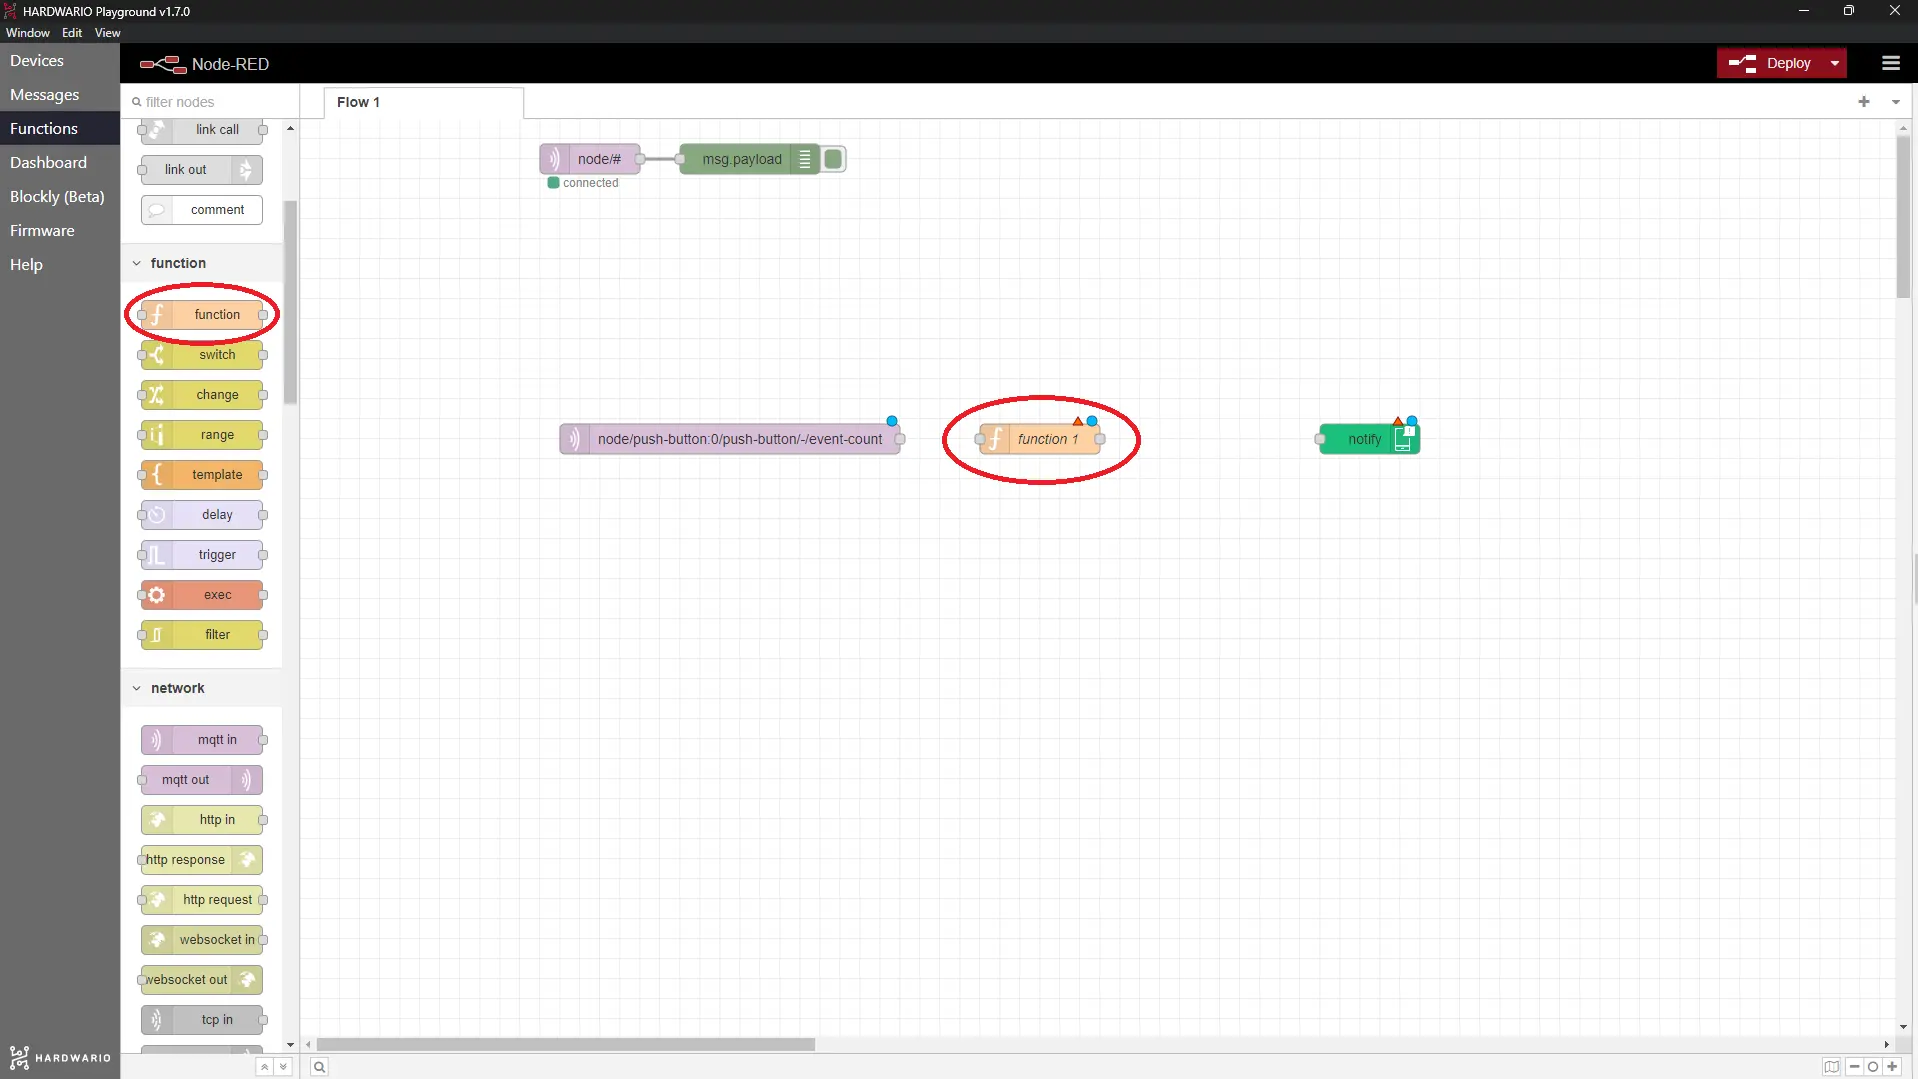
- This time, put a different node between the two: one you copy JavaScript into. You'll find it as the function node in the section of the same name.
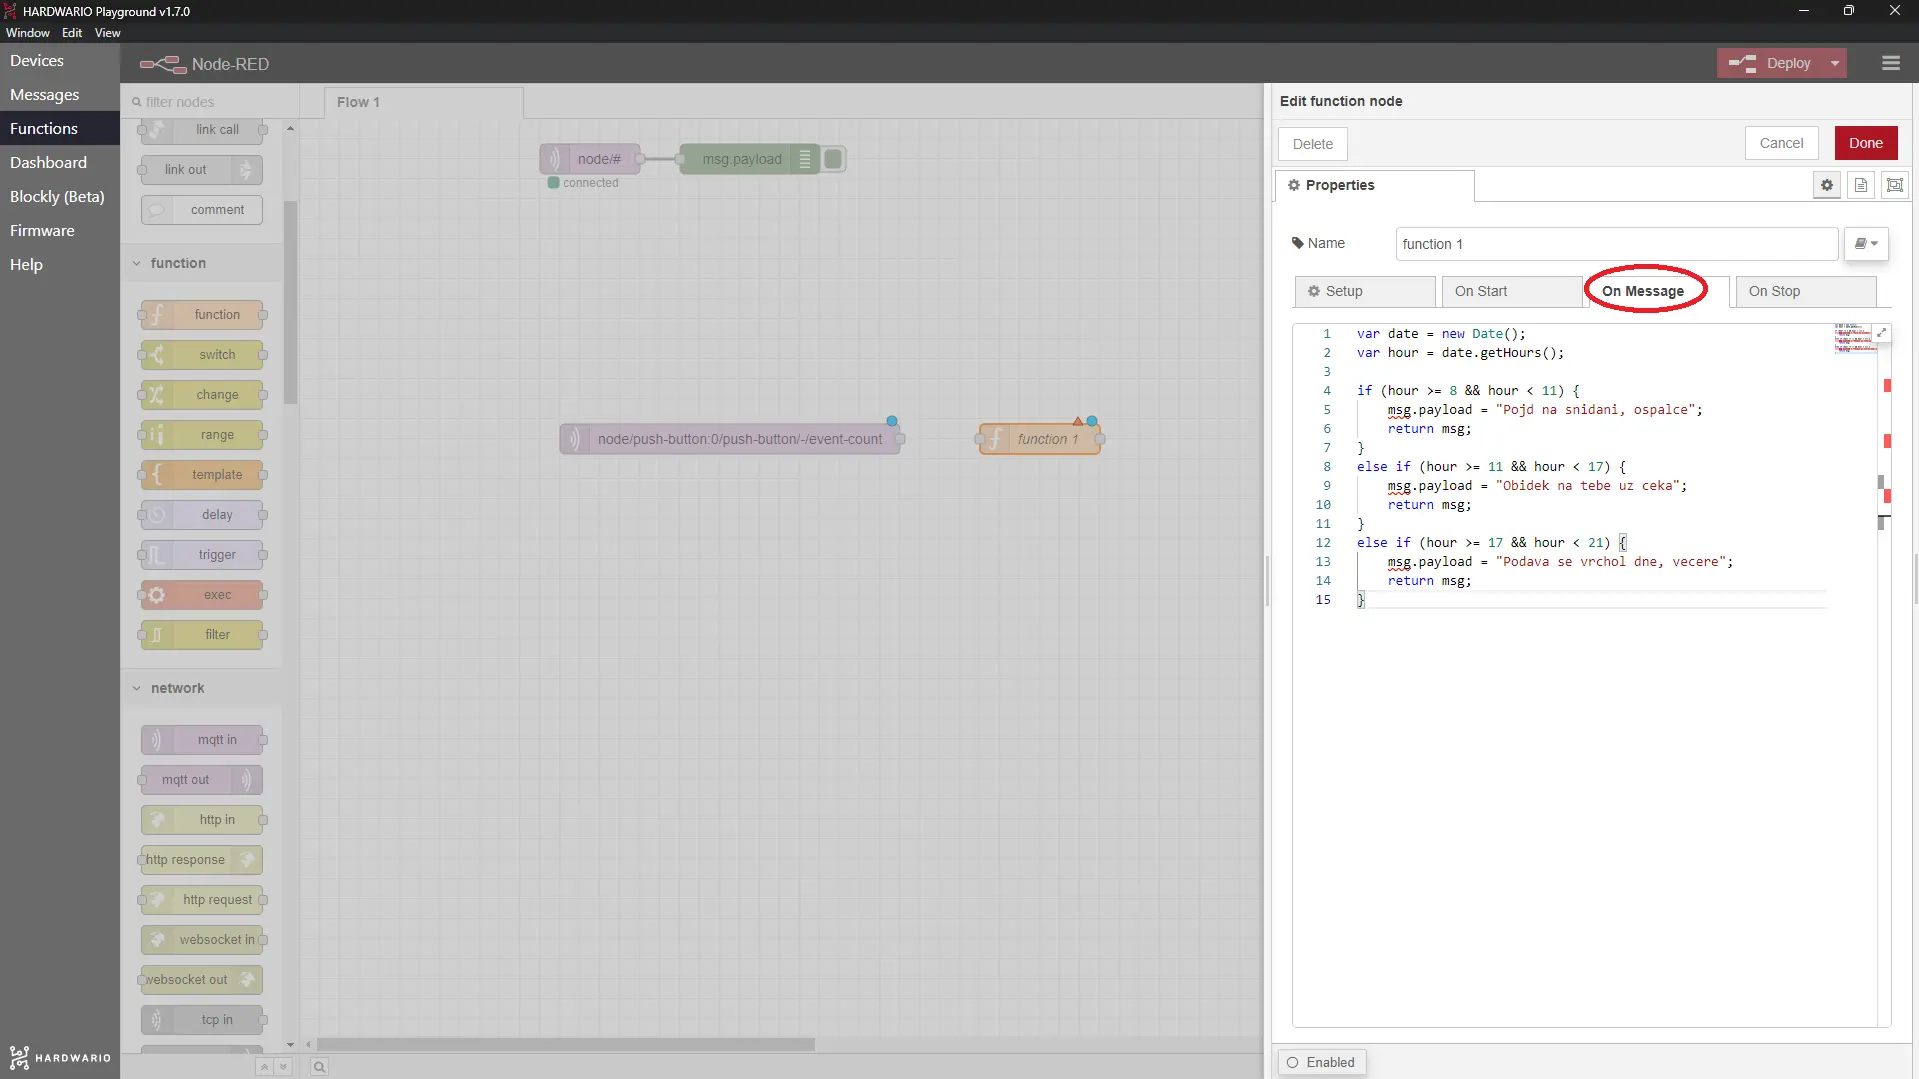
- Into this node goes the code that lets you control time. ⏳ In it, you set the hours during which you'll get the breakfast 🍳, lunch 🍗 and dinner 🍕 messages. Smart JavaScript, isn't it?
In the node settings, copy the following code into the On Message tab. When you look at the code, you'll see that some parts are highlighted in color. That's where you set the mealtimes and your own messages. Change the colored parts to suit you; just remember that accented letters such as č or á won't work.
var date = new Date(); var hour = date.getHours();
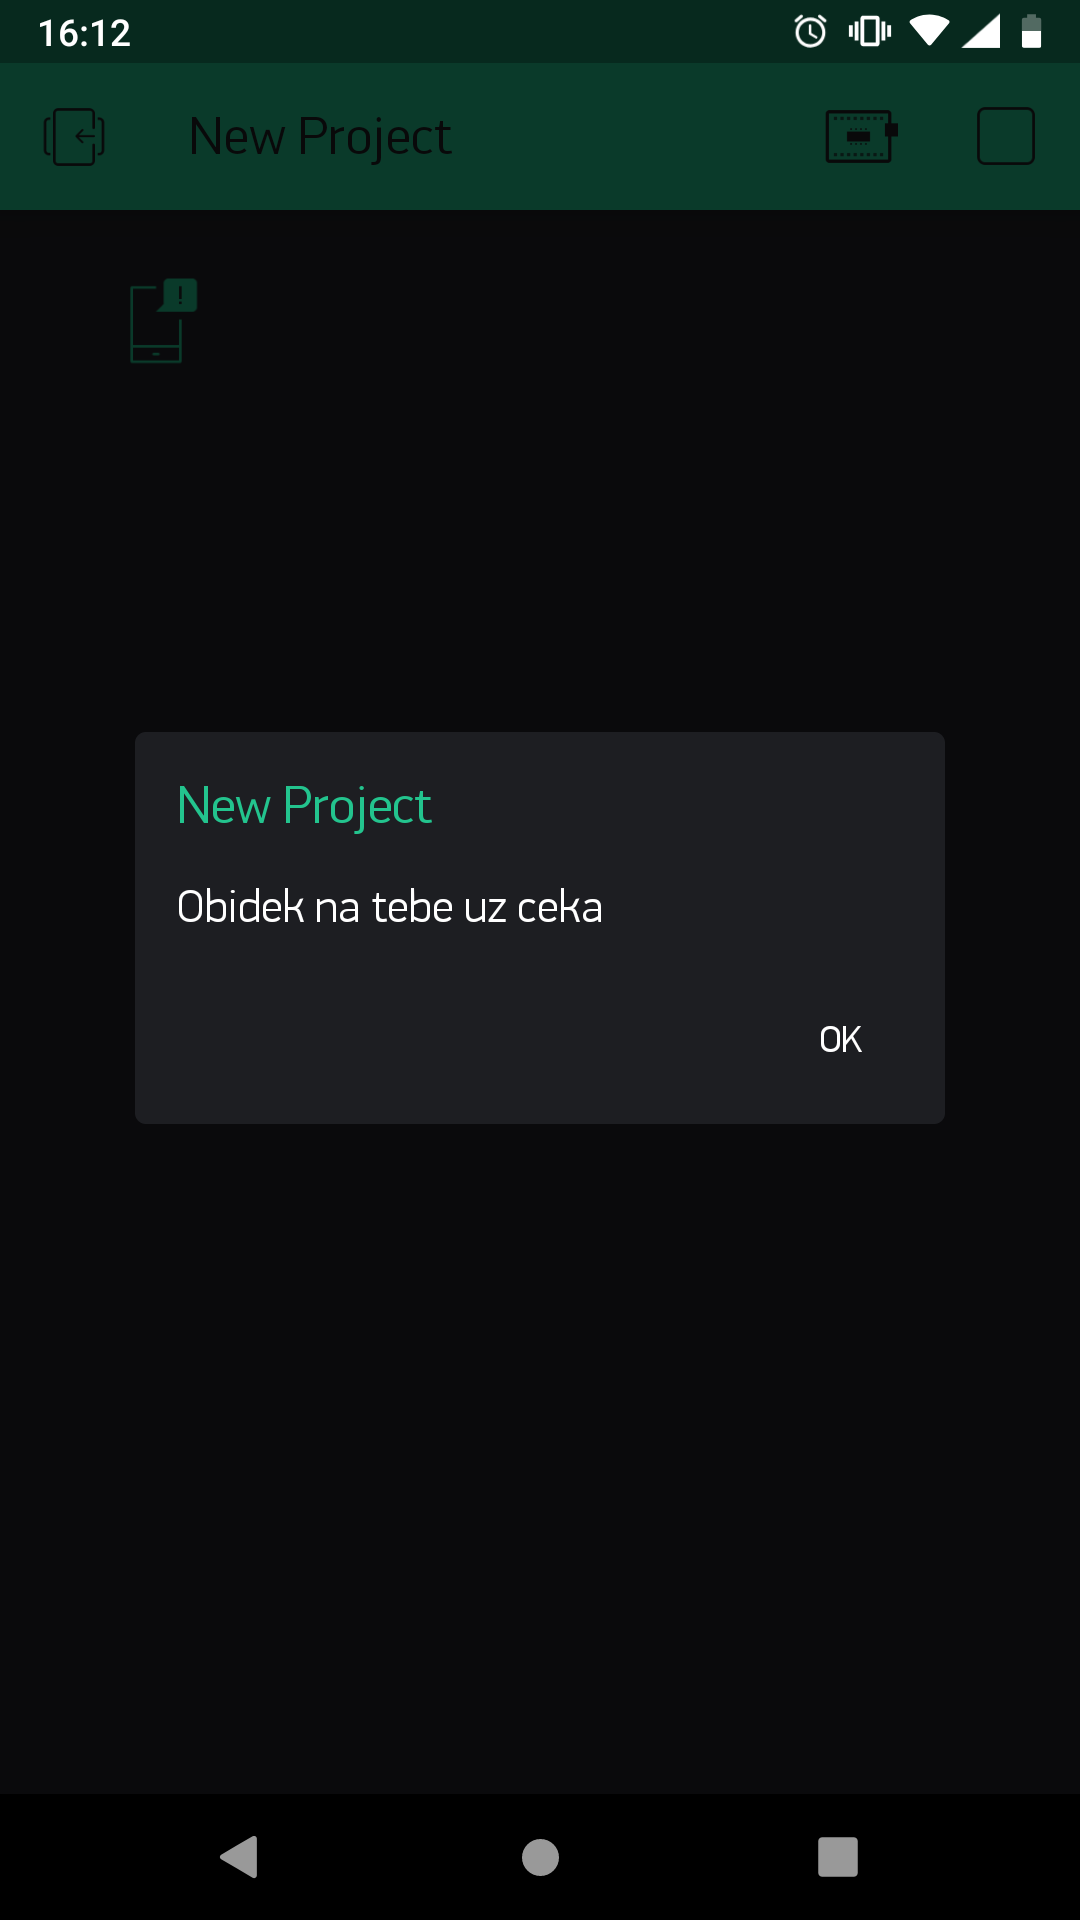
if(hour >= 8 && hour < 11) { msg.payload = "Pojd na snidani, ospalce"; return msg; } else if(hour >= 11 && hour < 17) { msg.payload = "Obidek na tebe uz ceka"; return msg; } else if(hour >= 17 && hour < 21) { msg.payload = "Podava se vrchol dne, vecere"; return msg; }
- In the same window, give the node a name in the Name field, for example Time & message setting.
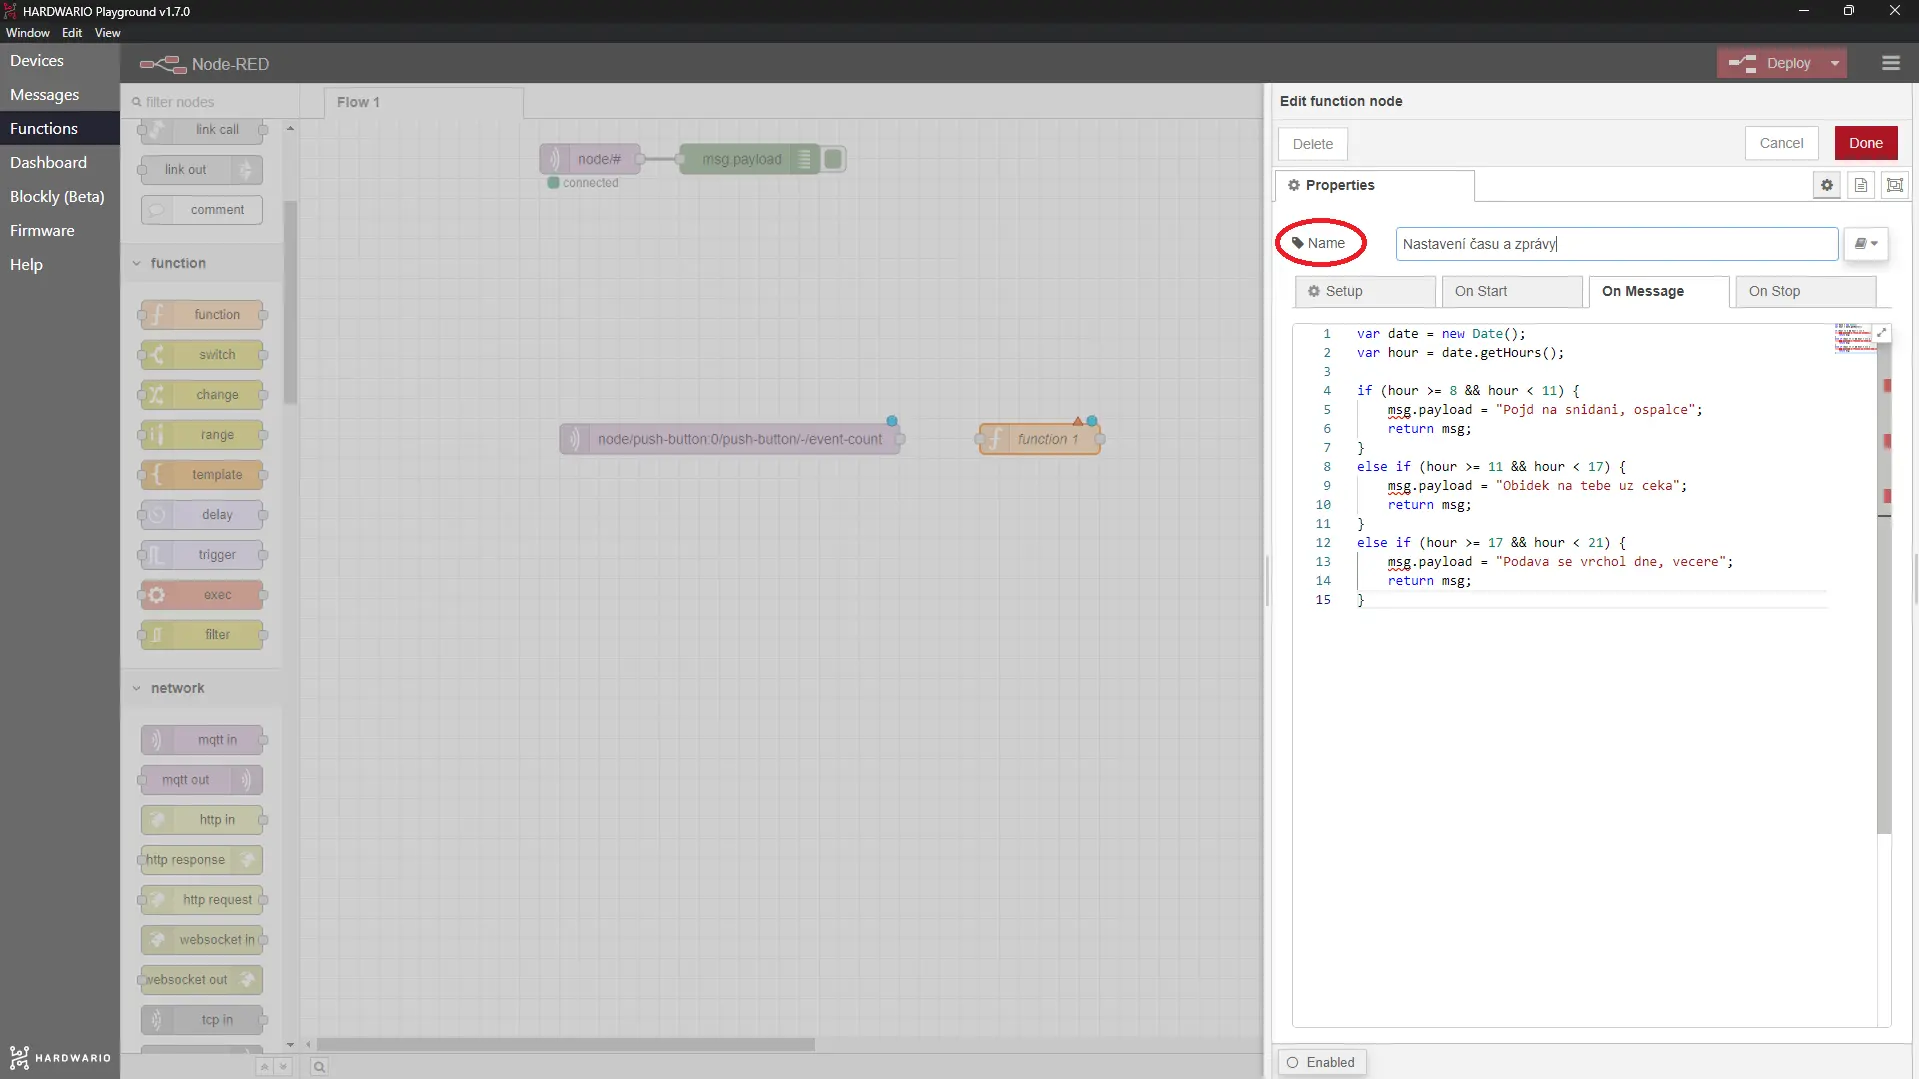
Confirm with Done.
Set up a long press
-
On we go. Now set what the button does when your parents hold it down. You can control that too. 👌 Place another mqtt in node from the network section on the workspace.
-
This time, give it a different Topic, so the button reacts to a long press.
node/push-button:0/push-button/-/hold-count
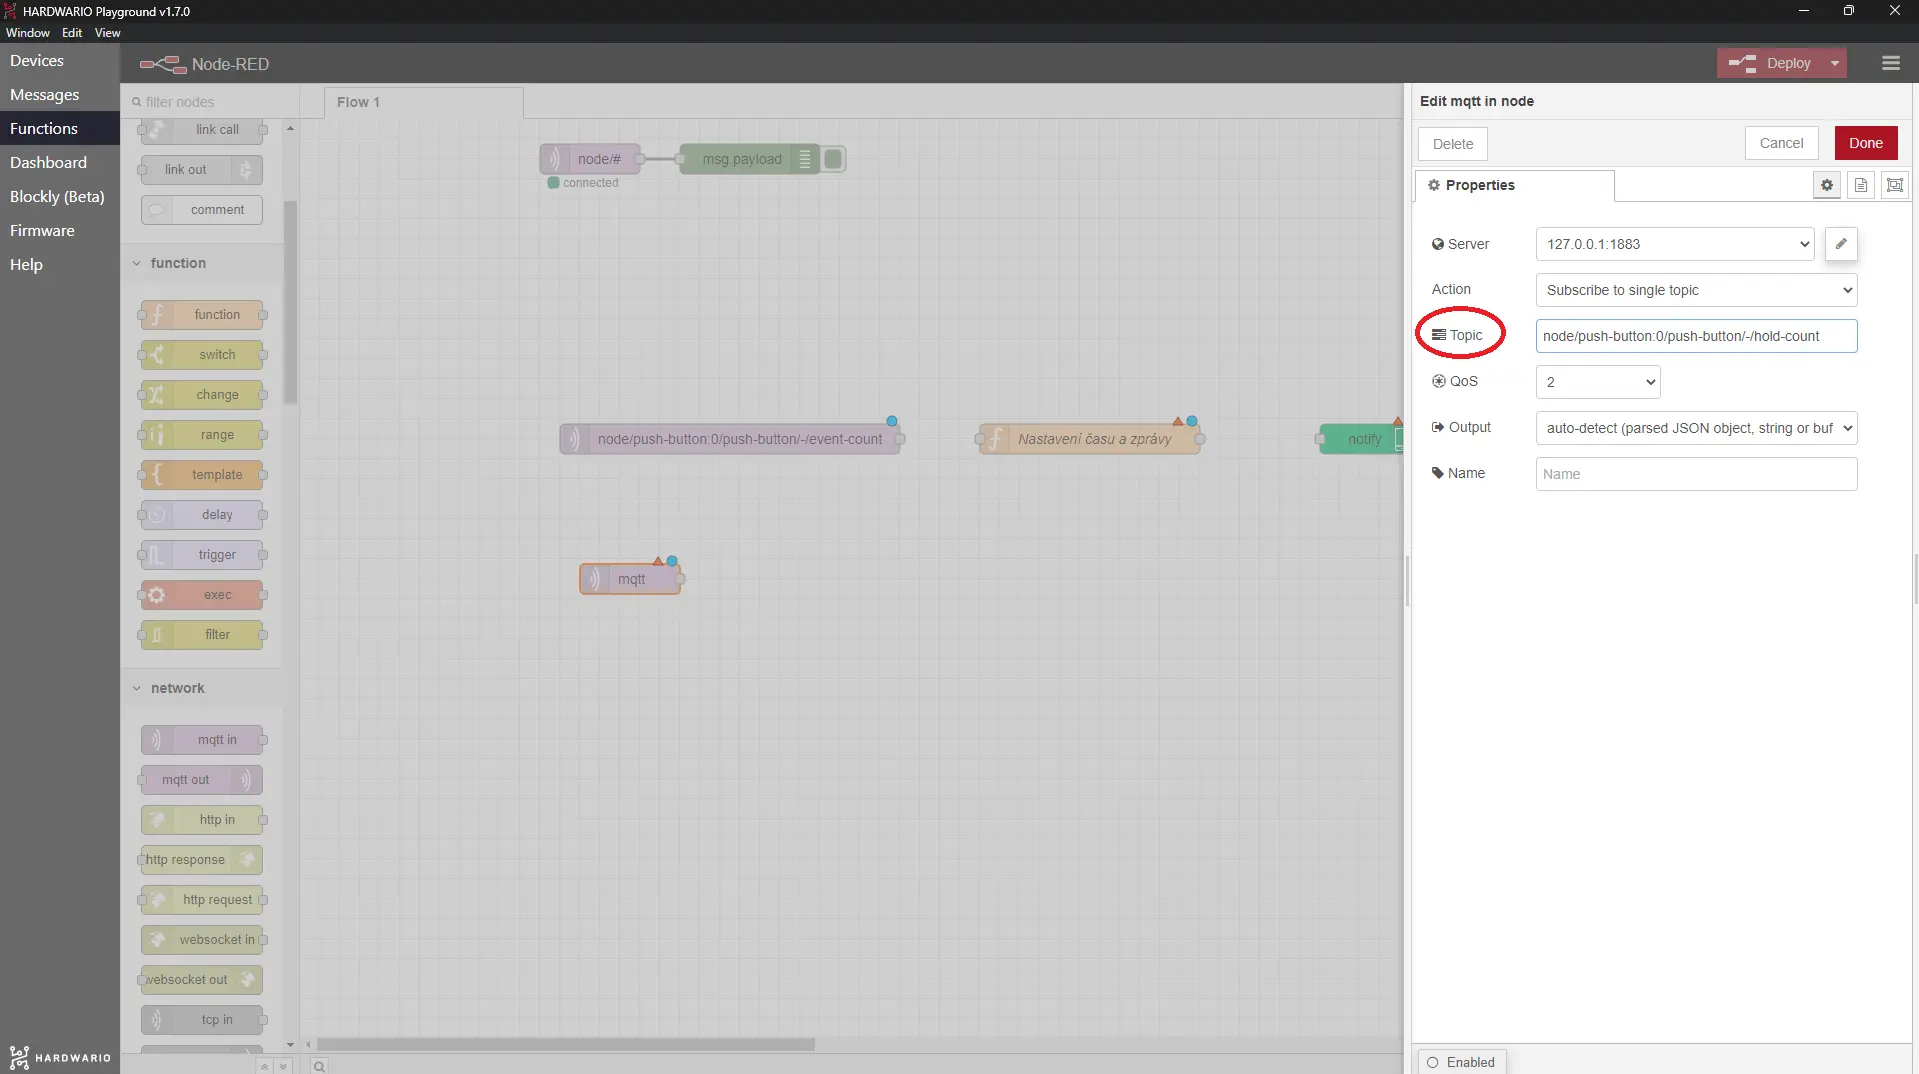
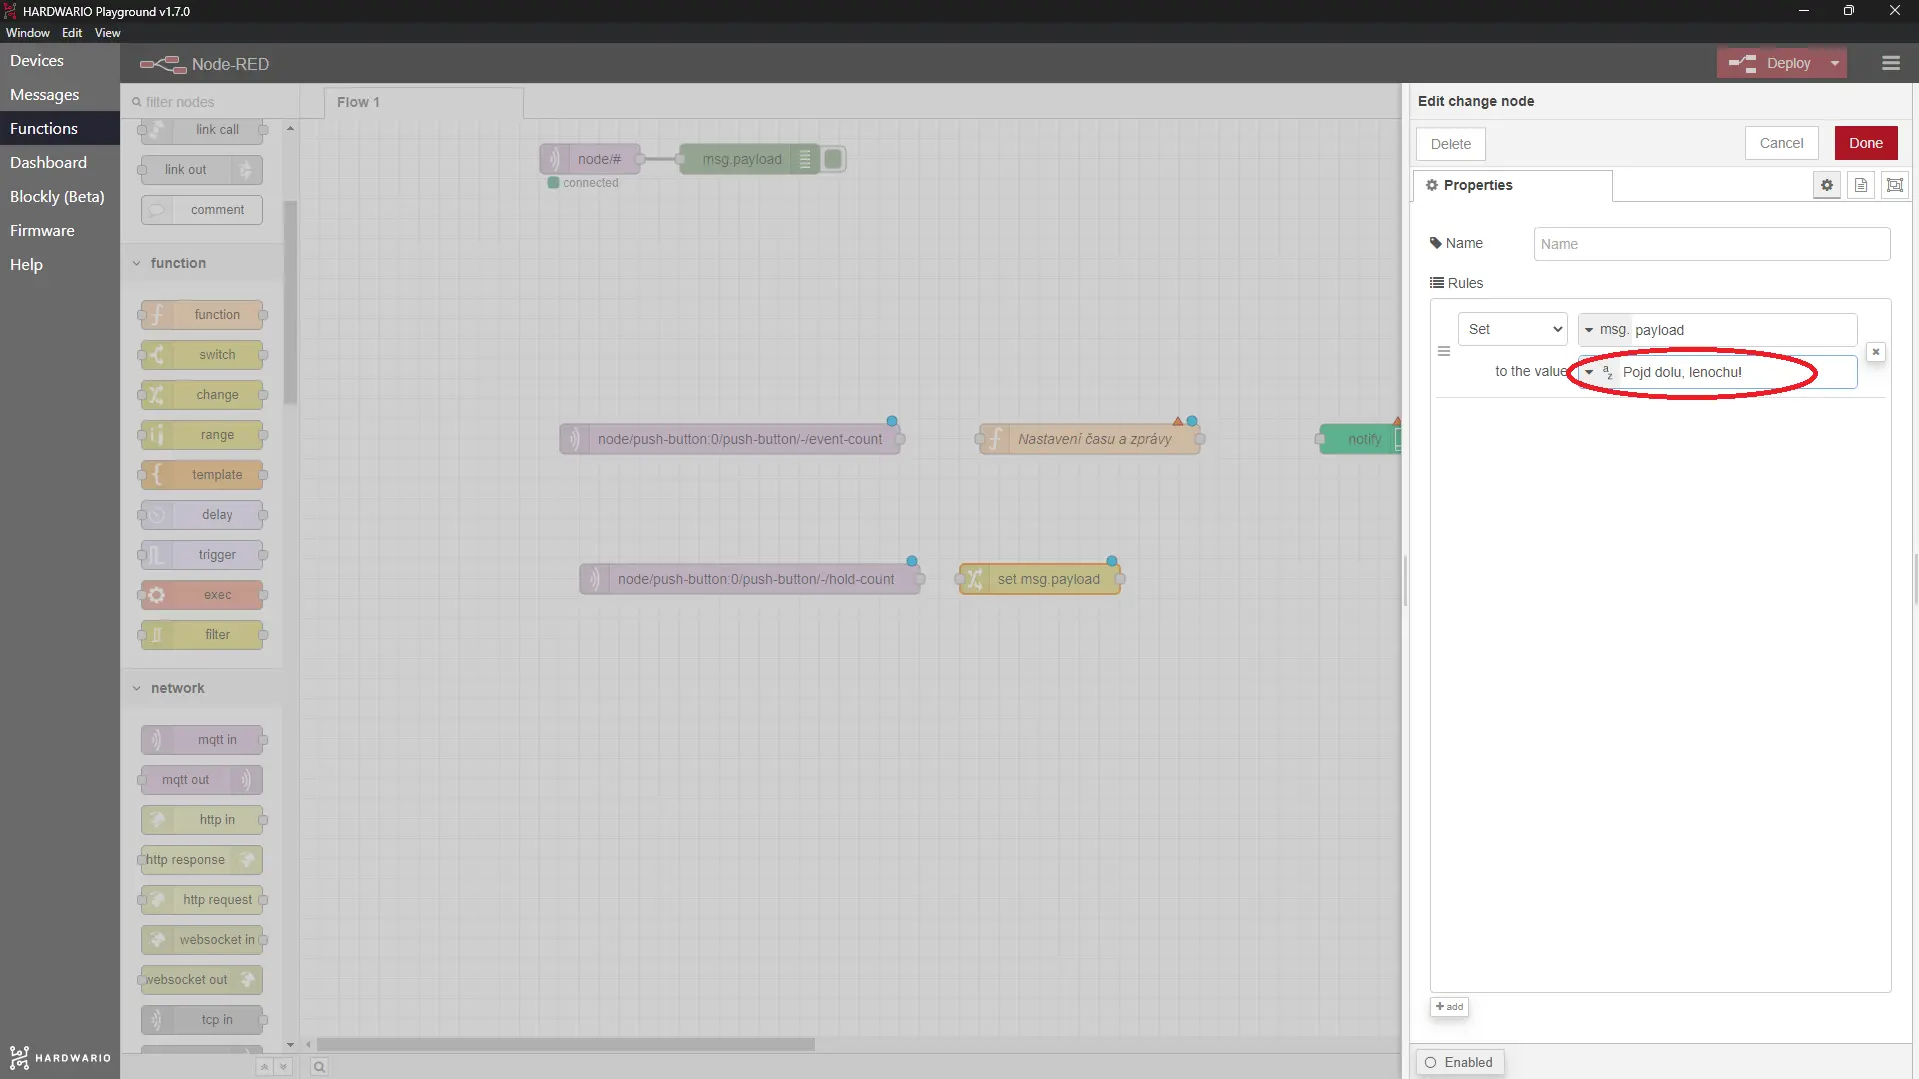
- After it, place the change node you already know from the basic version. In it, set your own message, which is sent when your parents hold the button down. It's handy for calling you about anything other than food 🙂, for example: Come downstairs, lazybones!
- After this node, add one more, in which you can click the message away. The message will also pop up on your computer, not just on your phone.
It's the notification node in the dashboard section.
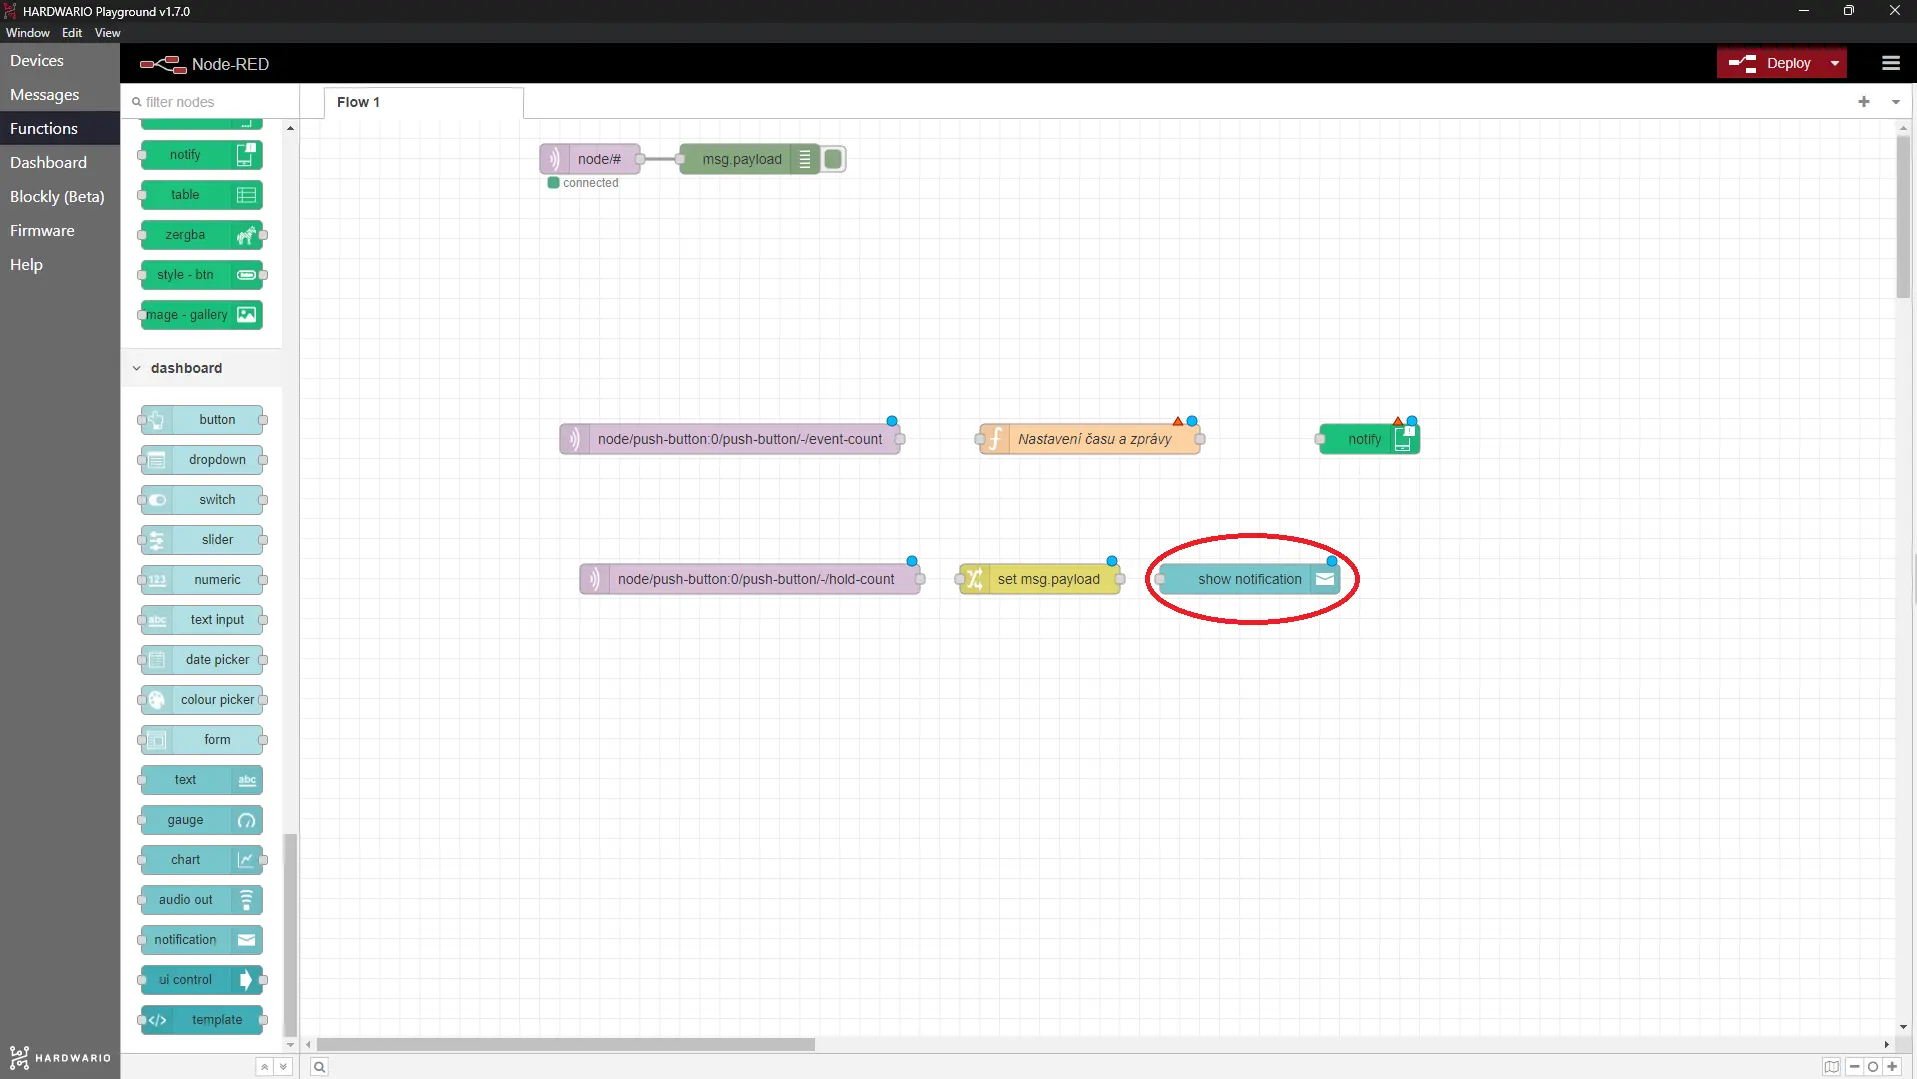
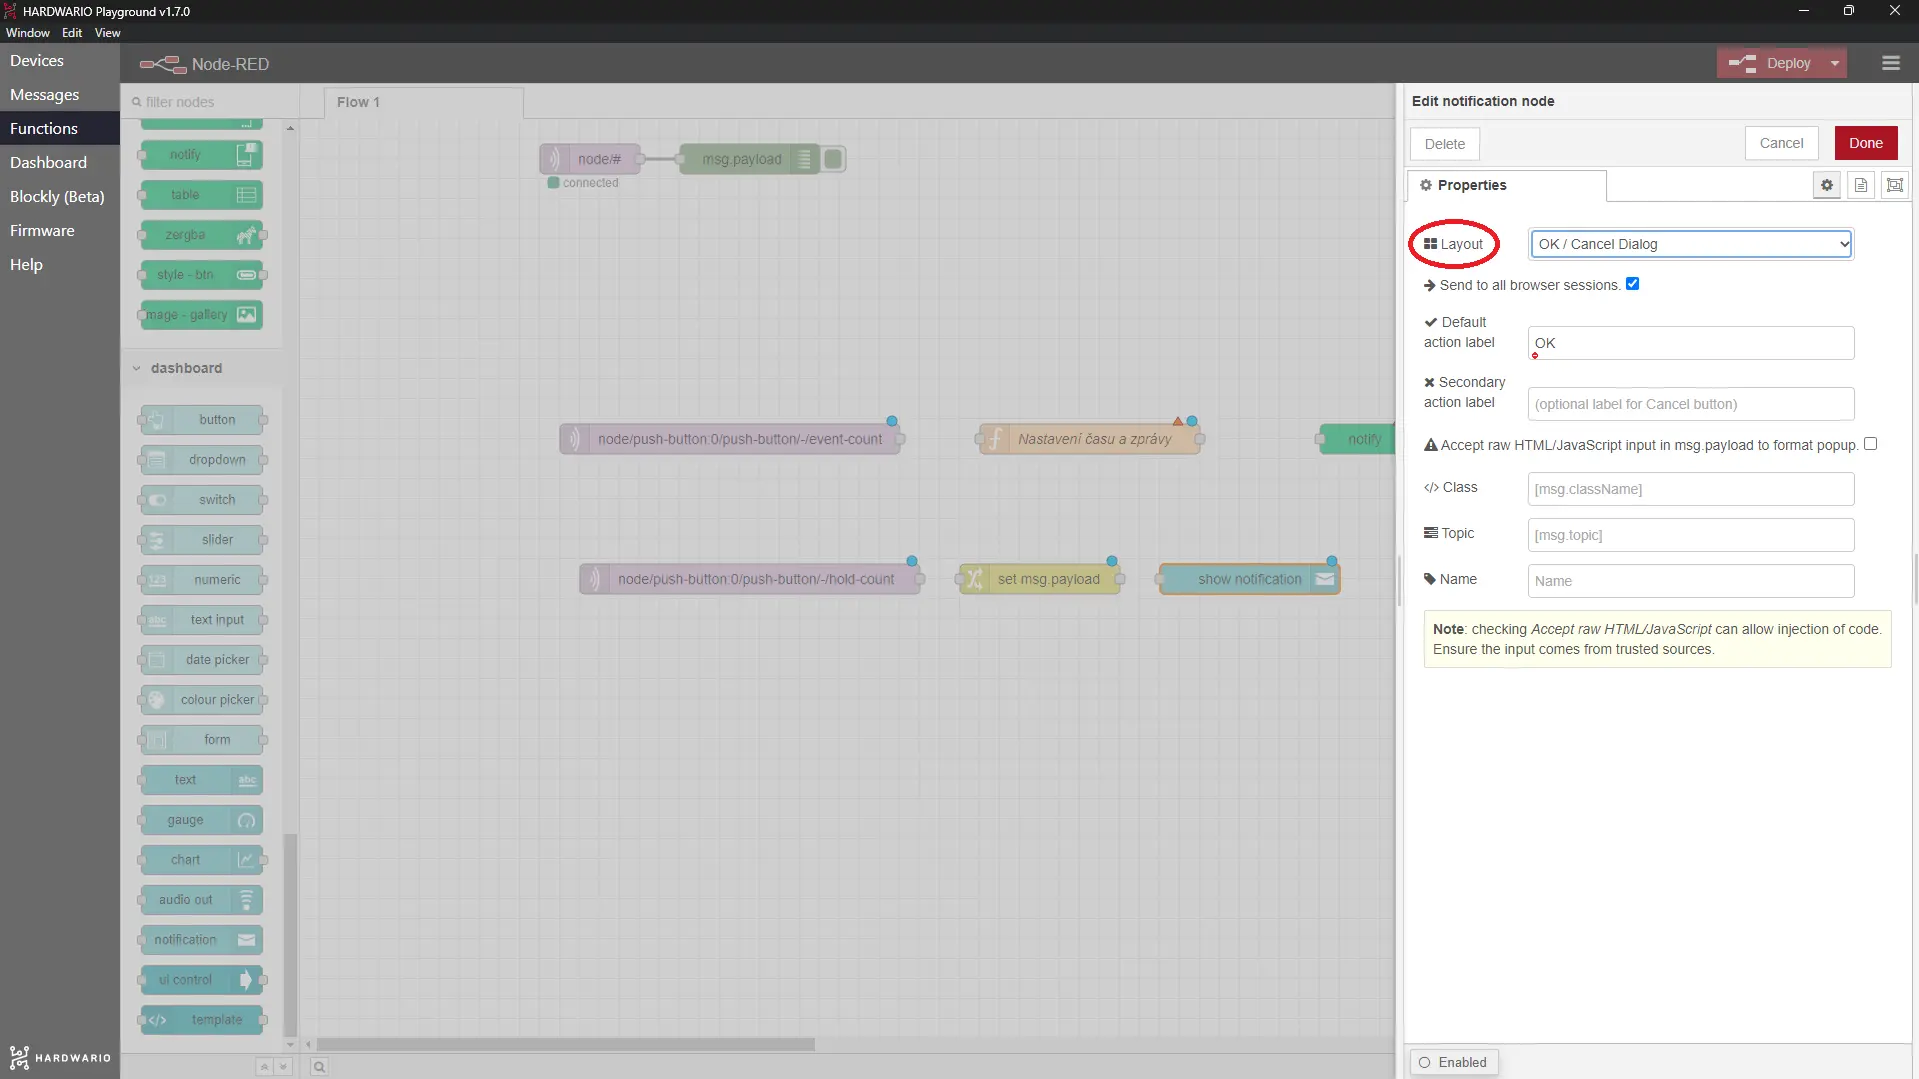
- In the node, choose OK / Cancel Dialog in the Layout field and confirm with Done.
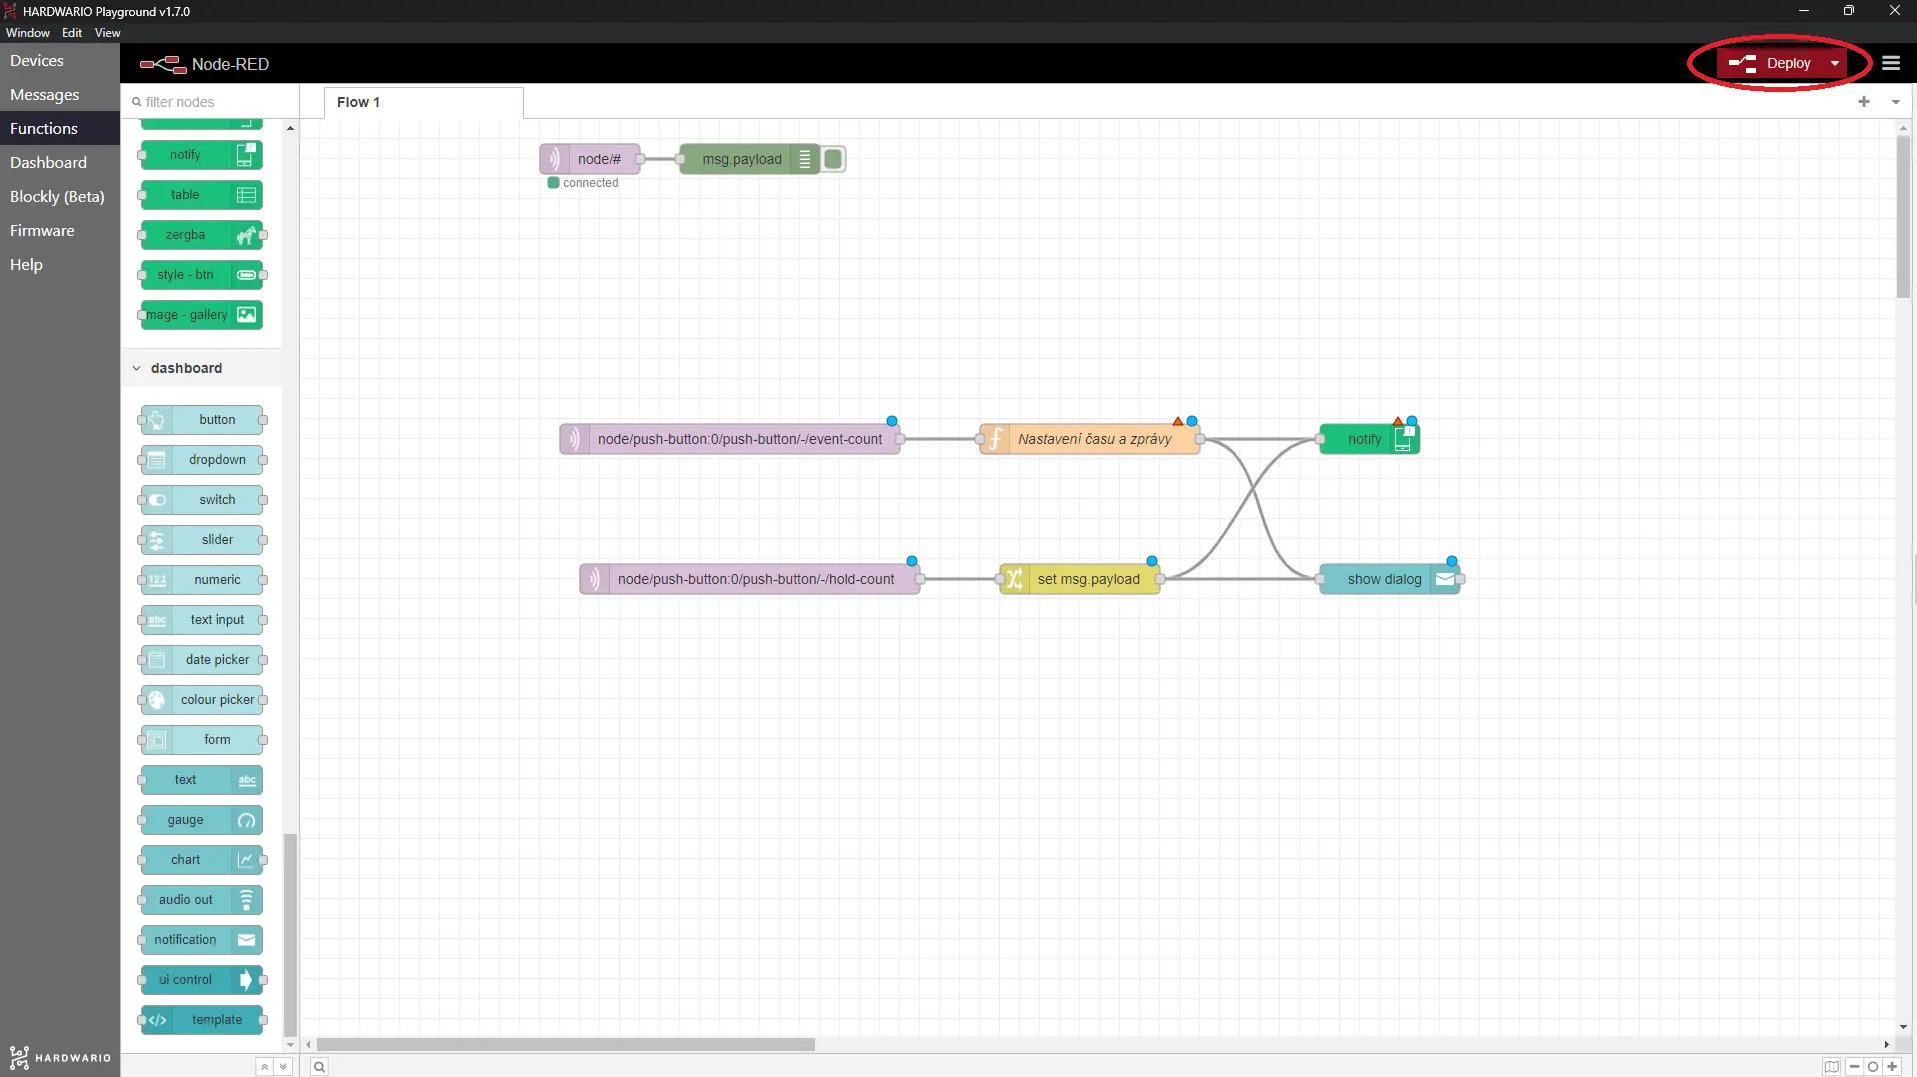
- Wire everything up as in the picture: both flows lead to the write node and to the notification node. Then press Deploy.
Action!
-
Just like last time, hand the upgraded box to your mum and dad.
-
Explain that a short press calls you to eat…
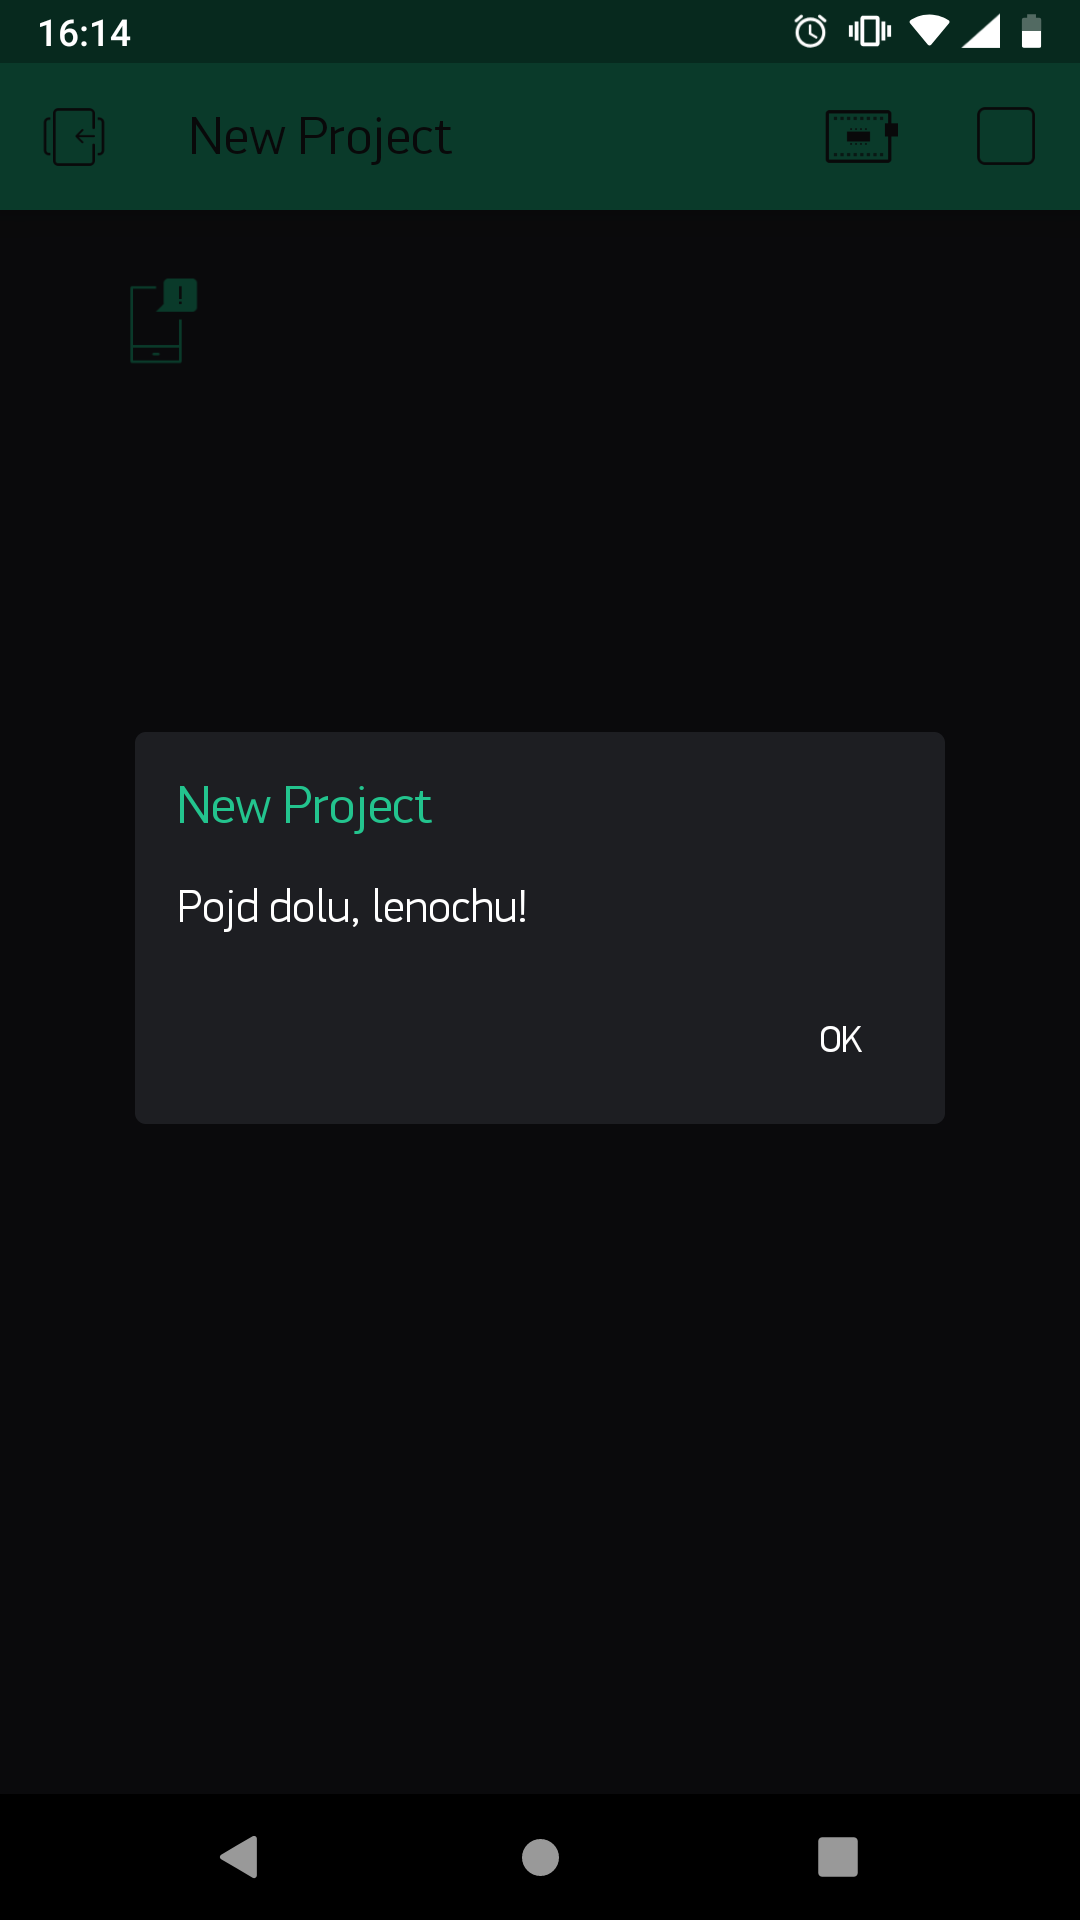
- …and if they want to call you for anything else, they have to hold the button down. 👇
At least you won't be disappointed when, instead of food, you get a family meeting served up. Yuck, a different menu, please!