Theory
Time allocation: 10 min.
About the TOWER kit
HARDWARIO TOWER is a kit of electronic modules for Internet of Things (IoT), Industry 4.0 and home automation projects.
Main advantages of the TOWER kit
- The Plug&Make system: modules fit together without soldering or wiring (video tutorial)
- A wireless solution with very low power consumption, so installation is easy and units can run on batteries for several years
- An open-source approach that allows integration with other platforms: GitHub
- Sample firmware ready to use: GitHub
- A wide range of enclosure models for 3D printing, including a 3D printing service (store)
- Detailed guides and technical support that help customers work with the kit (documentation and forum)
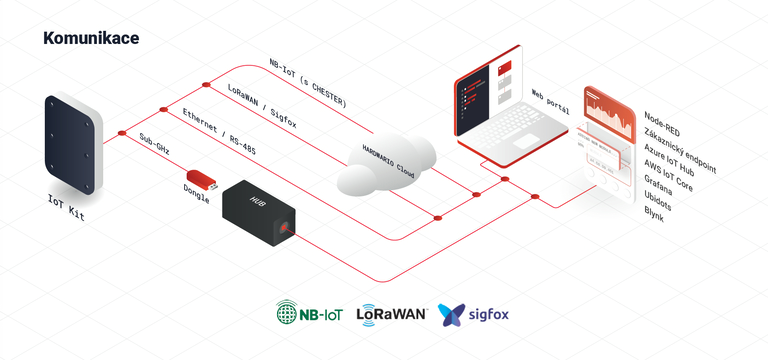
Communication options
- Wireless in the sub-GHz band (868 MHz in Europe and 915 MHz in the USA)
- Wireless over the Sigfox network
- Wireless over LoRaWAN
- Wireless over NB-IoT
- Wireless with IQRF technology
- Wired over RS-485
About the Playground app
HARDWARIO Playground is an app for uploading firmware, pairing assemblies and programming the functions of the HARDWARIO TOWER IoT kit. It is available for computers running Windows, Linux, Ubuntu and Apple macOS.
In the HARDWARIO Playground app, you can:
- connect your box (IoT assembly) to the computer,
- adjust and set up the functions of your assembly,
- upload firmware to the assembly (if you are not sure what that is, take a look here),
- or follow what the assembly is doing in clear charts and visualizations.
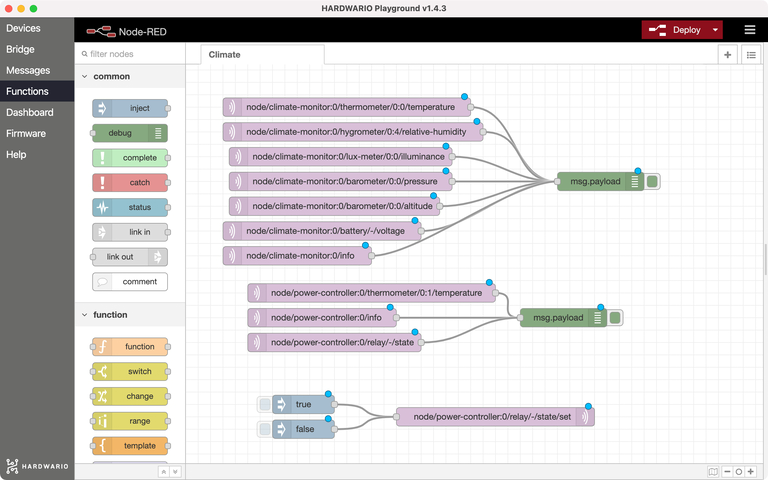
Playground app tabs
- Devices is the most important of all the tabs. Here you pair your assembly with the USB dongle (Radio Dongle), and through it with the computer, and then you are free to create.
- Bridge is the tab for connecting the special Bridge Module.
- Functions is the tab where you drag and drop nodes to decide how your assembly should behave in different situations, for example when you press a button or the ambient temperature changes. This simple programming runs in the Node-RED environment, which you can learn more about here.
- On the Dashboard tab, you will eventually see the activity of your box in clear, colorful charts. Want to follow how the temperature in your classroom fell and rose? No problem. Our tutorial shows how to build a good dashboard.
- On the Messages tab, you will see every value your assembly records, whether it is a button press, a change of position or a temperature reading.
- Finally, there is the Firmware tab. Here you can upload firmware, the program that controls the device, to the Core Module in a few clicks. You can learn more about firmware here.