Experiment
Time allocation: 10 min.
Sending IoT button presses
Experiment Description
We will use the HARDWARIO kit to build an IoT button. The button will send information about every press, and we will then work with that information.
The button will communicate wirelessly with the Radio Dongle plugged into a USB port on the computer. We will display the number of presses in the HARDWARIO Playground app, more precisely on the dashboard of the Node-RED environment built into it.
Experiment Steps
- Assembling the button
- Connecting the button to Playground
- Setting up the display of the press count and the button temperature on the dashboard
Assembling the Button
Modules in the setup:
- Core Module
- Mini Battery Module
- Push Button Module
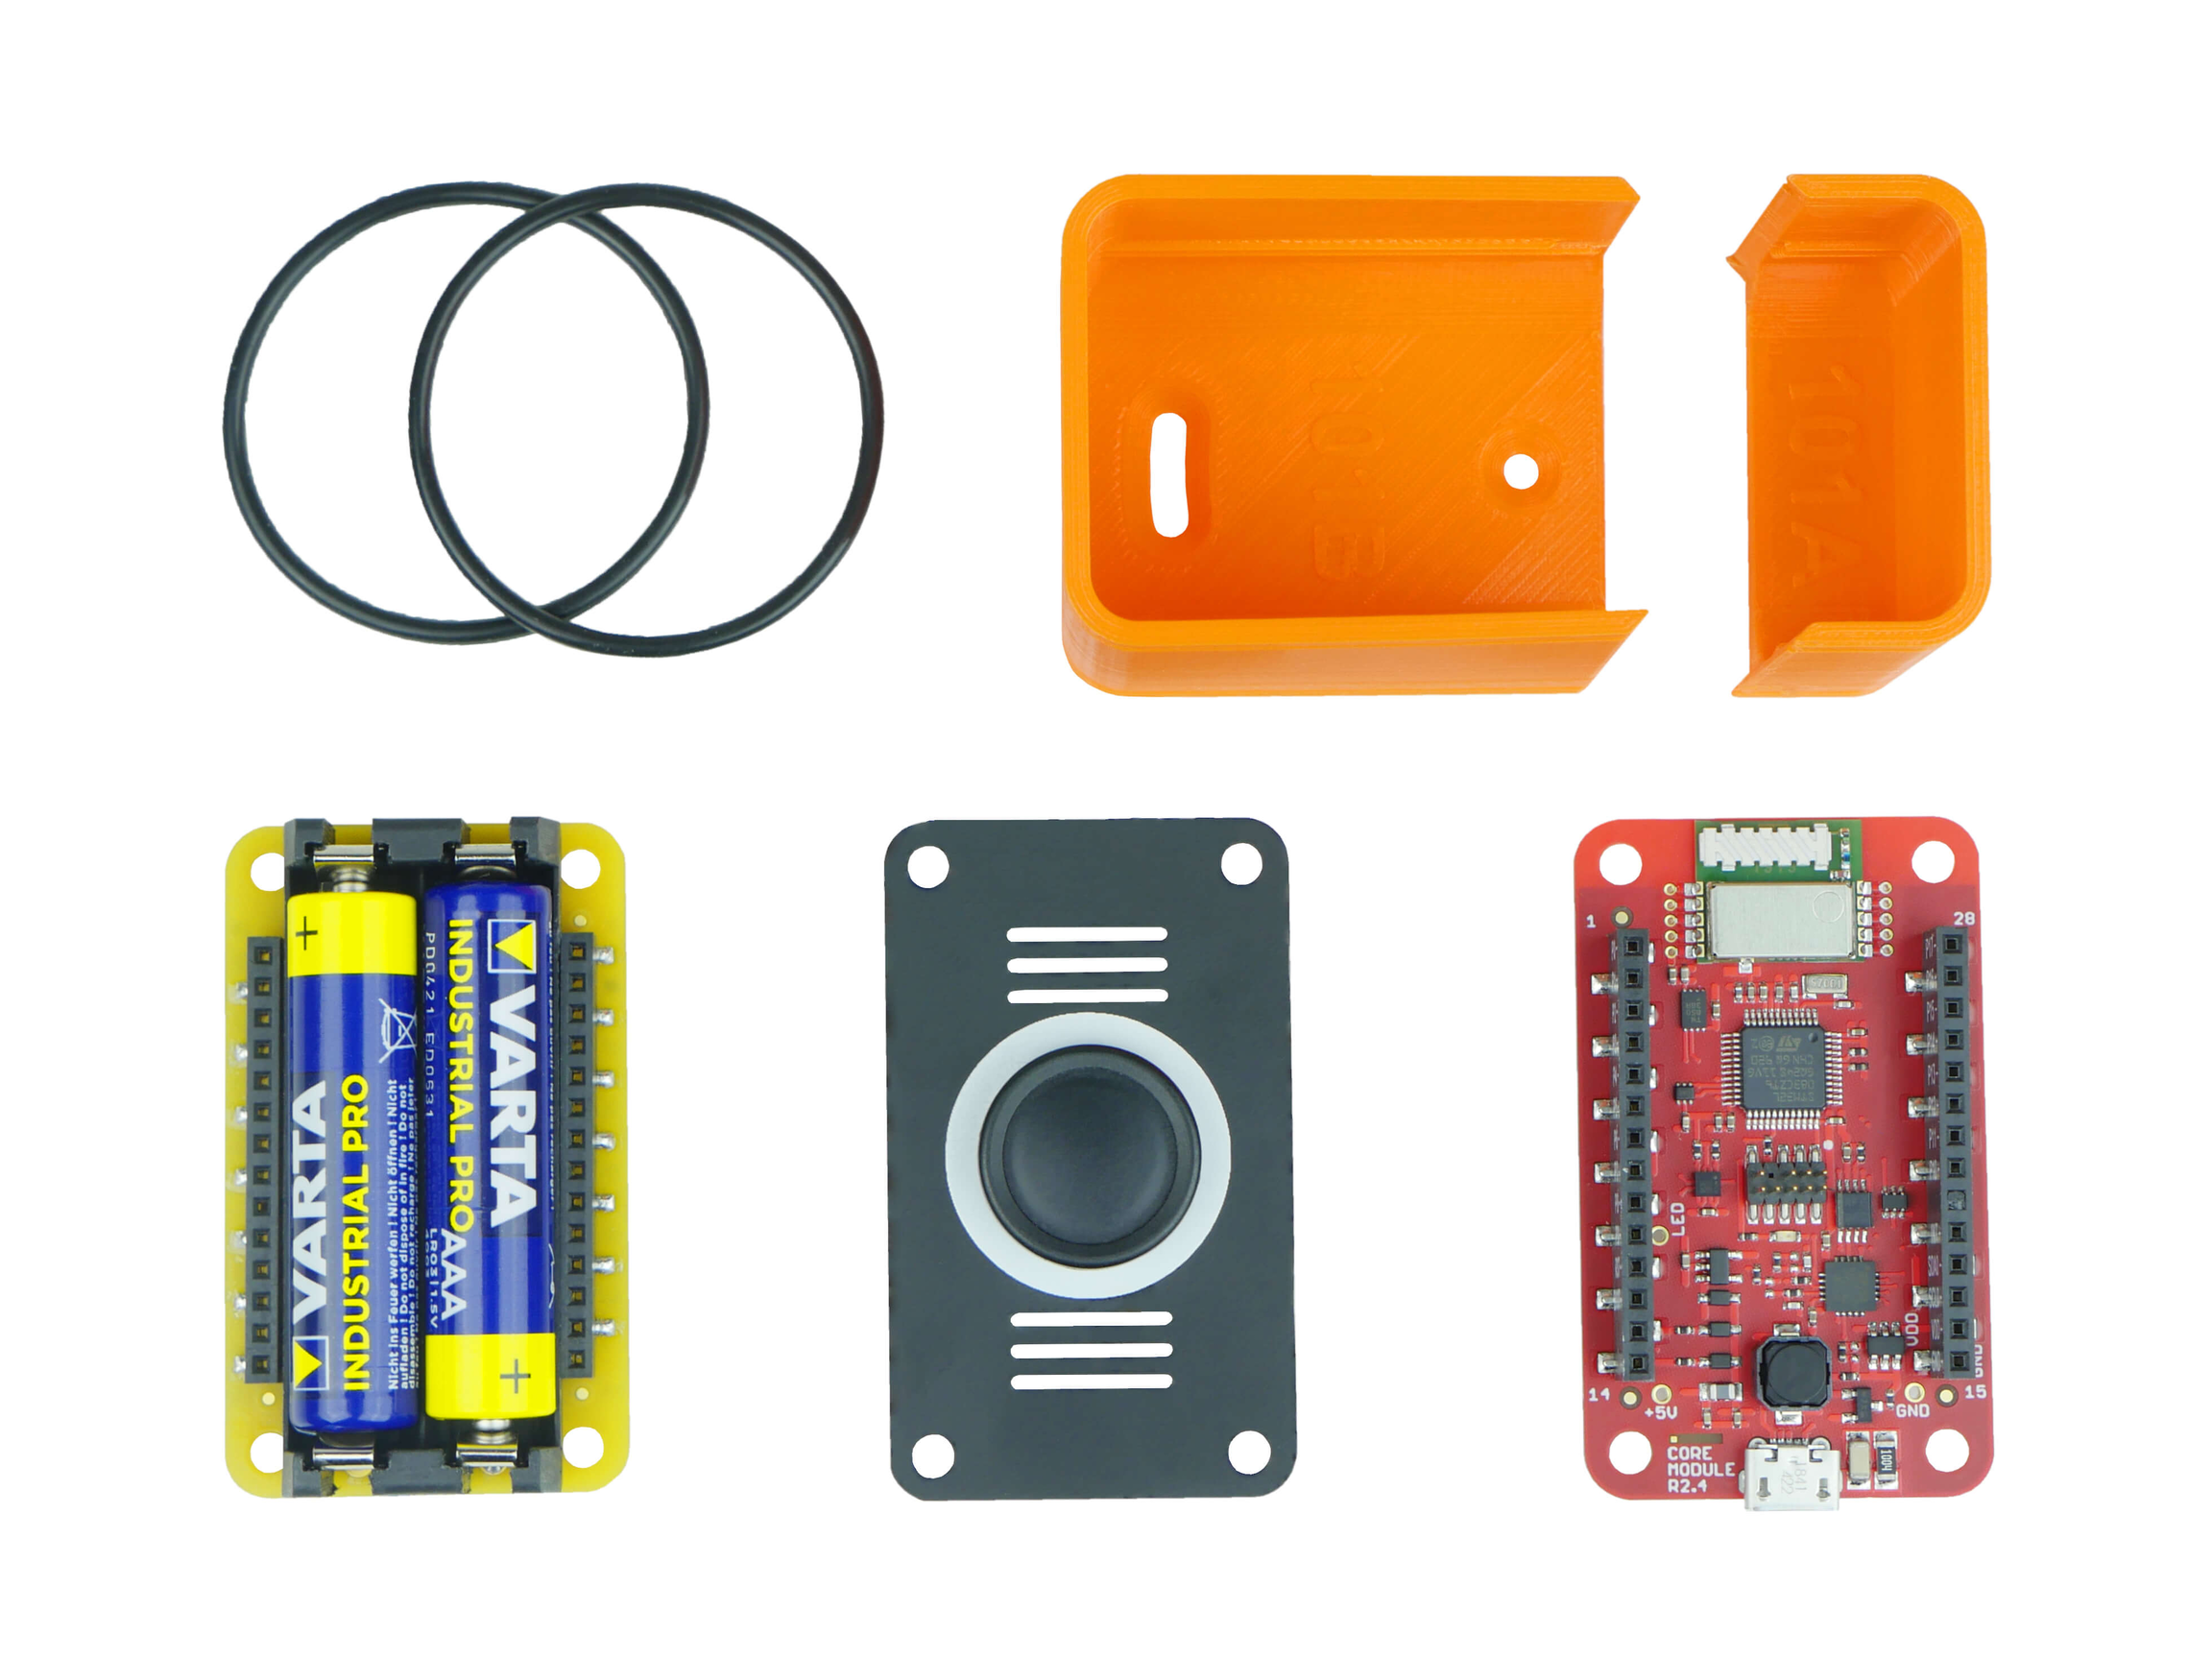
Assemble the unit following the video tutorial.
Connecting the Units to the Playground
(If you do not have the app on your computer yet, download and install it.)
- Plug the Radio Dongle into a USB port on the computer
- Open the Playground app and go to the Devices tab
- Select your Radio Dongle from the list of USB devices and click Connect
- Click Start pairing
- Insert the batteries into the button
Setting up the display of the press count and the button temperature
- Switch to the Functions tab
- Import this flow:
[{"id":"faaa4c4b.07c8a","type":"tab","label":"IoT tlačítko","disabled":false,"info":""},{"id":"a31fe112.0c3f9","type":"mqtt in","z":"faaa4c4b.07c8a","name":"","topic":"node/push-button:0/push-button/-/event-count","qos":"2","datatype":"auto","broker":"a382db22.fb11e8","x":200,"y":180,"wires":[["17cb0618.68ab3a"]]},{"id":"e3c3adba.98ee8","type":"mqtt in","z":"faaa4c4b.07c8a","name":"","topic":"node/push-button:0/thermometer/0:1/temperature","qos":"2","datatype":"auto","broker":"29fba84a.b2af58","x":210,"y":360,"wires":[["ffc89eb2.03b23"]]},{"id":"ffc89eb2.03b23","type":"ui_text","z":"faaa4c4b.07c8a","group":"57ff470b.93fdf8","order":3,"width":0,"height":0,"name":"","label":"Teplota","format":"{{msg.payload}}°C","layout":"row-spread","x":540,"y":360,"wires":[]},{"id":"17cb0618.68ab3a","type":"ui_text","z":"faaa4c4b.07c8a","group":"57ff470b.93fdf8","order":4,"width":0,"height":0,"name":"","label":"Počet stisků","format":"{{msg.payload}}","layout":"row-spread","x":550,"y":180,"wires":[]},{"id":"a382db22.fb11e8","type":"mqtt-broker","z":"","name":"","broker":"127.0.0.1","port":"1883","clientid":"","usetls":false,"compatmode":true,"keepalive":"60","cleansession":true,"birthTopic":"","birthQos":"0","birthPayload":"","closeTopic":"","closeQos":"0","closePayload":"","willTopic":"","willQos":"0","willPayload":""},{"id":"29fba84a.b2af58","type":"mqtt-broker","z":"","broker":"127.0.0.1","port":"1883","clientid":"","usetls":false,"compatmode":true,"keepalive":"60","cleansession":true,"birthTopic":"","birthQos":"0","birthPayload":"","willTopic":"","willQos":"0","willPayload":""},{"id":"57ff470b.93fdf8","type":"ui_group","z":"","name":"Default","tab":"11207769.c31889","order":1,"disp":true,"width":"6","collapse":false},{"id":"11207769.c31889","type":"ui_tab","z":"","name":"Home","icon":"dashboard"}]
- Click Deploy to apply the changes
- Switch to the Messages tab. If everything went well, you will see incoming messages from the unit (push-button).
- Switch to the Dashboard tab. If everything went well, you will see the number of button presses and the button temperature.
Note:
1. To make the unit send data sooner, breathe on the button.
2. The unit measures the temperature and sends it every 15 minutes; it sends a button press immediately.
3. If the temperature changes by at least 0.2 °C since the last transmission, the unit sends the data immediately.