Lesson 1 – Get ready
🧑💻 Duration: 20 minutes
🎯 Target audience: individuals
Connect your HARDWARIO TOWER modules, install HARDWARIO Playground and start measuring.
Task: Check that Playground is installed and that the device is paired with the Radio Dongle.
1. HARDWARIO Playground
HARDWARIO Playground is a universal tool for working with the HARDWARIO kit, available for Windows, macOS and Linux. It lets you program visually and watch the state of your sensors in real time. You will find more in the official documentation.
You can download Playground from the Download page. Choose the version for your operating system, download the installer and follow the installation wizard.
Once you have installed and launched HARDWARIO Playground, its main window opens. The Devices tab lists the connected devices. If everything is connected correctly, your HARDWARIO device appears here. At first, though, the list may be empty. In that case, check that the device is properly connected over USB and that all the necessary drivers are installed.
2. Radio Dongle
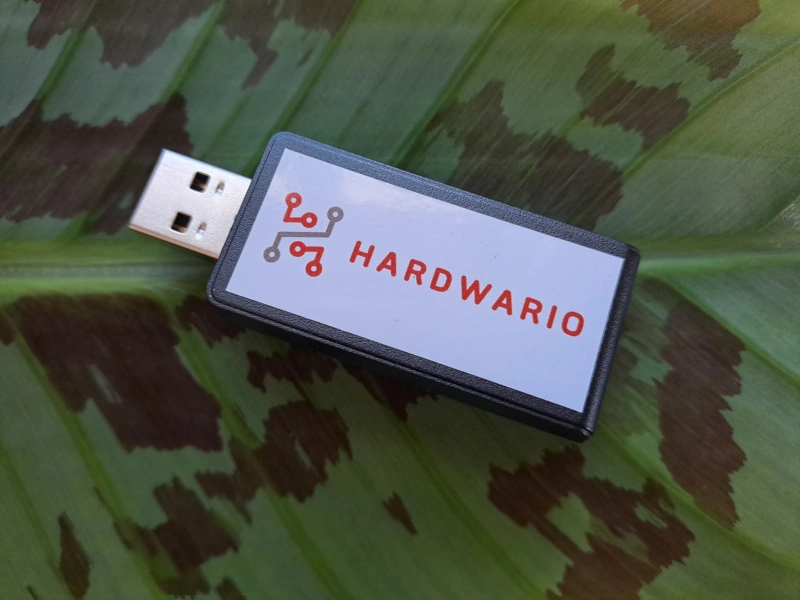
Now plug the Radio Dongle (a USB module) into a free USB port on your computer. HARDWARIO Playground should recognize the dongle automatically and show it in the Devices list. If the dongle does not appear, check that it is plugged in properly.
3. Flashing the firmware
This step is optional. We recommend it only if you are not sure who last used the Radio Dongle and how.
In the left menu, open Firmware, search for hardwario/twr-gateway-radio-dongle and click the Flash firmware button. The dongle then gets the latest firmware version, which can solve connection problems.
4. Connect the Radio Dongle
In the right-hand menu, in the Devices section, click Connect to connect the dongle. Unfortunately, the application gives no further sign at this point that the dongle is connected.
5. Pairing the PIR Module
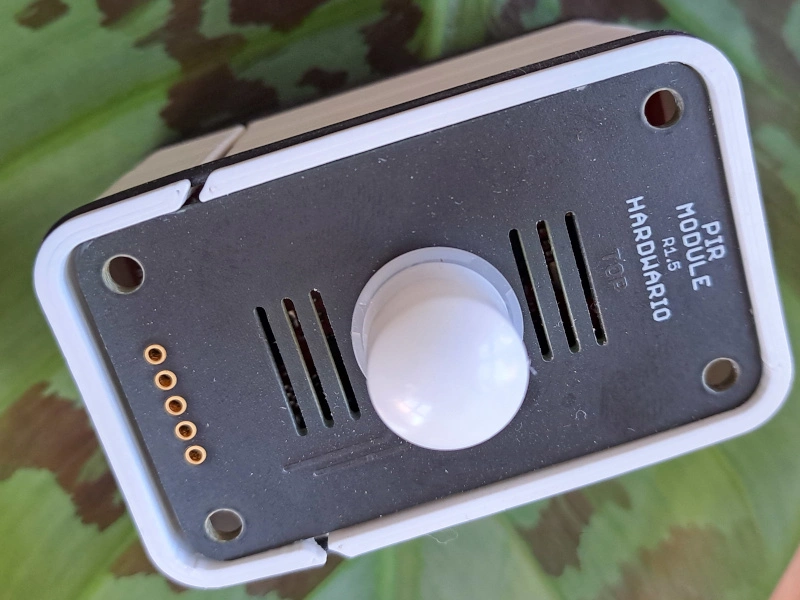
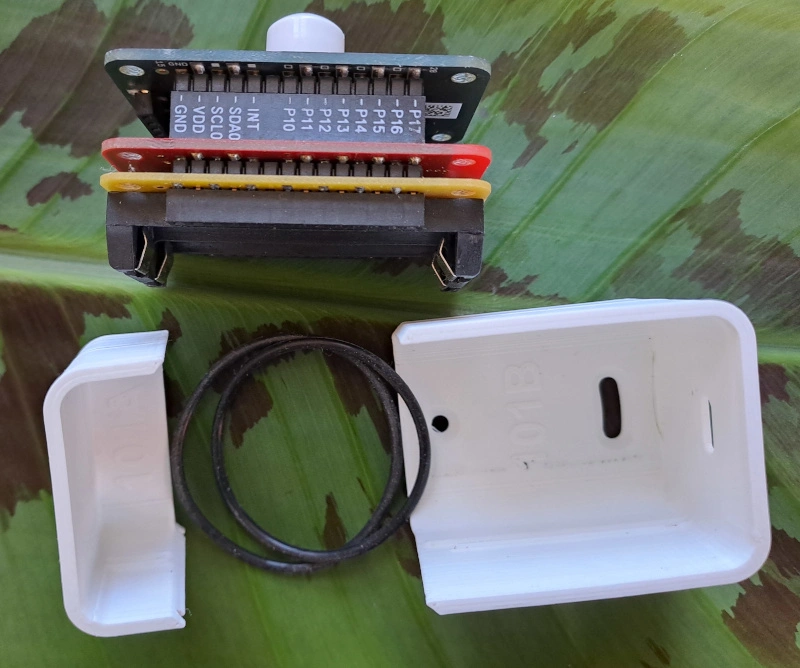
To connect the PIR Module, you first need to put it into pairing mode. The module enters this mode when you insert its batteries.
Before you insert the batteries, click the Start pairing button in HARDWARIO Playground. This starts the pairing.
If you are pairing in a classroom with several modules, make sure you pair your own, for example by checking that no other devices are pairing at the same time.
Once the batteries are in, a sensor appears in HARDWARIO Playground, usually as motion-detector:0. As soon as it appears, the module is connected.
In the Messages section of the left menu, you can watch the outputs of the PIR Module and see whether the sensor detects motion.
Turn the PIR Module on its side. In the Messages section, an item node/motion-detector:0/orientation (with a number) should appear, signaling that the module's orientation has changed.
6. Flashing the PIR Module firmware
This step is optional. We recommend it if the Core Module was used in another project before and does not report as motion-detector, or if you want to be sure you are running the latest firmware.
- Find a USB cable and use it to connect the Core Module to your computer.
- In the left menu of HARDWARIO Playground, go to the Firmware section.
- The Device section lists all connected HARDWARIO devices, for example
bc-usb-dongleandhio-core-module. Selecthio-core-module. - In the firmware section, select twr-radio-motion-detector (its picture appears as well).
- Click the Flash firmware button.
7. Summary
✅ The module is connected and the environment is ready. You can start measuring.